Brief Overview
Onboarding tasks can be used to create a checklist for training purposes, improving conversion rates of free to paid users, or speeding product adoption.
Onboarding tasks consist of Smart Walk-Thrus, and video and article resources that are added to the Tasks tab in the WalkMe Menu. This checklist enable users to see their progress as they move through the tasks, improving the user experience, and pushing them to complete more tasks and engage with WalkMe.
🎓 Digital Adoption Institute
Use Cases
Accelerate Training
Give users a clear and straightforward path to complete training. For example, create a task list with all tasks necessary for a new employee to get started such as creating a profile, reading about company policies, signing up for HR benefits, and setting up an expense account.
Improve Conversion
End customer confusion and make your product attractive and simple. For example, create a checklist that shows off your product's features and drives customers to action.
Promote Product Adoption
Enhance the customer experience and increase loyalty by boosting engagement with your site. For example, create a checklist that takes the user through all the necessary processes to get started.
How It Works
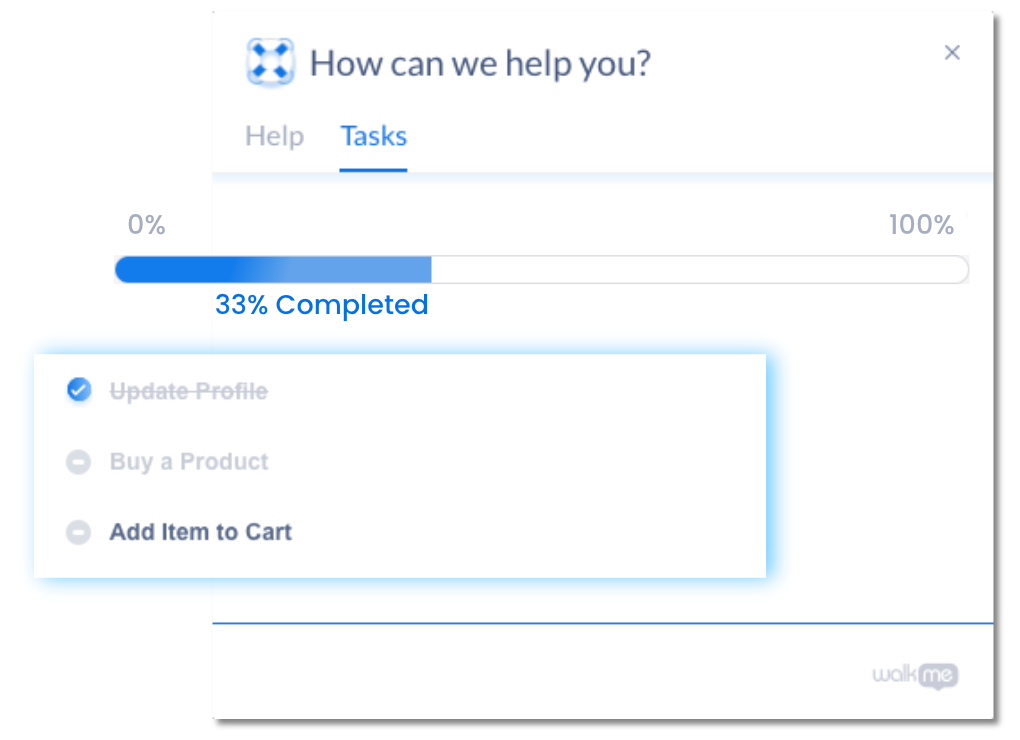
Onboarding tasks appear in the WalkMe Menu in a separate tab. When the user clicks a task, WalkMe will launch the associated Smart Walk-Thru or resource.
As each task is completed, the user's progress will be updated in the progress bar.
When creating a task, you can:
- Add a description to inform users about the task
- Set a Goal to determine when the task will be considered completed
- Segment it to appear to selected audiences
- Add an activation rule to enforce an order in which the users complete the tasks
Building Onboarding Tasks
Create Onboarding Task
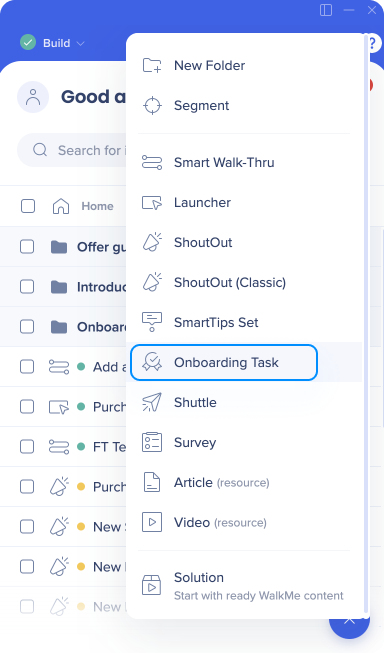
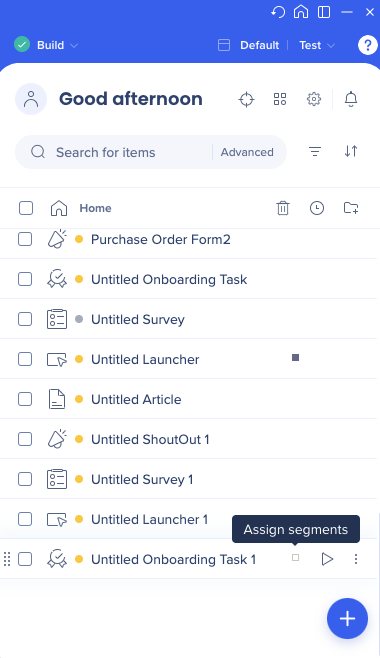
- In the WalkMe Editor, click the Create New Item plus sign and select Onboarding Task
- Name the task
- Optionally, you can add a description that will be visible to your users
Did you know?
The onboarding task name does not need to match the name of the Smart Walk-Thru or an article/video.
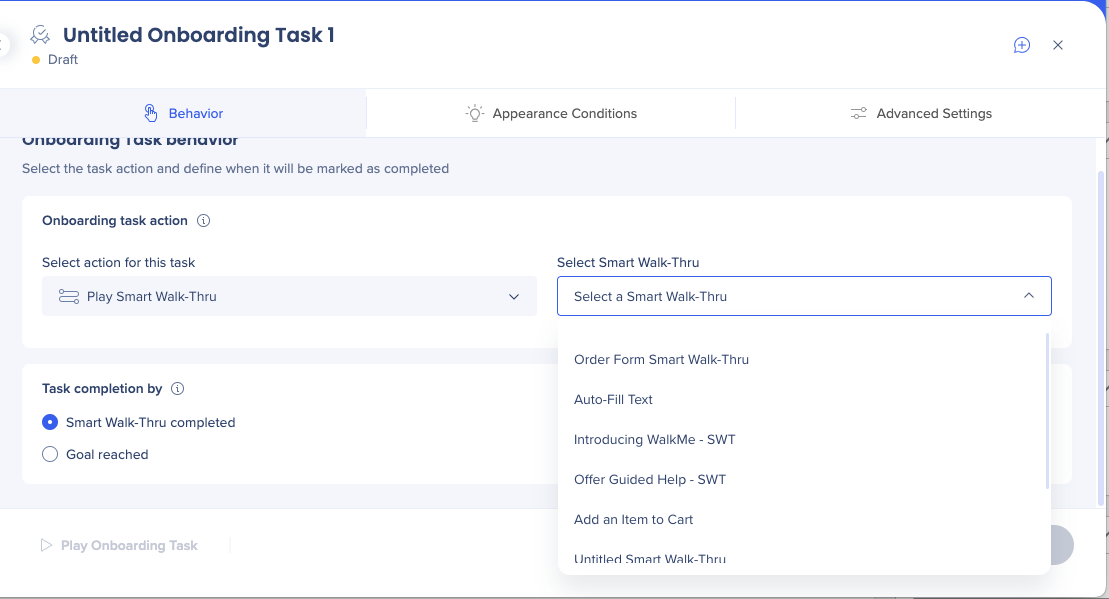
- In the Behavior tab, select which action you'd want the task to perform (the content type you want it to launch - a Smart Walk-Thru, article, or video)
- Select the relevant item from the dropdown
Note
You can only choose from previously created Smart Walk-Thrus, articles, or videos.
Set a Goal
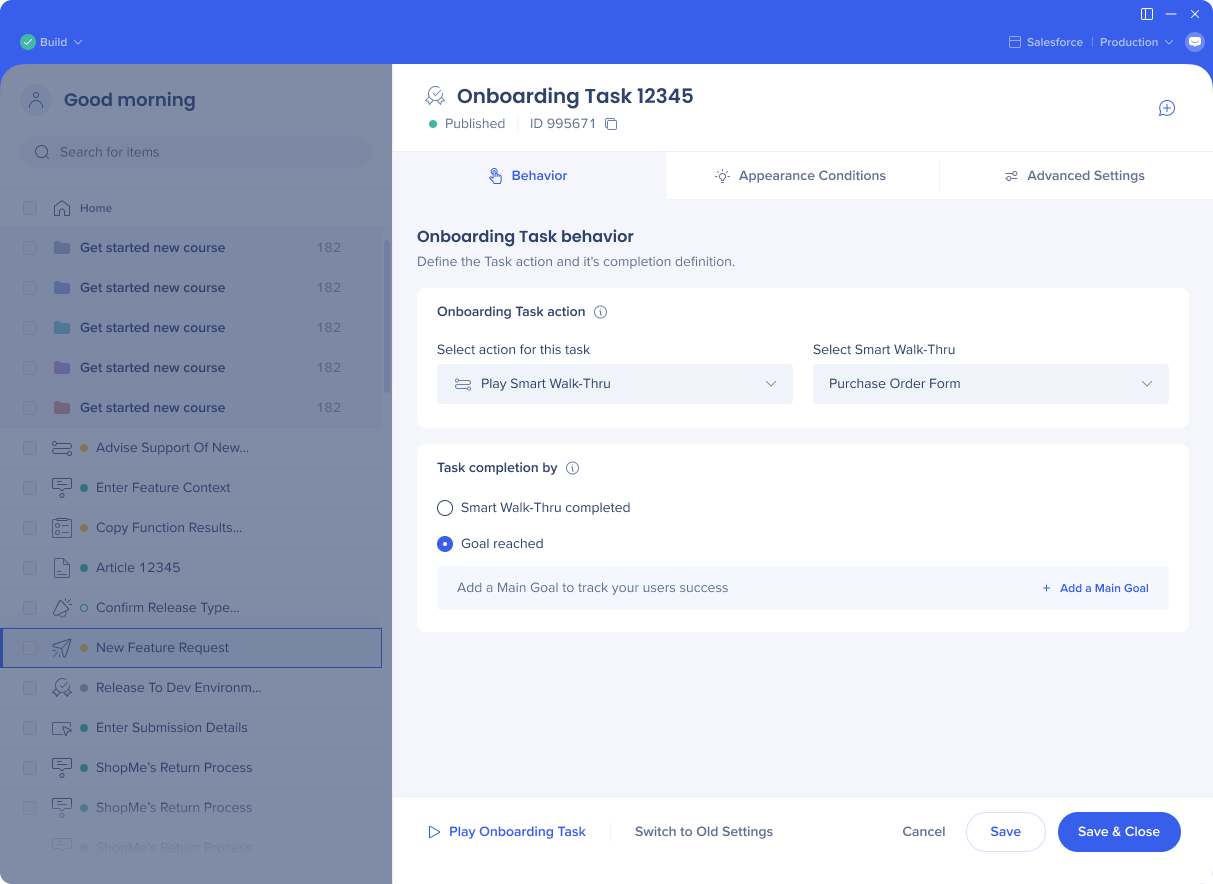
In the Behavior tab, choose when the task will be considered complete:
- Smart Walk-Thru completed: When this option is selected, the onboarding task will mark as complete once the user has completed the last step of the Smart Walk-Thru
- Goal: reached When this option is selected the onboarding task will mark as complete once the user achieves the set goal.
- To set a goal:
- Click Add a Main Goal
- Set rules in the Rule Engine as necessary
Smart Walk-Thru goals
It's recommended that all Smart Walk-Thrus have goals. If your Smart Walk-Thru doesn't have goals, add goals to your Smart Walk-Thru before continuing to build your onboarding task.
Goals
Note
If you want the task to be marked as completed when a Smart Walk-Thru is finished, the Smart Walk-Thru needs to end in the top frame. If the Smart Walk-Thru includes a step to switch to an iframe (Switch to Frame), you must add another step to switch back to the top frame before it ends (rule: current flow => is not in internal iframe). If you don't, the Smart Walk-Thru will be marked as completed in the iframe instead of the top frame, which can cause issues with the task's completion validations.
Add Appearance Conditions
You can further customize when, where, and to whom onboarding task will be visible in the Appearance Condition tab:
Display Conditions
Display conditions determine when the onboarding task will appear in the menu.
For example, if you have an onboarding list to help someone set up an account and you don't want the onboarding task "Edit Profile" to be visible until after the user has created an account.
You can choose to:

Activation Rules
Activation rules determine when the user can interact with the onboarding task. Unlike display conditions, the task will be visible but it is inactive until the rule is met.
For example, you don't want someone to proceed to "Add a Profile Picture" before they have completed the "Set Up Account" task.
You can choose to:
Segmentation
Segment the onboarding tasks to appear only to relevant audiences. For example, managers might have a different account set up than everyone else.
In the Appearance Conditions tab, you can see segments assigned to the task. To assign a segment to the task, go to the editor main screen.
Segmentation
Your Onboarding Tasks will not be visible to your users until they are added to the WalkMe Menu.
To add Onboarding Tasks to the WalkMe Menu, follow the guide in the WalkMe Menu: Getting Started Guide.
Onboarding Settings
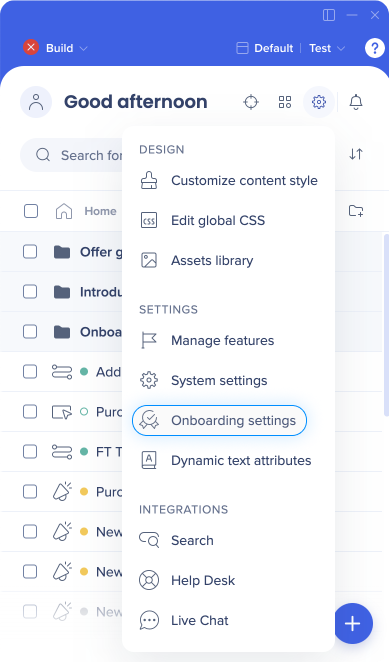
Onboarding settings apply to all tasks, whether they are segmented or activated to play simultaneously or not. You can access the Onboarding settings via the editor Settings menu.
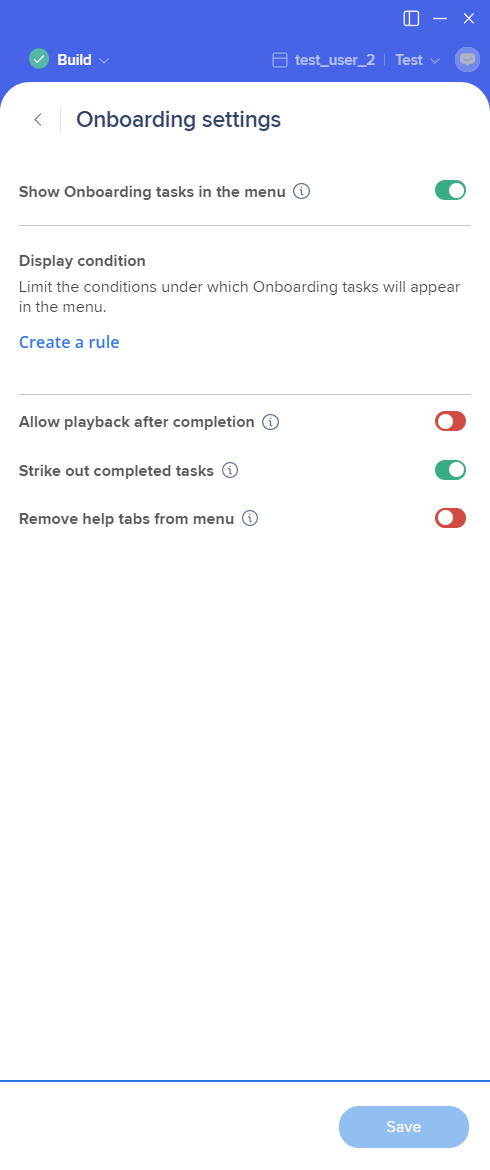
Show Onboarding tasks in the menu: To show all of the Onboarding tasks in the menu (toggle on) or hide them (toggle off)
Note
This feature hides the Onboarding tasks from the menu for the user, but the goals keep being tracked. To stop tracking the goals, archive them.
Display condition: Limit the conditions under which Onboarding tasks will appear in the menu
Allow playback after completion: To let users click the task again after completing it and redo it (toggle on). If the toggle is turned off, users will see the task in the menu after they completed it, but it will no longer be enabled.
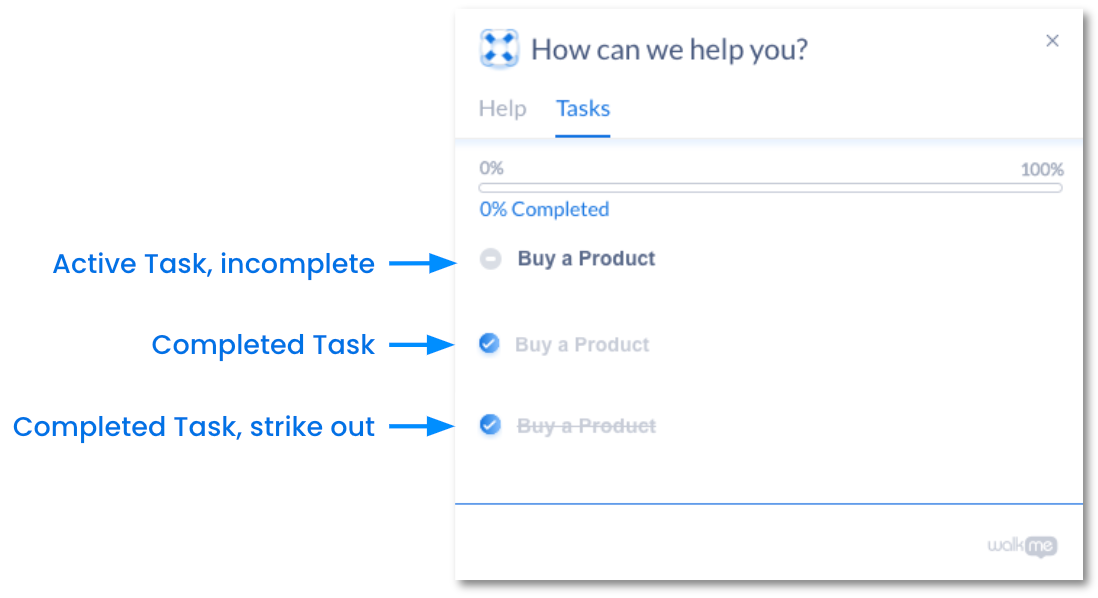
Strike out completed tasks: Mark completed tasks as done by crossing them out in the menu
Note
You cannot reverse crossed out tasks for all of your users. If needed, you can duplicate the Onboarding task and publish it again.
Remove help tabs from menu: To only show the Onboarding tasks in the menu, even if there's other content (e.g. in the Help tab). Use this if you want your users to concentrate on the onboarding and complete all the tasks before they start using other WalkMe items.
You can change additional things about onboarding within the Publish tab in the Menu Organizer including the name of the Task tab, the order in which the tasks appear in the task list, and whether the Help tab of Task tab should be the first visible tab in the end-user view.
Note
Onboarding tasks data is stored in the server.
The Finished Product
Here is an example of what your users will see once you've created a tasks list:
Onboarding Best Practices Video


