Welcome to the
WalkMe Help Center
Please log in to continue

Please log in to continue

Goals are used in WalkMe to quantify success and understand user behavior within Insights (WalkMe's analytics platform). Using goals, you can view not only how many times a Smart Walk-Thru, Resource, Shuttle, ShoutOut, or Onboarding Task has been played, but also if the user completed the process on your site.
Having meaningful goals demonstrates the value of your WalkMe implementation. WalkMe Analytics automatically reports on the usage of your items, but goals demonstrate if your Smart Walk-Thrus, ShoutOuts, Resources, or Shuttles actually help your users be more successful, whether that means signing up for a paid service, creating a new opportunity, or finishing their performance reviews.
Viewing just the usage of WalkMe items is not always an accurate reflection of their value. When using a Smart Walk-Thru, many users only need to be guided part of the way through a process until they can take control and complete it on their own so they often will stop a Smart Walk-Thru. Just because a user doesn't complete the Smart Walk-Thru though, doesn't mean it didn't help them be more successful. Goals allow you to track the outcome of using WalkMe Items so you can see if users are more successful and if you're reaching your desired KPIs with WalkMe.
For example, a Smart Walk-Thru guiding a user through filing an expense report may have a main goal that tracks if the user reached a success page and a milestone goal that tracks if the user clicked submit, which can help understand if a user may not be completing a process because of error messages.
Here are examples of goals that can help you evaluate if WalkMe is helping to achieve your desired KPI's or business objectives:
Goals track users' actions on the site and send the information to WalkMe Analytics. Each action that a user does with WalkMe is called an event. Many of these events relate directly to goals such as a user clicking a specific element or reaching a specific page. Most goals start tracking only when the Smart Walk-Thru has been played. These goals stop being tracked after two hours. Goals for onboarding tasks start checking if they are reached as soon as WalkMe is loaded on the page, meaning users do not need to start a Smart Walk-Thru for a goal to be tallied.
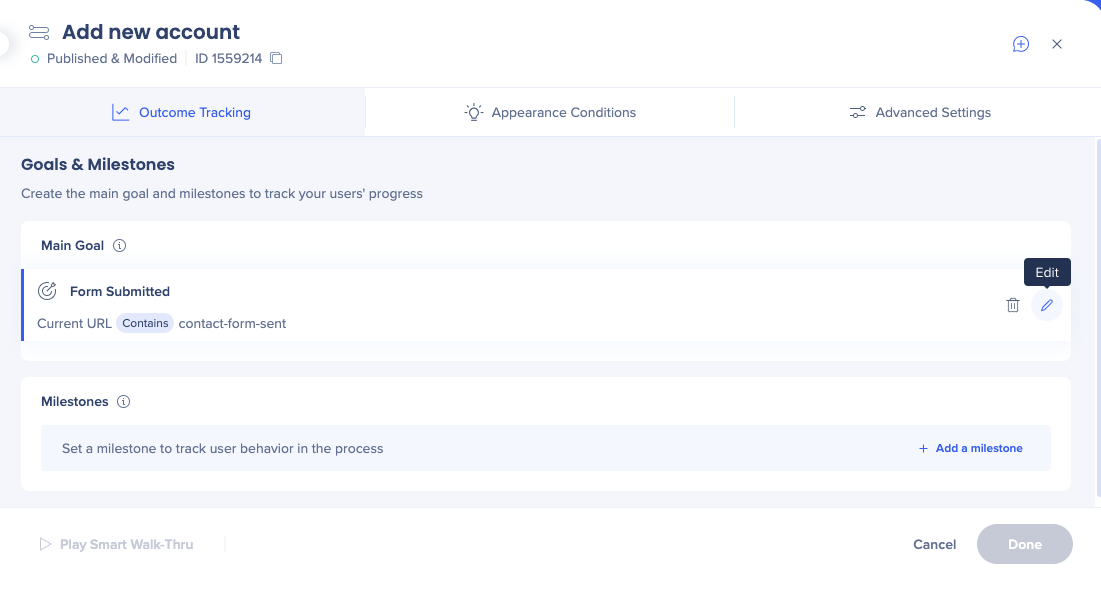
There are two kinds of goals: main goals and milestone goals. Main goals track completion of a process. Main goals can help you quantify improvement on process completion and track usage of features. Milestones can help you track your users through a process. Milestones are particularly helpful to understand user behavior when main goals are not completed.
Goals are made in the Editor for each WalkMe item. Any time you make a change to your goals in the Editor, you will have to re-publish that individual item to which the change was made in order for it to be published in production.
Users do not know that goals have been created, or that certain actions are being tracked for goal completion, or that they have satisfactorily fulfilled a goal completed, the exception for which is onboarding; when a user achieves the goal for an onboarding task, the task will be appear marked off.
Goals can be used with Smart Walk-Thrus, Resources, Shuttles, ShoutOuts and Onboarding. All of these apps, with the exception of onboarding, can have main goals and milestone goals. Setting goals is in the WalkMe Editor.
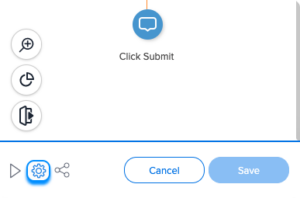
For Smart Walk-Thrus, use the settings menu to create a goal. For onboarding, goals are set when creating your tasks.

WalkMe checks for goal completion from the moment the Smart Walk-Thru, Resource, ShoutOut, or Shuttle plays, whether it was initiated by the user clicking on it in the Player Menu, Auto Play, or via a Launcher. WalkMe continues tracking goals for up to two hours after the item has been closed or ended, the exception for which is onboarding; WalkMe checks for goal completion constantly regardless of whether the user has played the task.
Once a Smart Walk-Thru is played, its goals are checked every 2 seconds. The goals will be continuously checked until they are met. Therefore, when setting goals we recommend using URL and on screen element clicked or URL and jQuery is visible (they are the lightest in terms of performance). Learn more about the Rule Engine.
Onboarding goals are the criteria by which WalkMe will consider the task complete and cross it off the task list. In other words, the onboarding goal not only tracks successful completion in the analytics for use of the WalkMe administrator, but also marks in the WalkMe Player, in the user's view, that they have completed the task. Onboarding tasks can only have main goals that determine when the task is complete; tasks cannot have milestone goals, but we recommend you add Milestones to your specific Smart Walk-Thru or Resource.
A key difference between Smart Walk-Thru goals and onboarding goals is that onboarding goals track continuously as soon as WalkMe loads on a site regardless of whether the task has been played. This way, WalkMe can accurately track a user's progress and see which tasks they complete even without using WalkMe. This means that when the task list is displayed, completed tasks will be struck out, even if the associated Smart Walk-Thru was not played. Because of this, onboarding goals should be created using rule types that use very little performance resources. For example, you should use URLs instead of on-screen elements for your rules, to ensure goals do not affect the performance of your site. Learn more about optimizing performance with rules.
Goals are built as statements in the Rule Engine. The Rule specifies to WalkMe what it should be looking for and what information you would like recorded in analytics. Common goal types include URL reached, on-screen element clicked, or jQuery element visible.
The Main Goal should show value and be relevant to your key performance indicators, as defined by you and your Account Manager. Use a message or a URL that demonstrates completion.

Milestones are most commonly used with Smart Walk-Thrus, but can be leveraged to gain valuable insight with a Resource, Shuttle, or ShoutOut. Milestones will help you isolate troublesome areas in your site or business process. For robust goals to glean maximum information from user behavior, create a milestone goal to represent each significant phase in the process. Use a unique URL or specific element on the page to represent where the user is on the site and their most recent actions. Milestones can only be created after a main goal has been made.
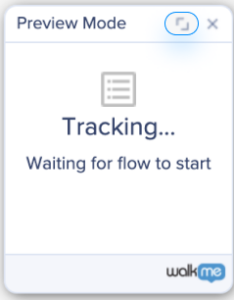
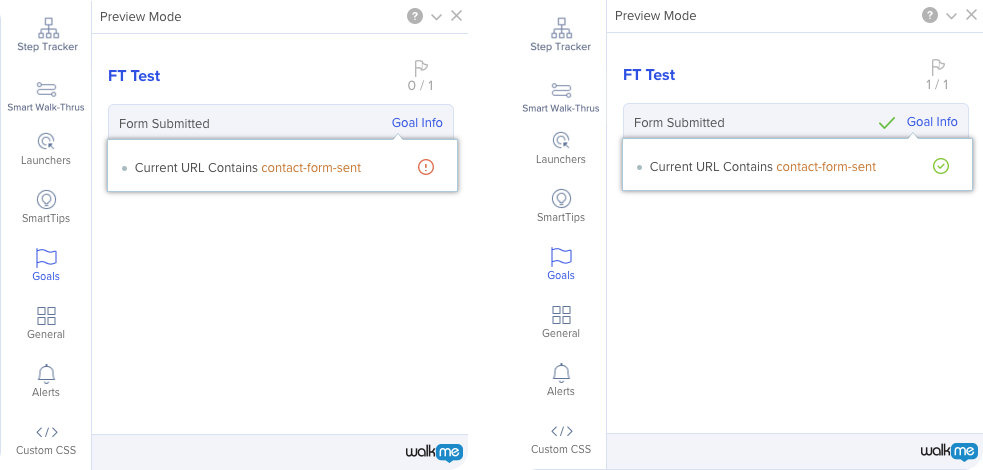
Test goals that you have created by playing your Smart Walk-Thru in Preview or Published Mode and use the Flow Tracker to check if goals are being met.


Learn more about the Flow Tracker
In the WalkMe Console, you can review data about your tracked goals in Insights. This app provides a comprehensive view of how well your goals are performing and helps you understand user behavior and success rates.Insights includes various widgets that display goal metrics across these tabs: Overview, Smart Walk-Thrus, Resources, Shuttles, and ShoutOuts.
Goal data is included in the following widgets: