Welcome to the
WalkMe Help Center
Please log in to continue

Please log in to continue

The Roles & Permissions page in the Admin Center lets you manage user access through a clear role hierarchy with predefined permissions, reducing the need for custom roles.

You can access and modify these settings from the Roles & Permissions page under User Management in the WalkMe Admin Center.
A role defines what a user can access and manage. The Roles page includes two tabs: Predefined Roles and Custom Roles.
Use predefined roles to quickly assign common permission sets. Each role includes a fixed set of permissions for standard use cases, such as building content, publishing, or managing users. Predefined roles help maintain consistency and reduce custom setup.

Available predefined roles:
Admin: Full control over the account, including settings and user management
Content Manager: Create and manage WalkMe content and settings, and publish to all environments
Builder: Create and manage WalkMe content without access to publishing or user management
Publisher: View WalkMe content and settings, publish to all environments
Content Creator: Create and edit WalkMe content without access to publishing
Use case: Technical writer
Content Viewer: View WalkMe content and settings - Includes access to Insights
Use case: Reviewer
Analyst: View WalkMe content and settings, have complete access to Insights
Use case: Insights reviewer
Translator: Create and modify Text & Multi-Language content - No access to the WalkMe Editor
System Manager: Manage assigned systems and users without access to security or API keys - Can assign existing users only to systems they manage
Each role defines access to the following features:
Use custom roles when predefined roles don't meet your needs. Custom roles let you create tailored permission sets across administrative, content, data, and publishing categories, giving you more control over user access.
Supported role permissions:
None: No permission to all Admin Center capabilities
View Only: Can view users only
No ability to create new users, modify existing users, or assign users to systems.
Limited Access:
Edit:
Create new users
Modify existing users
Assign users to systems
Have access to Users page in the Communication Center
Limited Access:
Can view only systems they are assigned to
Can modify only the systems they are assigned to
Can access the activity log, only to the systems they are assigned to
Can't create new systems
Can delete and restore only assigned systems
None: No access to Communication Center. User can't see the Communication Center app in the side menu.
Edit: Access to 'My Notifications'. Users can create and edit their own notifications.
None: User can't see the 'All Notifications' option, only 'My Notifications'
View: User can switch to 'All Notifications' but can only view the notifications and cannot perform the following actions:
Edit
Duplicate
Delete forever
Rename notifications that were not created by that user
Edit: User can perform all edit actions in 'All Notifications'
None: User can't see the Audiences page under the Communication Center side menu and view audiences in the notification Delivery page
View: User can access the Audiences page, but can't perform the following actions:
Edit audience
Duplicate Archive
Create new audience
Activate archived audience
Delete forever
Edit: User can access the Audiences page and perform all Audiences related actions
None: The following actions are not available:
Send now
Schedule
Archive
Pause
Restore
Mark as done
Allowed: User can perform all publishing actions
None
View
Edit
Session Playback Access (SAP only):

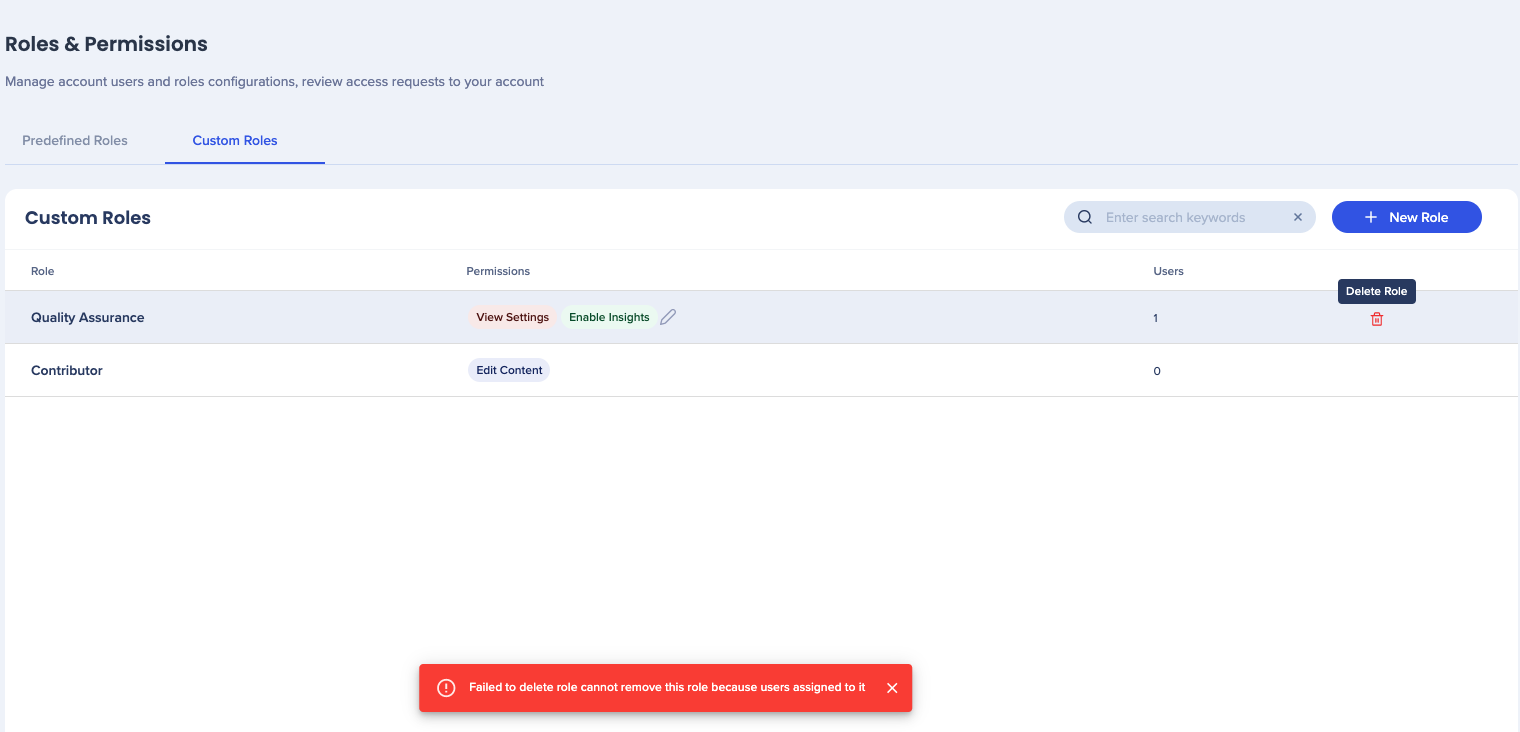
Delete a custom role when it's no longer needed.

Only users with the following permissions can have access to the WalkMe Editor: