System Management
Brief Overview
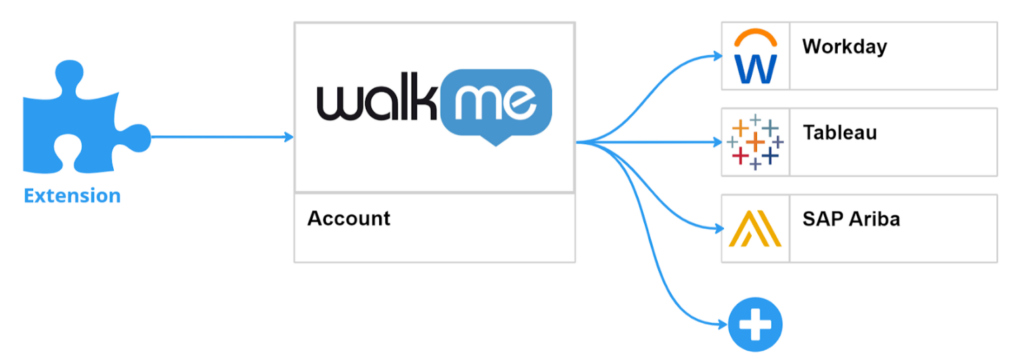
Experience streamlined system management with WalkMe's unified tool in the Admin Center. By centralizing all essential system settings in one accessible location, this tool offers a user-friendly interface that simplifies management tasks. With intuitive controls and a clear layout, it allows you to efficiently optimize configurations and ensure consistent system performance. Say goodbye to juggling multiple platforms and enjoy the convenience of having everything you need in one place, empowering you to focus on driving success within your organization.
How to Access
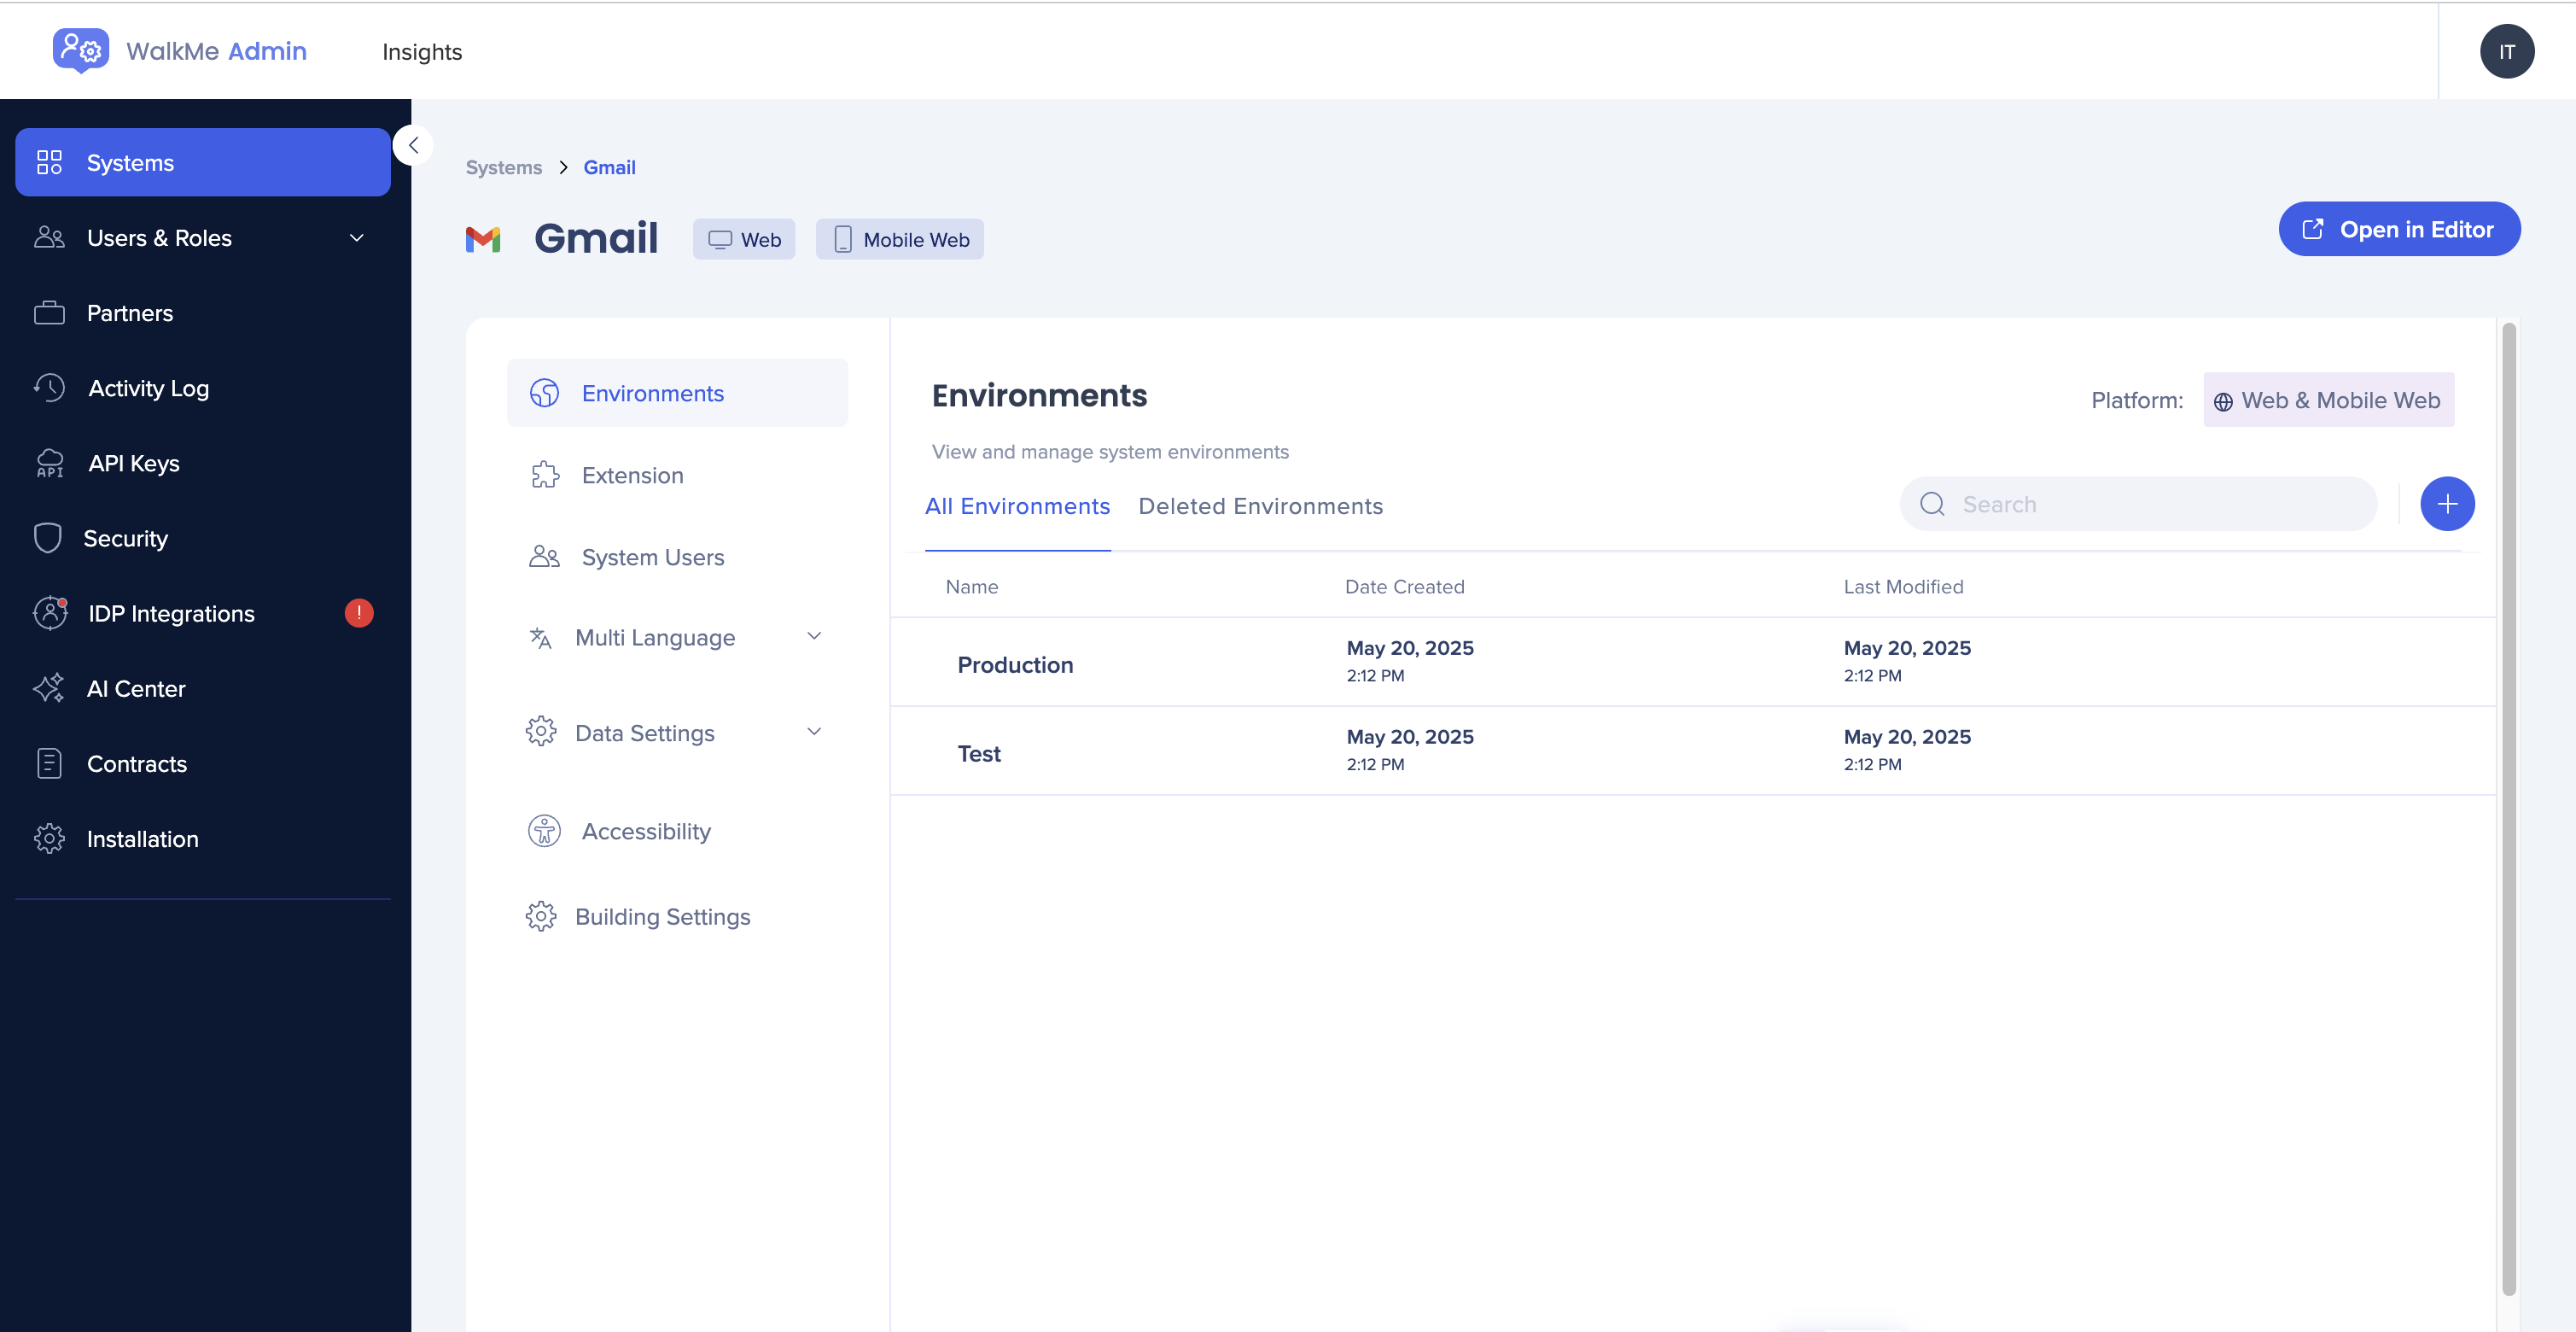
To access the system management settings, you need to open the Systems page in the Admin Center and then select the system you want to manage.
- US data center: https://admin.walkme.com/systems
- EU data center: https://eu-admin.walkme.com/systems
- Canada data center: https://admin-ca1.walkmedap.com/systems
How It Works
Systems page
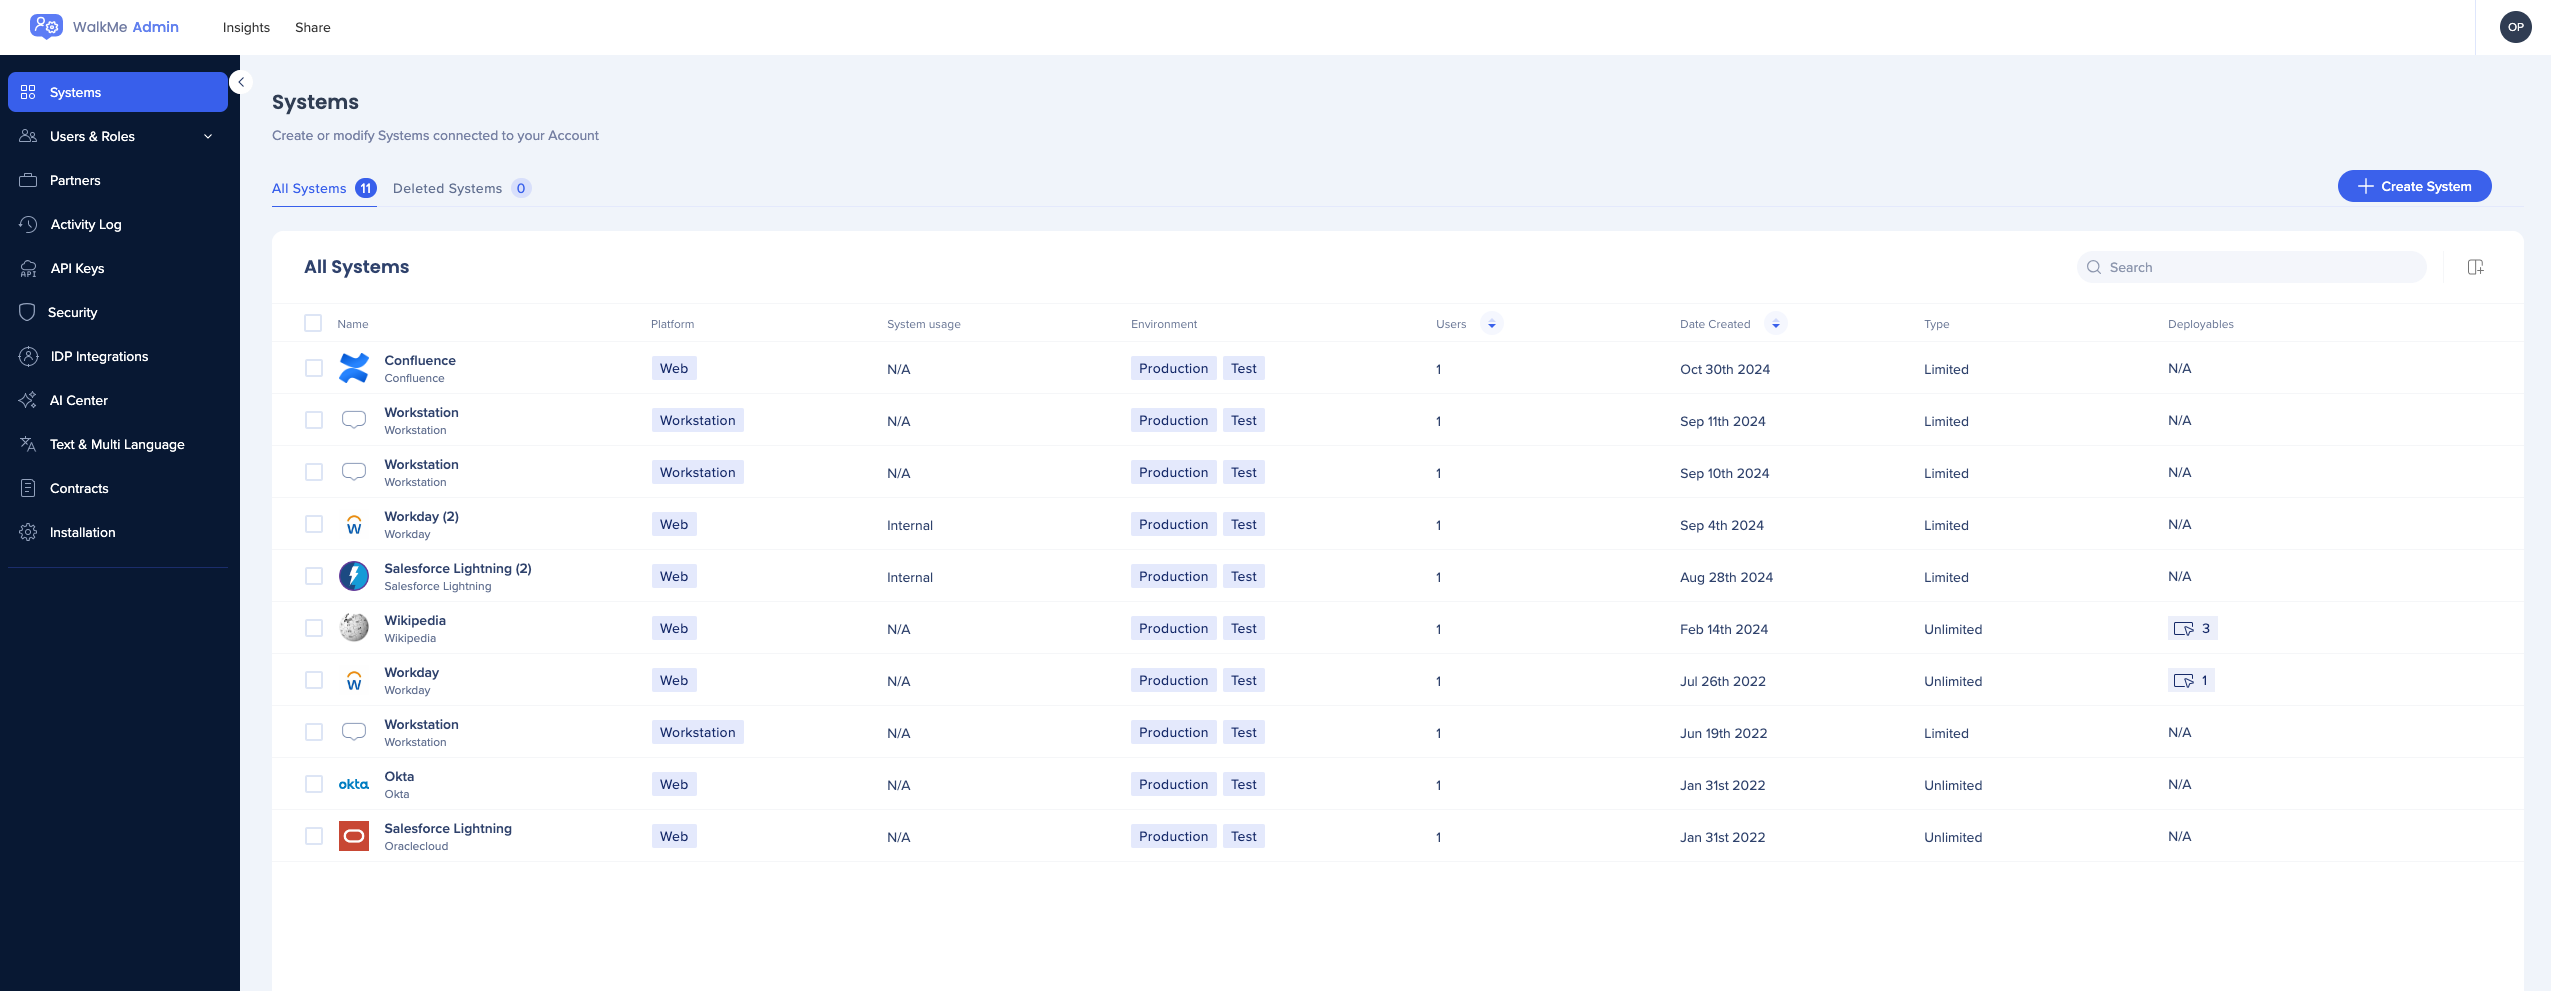
In the Systems page, you can see information about all your systems.
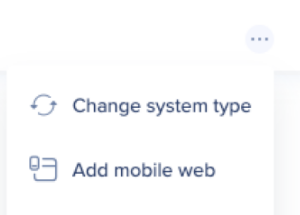
Select the Options menu next to a system to:
-
Change system type: Convert your system into another known type
-
Systems with applied settings cannot be converted
-
If your system has content built on it already, items attached to certain elements may not function correctly on the new system type
-
-
Add mobile web: Add a mobile web system to this web system
System settings
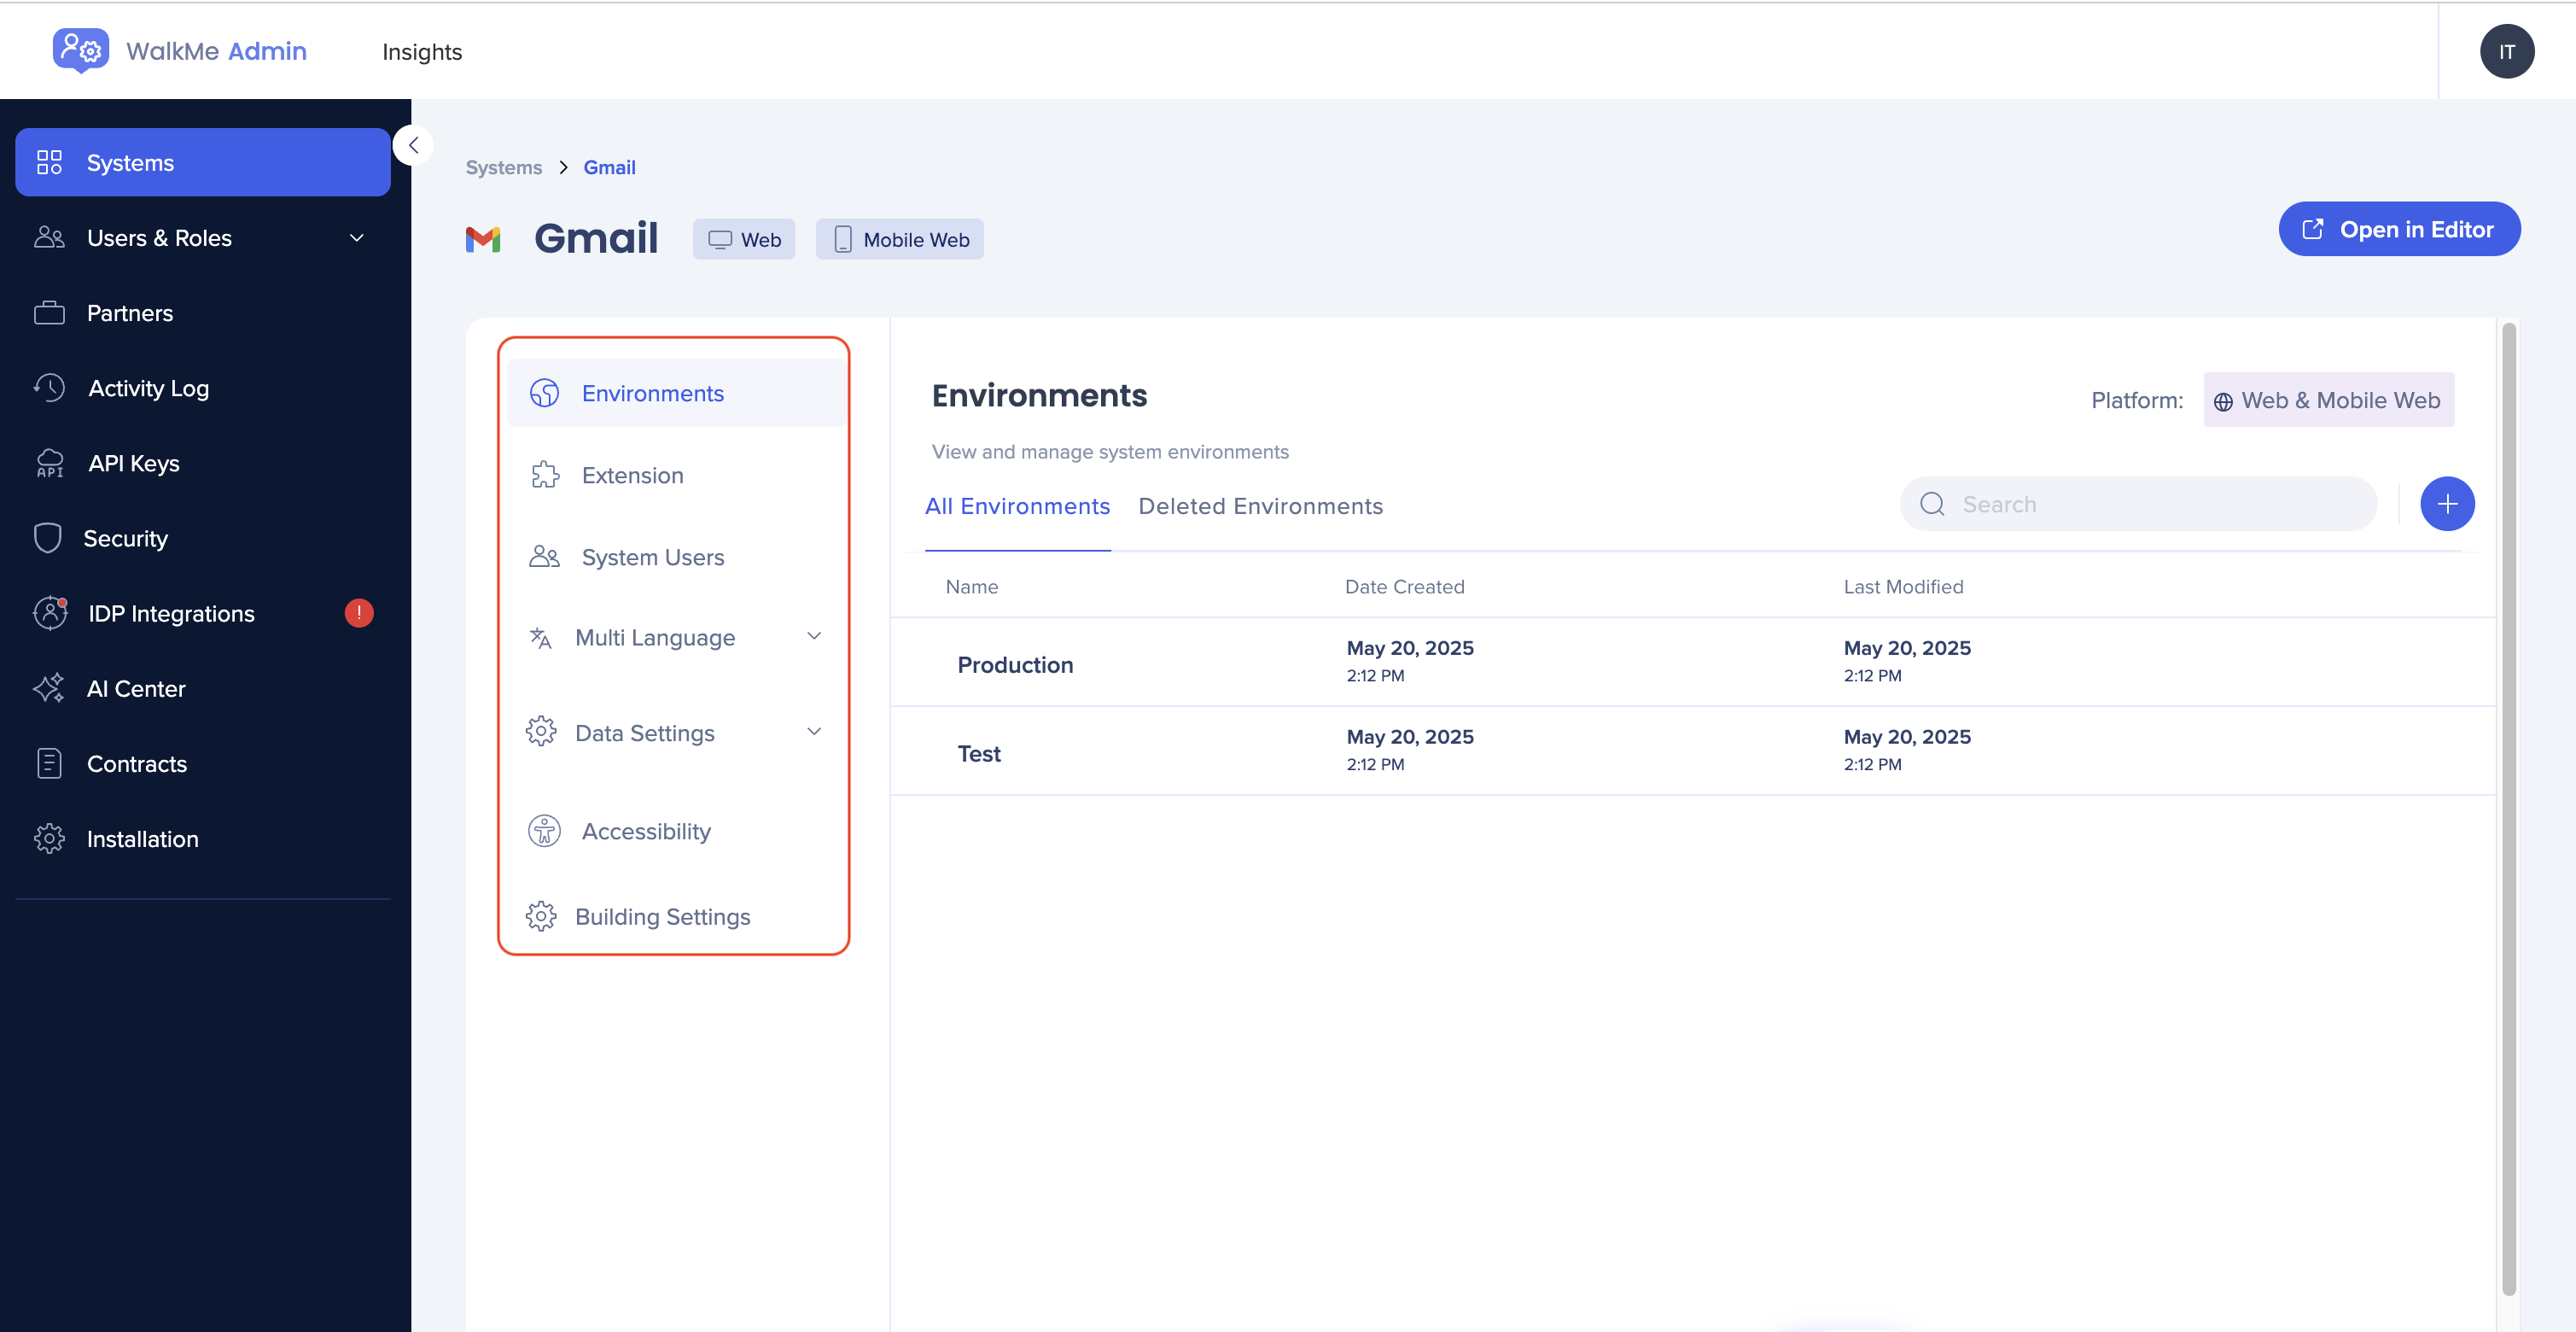
Once you select a system from the Systems page you will be able to manage all of its settings and 7 tabs will be available:
-
Environments
-
Extension
-
System Users
-
Multi-language
-
Data Settings
-
Accessibility
-
Building Settings
Continue reading to learn more about the functionalities available in each tab.
Environments
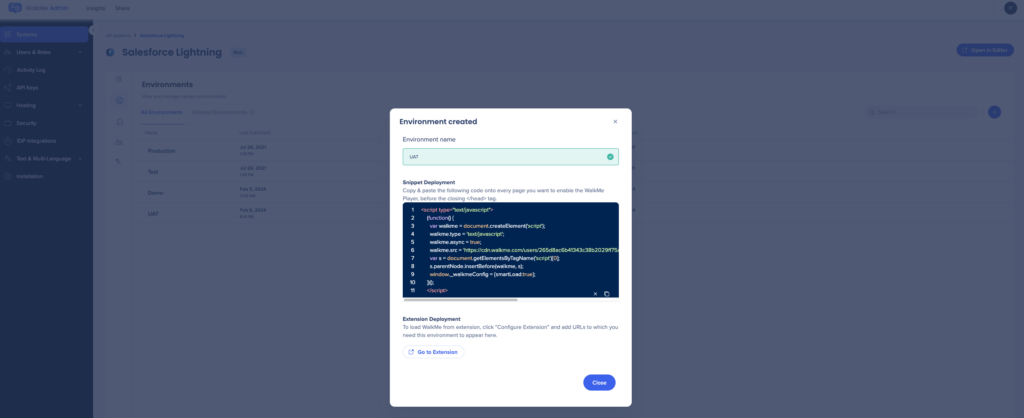
In the Environment tab, you can manage all aspects related to your system environment.
Default "Production" and "Test" environments are automatically generated during system creation. These two environments are immutable, meaning they cannot be altered (renamed or deleted).
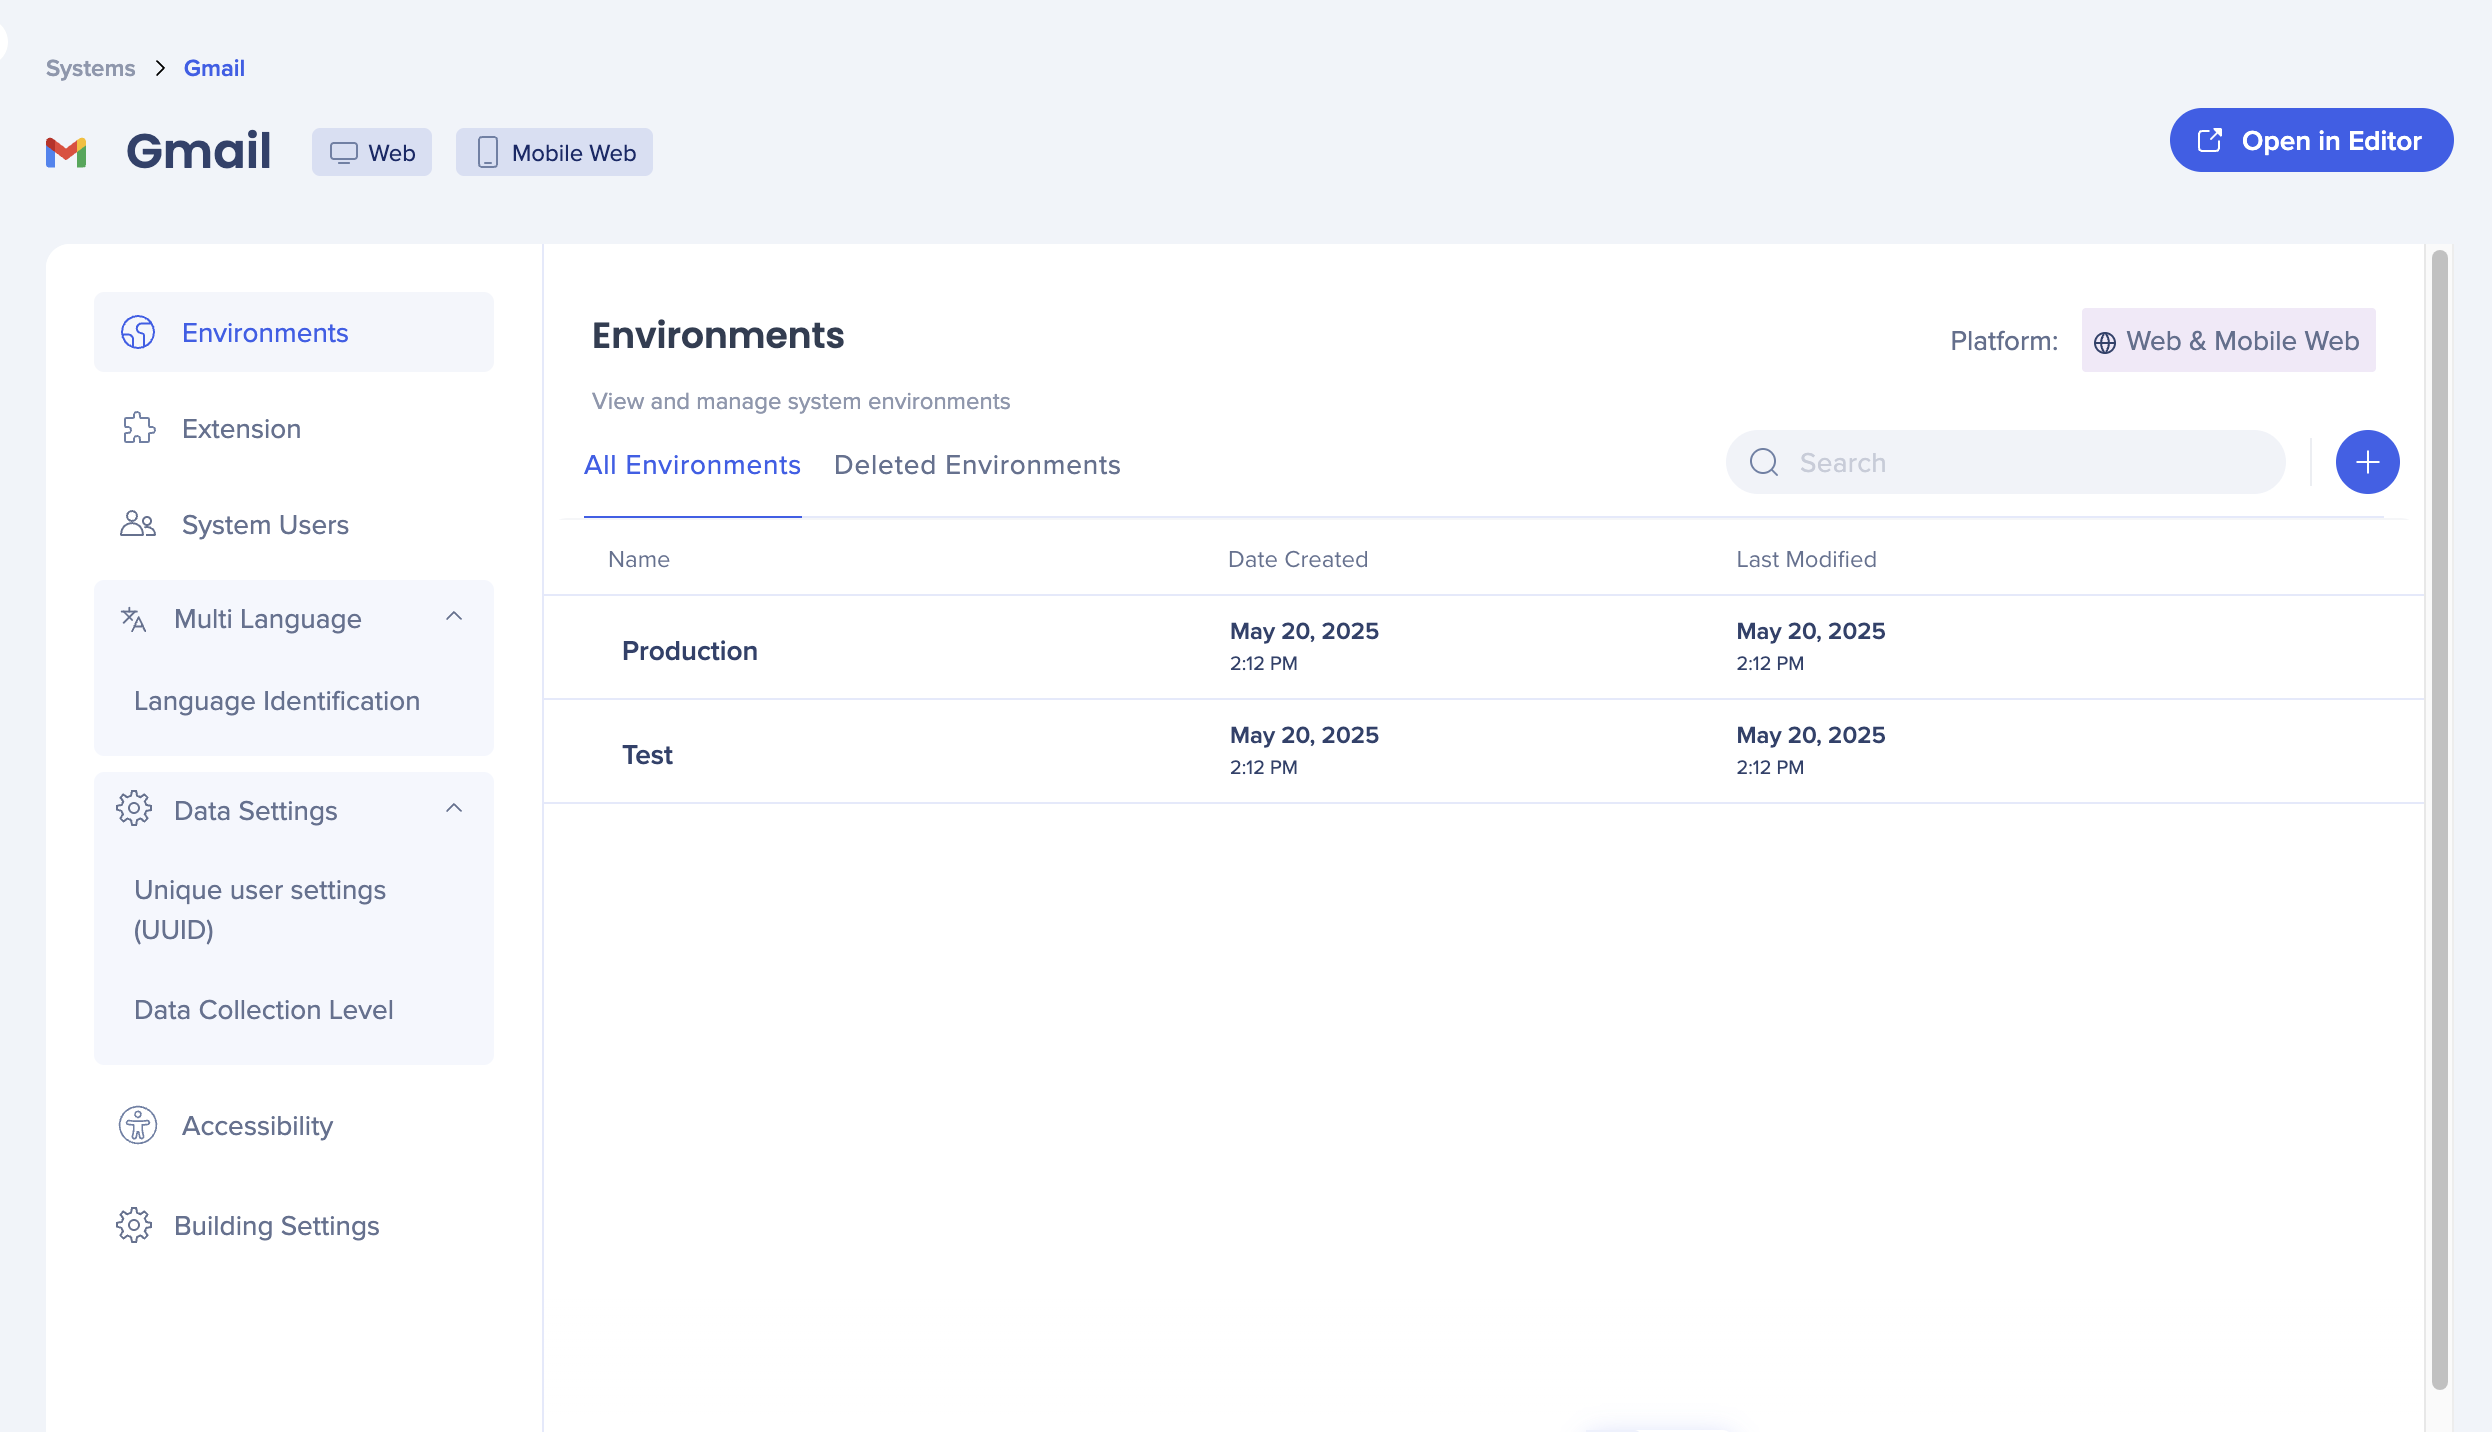
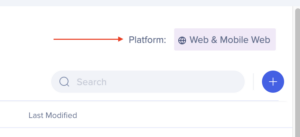
All environment management settings apply to both Web and Mobile Web platforms.
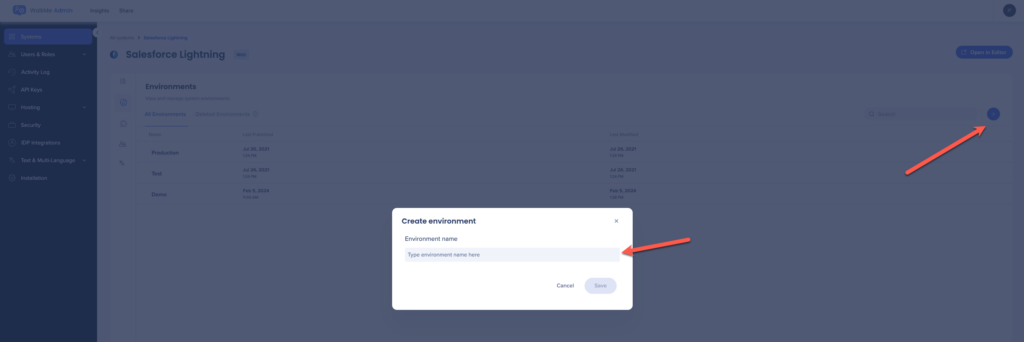
Click the blue + to create a custom environment
System Users
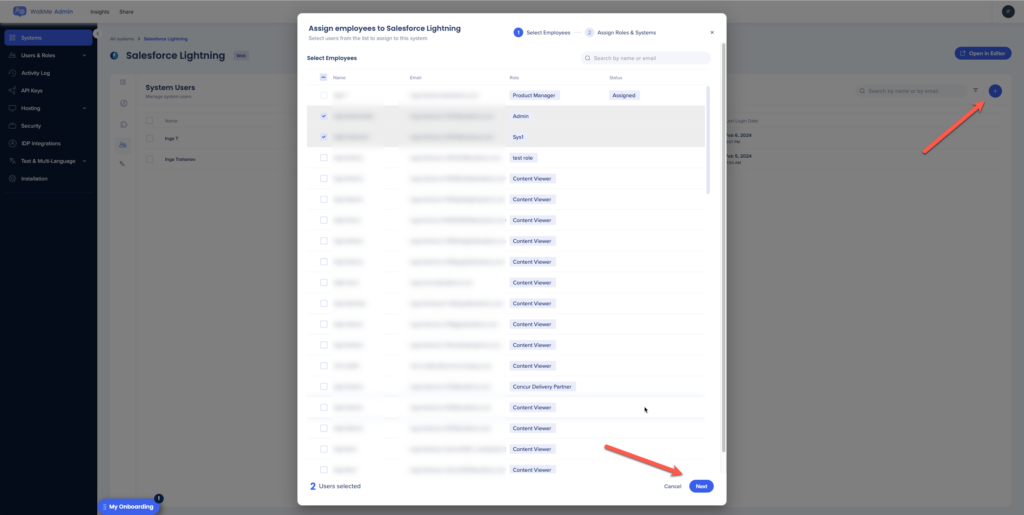
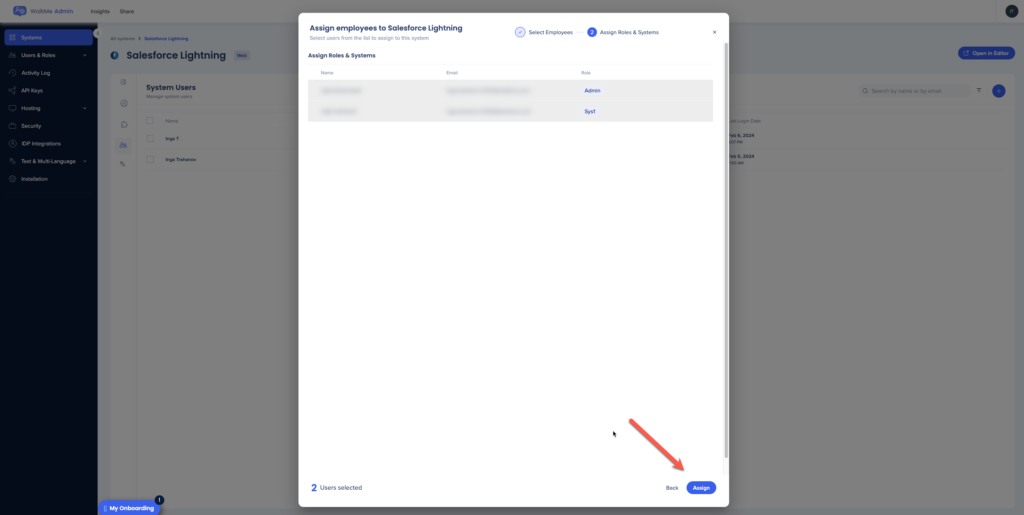
This tab displays a list of all users assigned to work on the system.
- Click the + button to remove or add additional users to the system
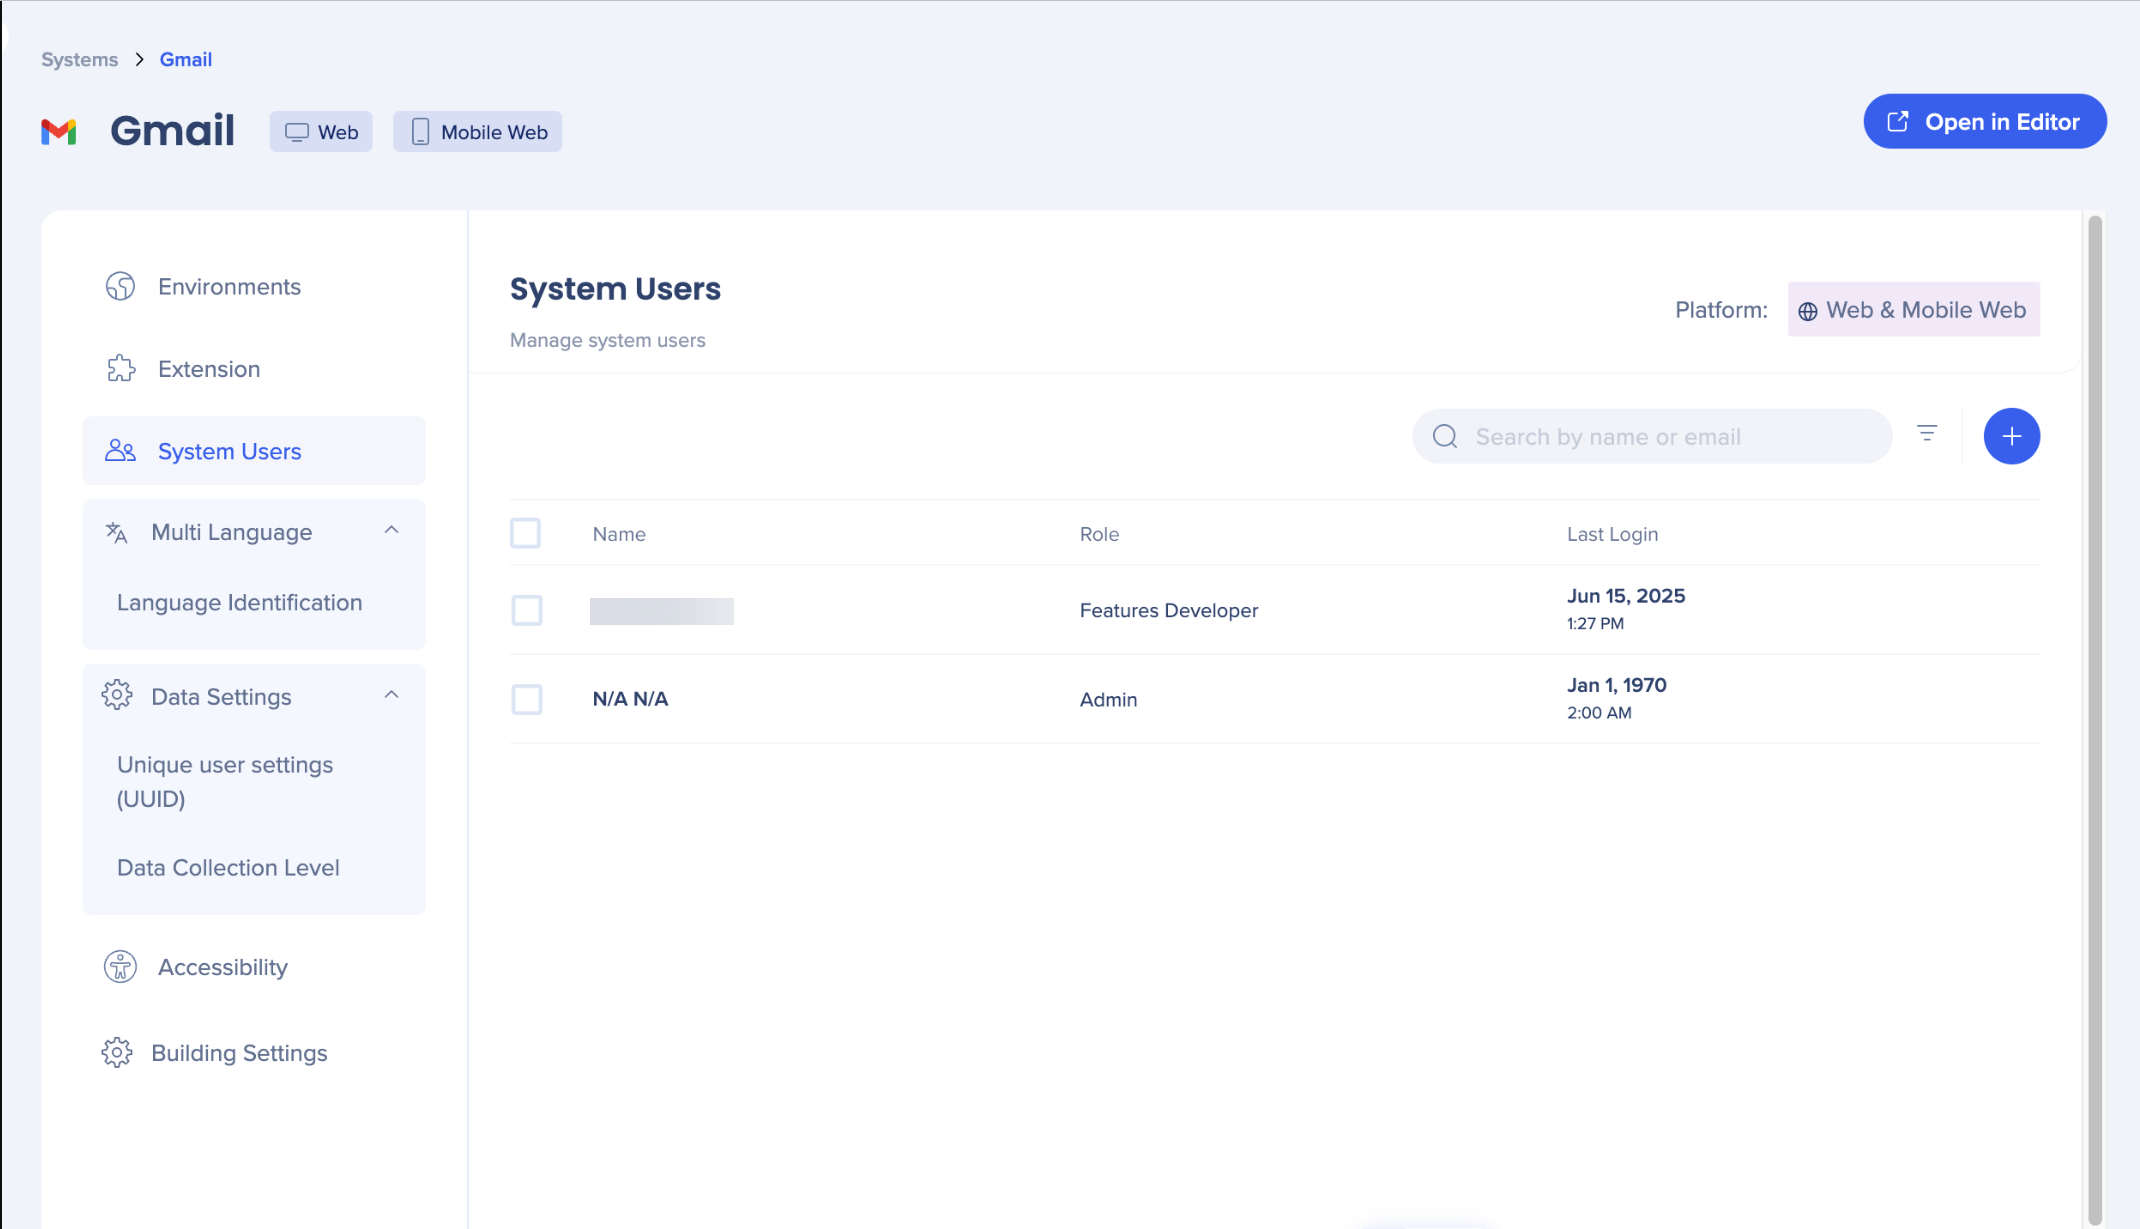
All settings under the Systems Users tab apply to both Web and Mobile Web platforms.

- After selecting the users, click Next
- Click Assign
Multi-Language
In the Multi-Language tab you can select how you want WalkMe to identify the site language.
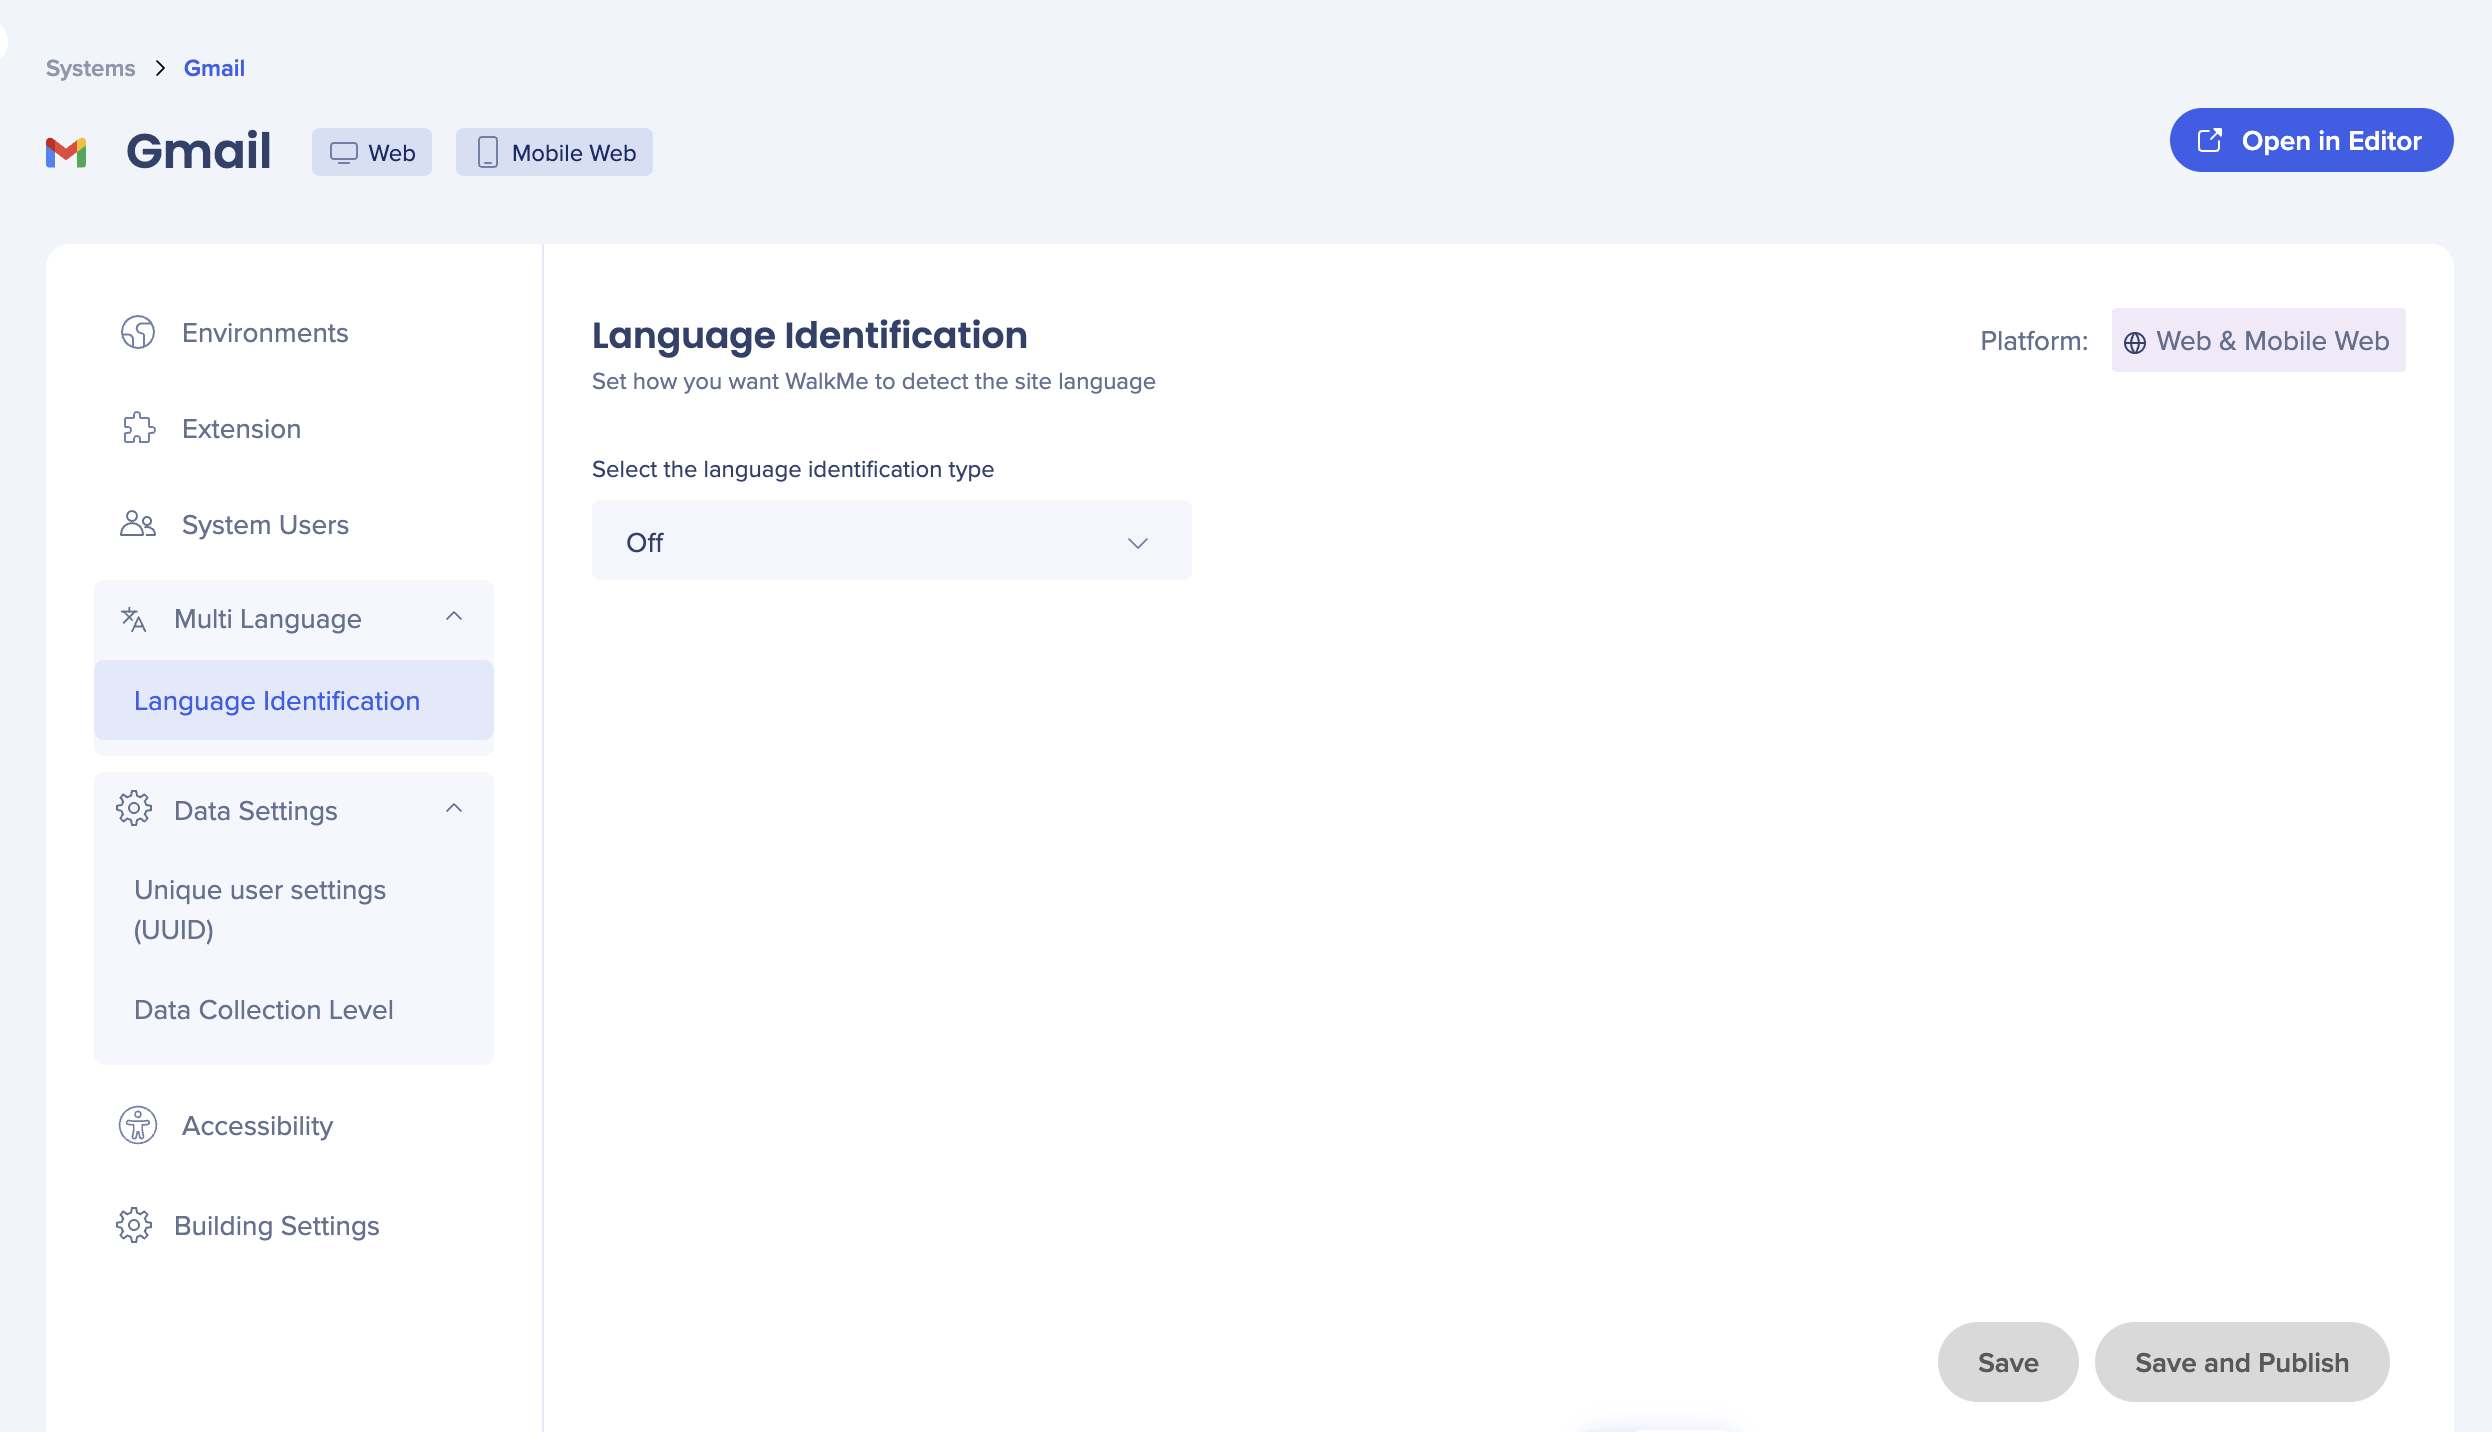
The available options are:
- HTML language attributes
- Auto-detect
- URL parameter
- Site variable
- Local storage
- Cookie
- jQuery
All settings under the Systems Users tab apply to both Web and Mobile Web platforms.

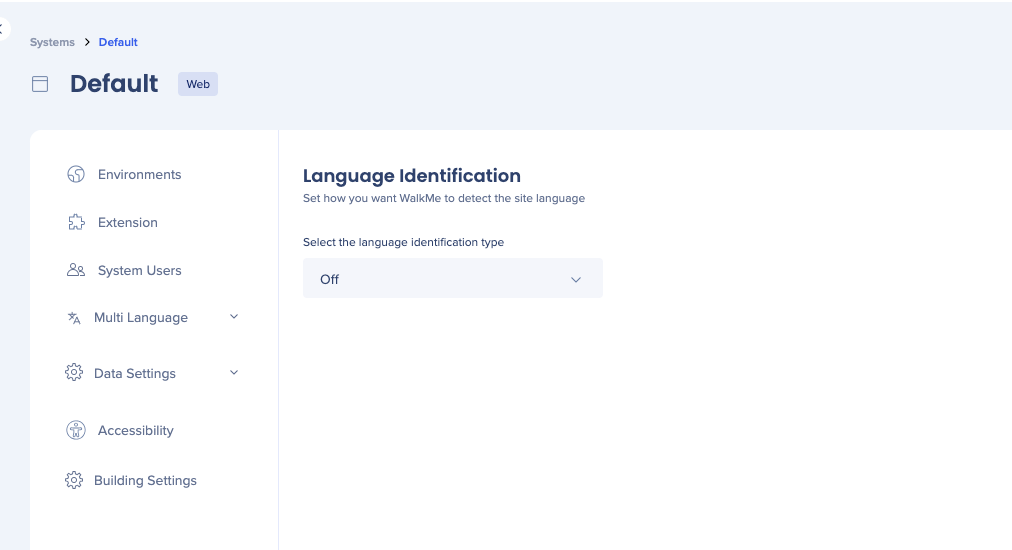
Data Settings
Unique user identifier (UUID)
Set a UUID to define how you would like to collect data about your end users.
- Hovering over each value in the UUID dropdown will show a tooltip
- For accounts with an IDP already configured, this option will be pre-selected
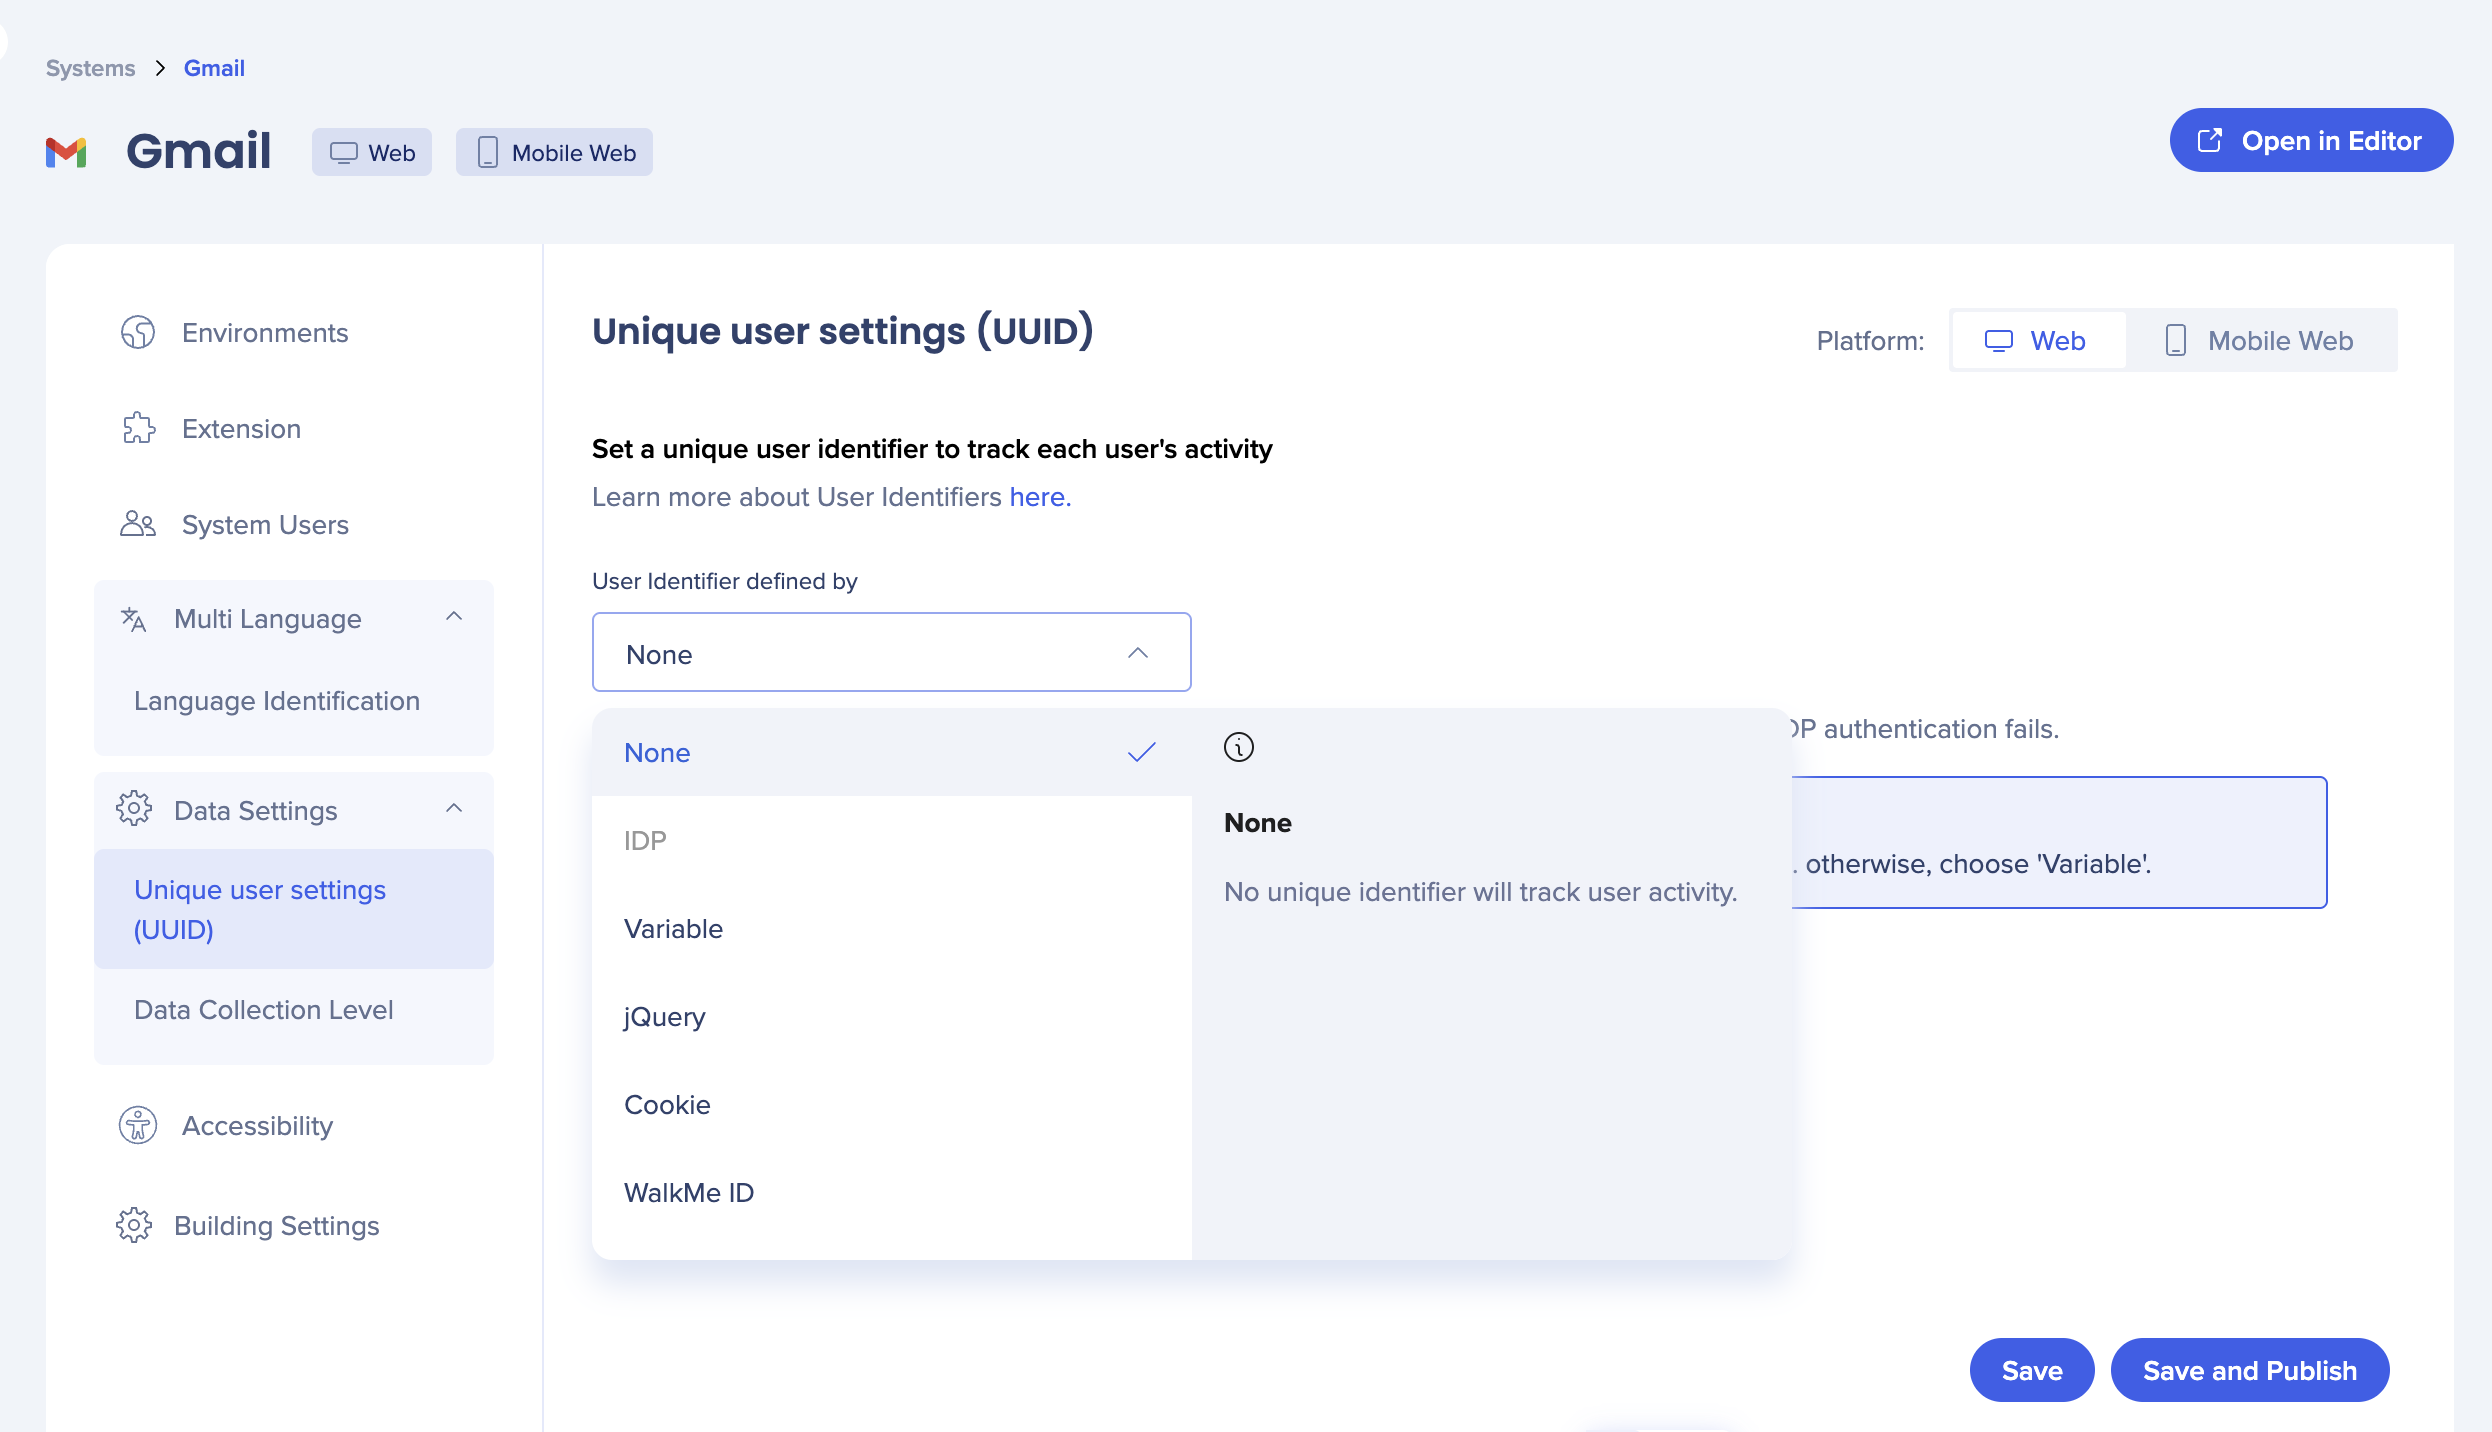
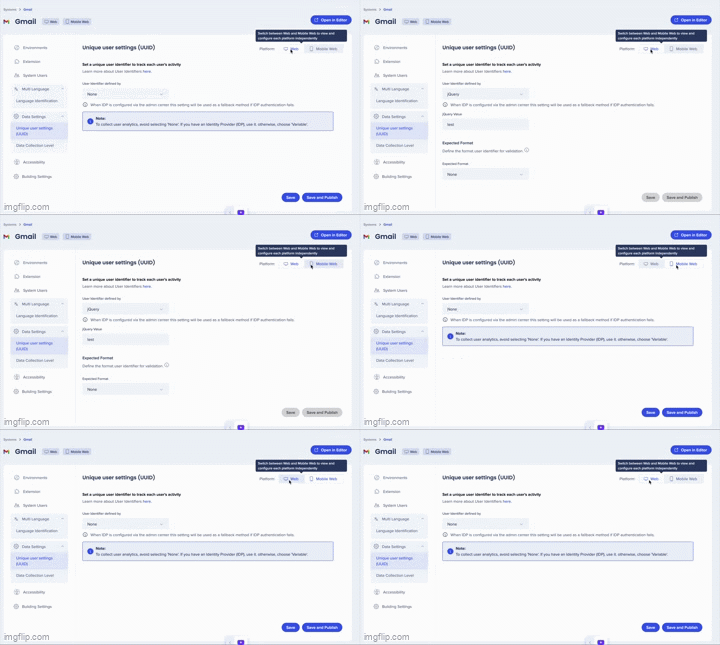
Unique User Settings (UUID) apply separately for Web and Mobile Web platforms.
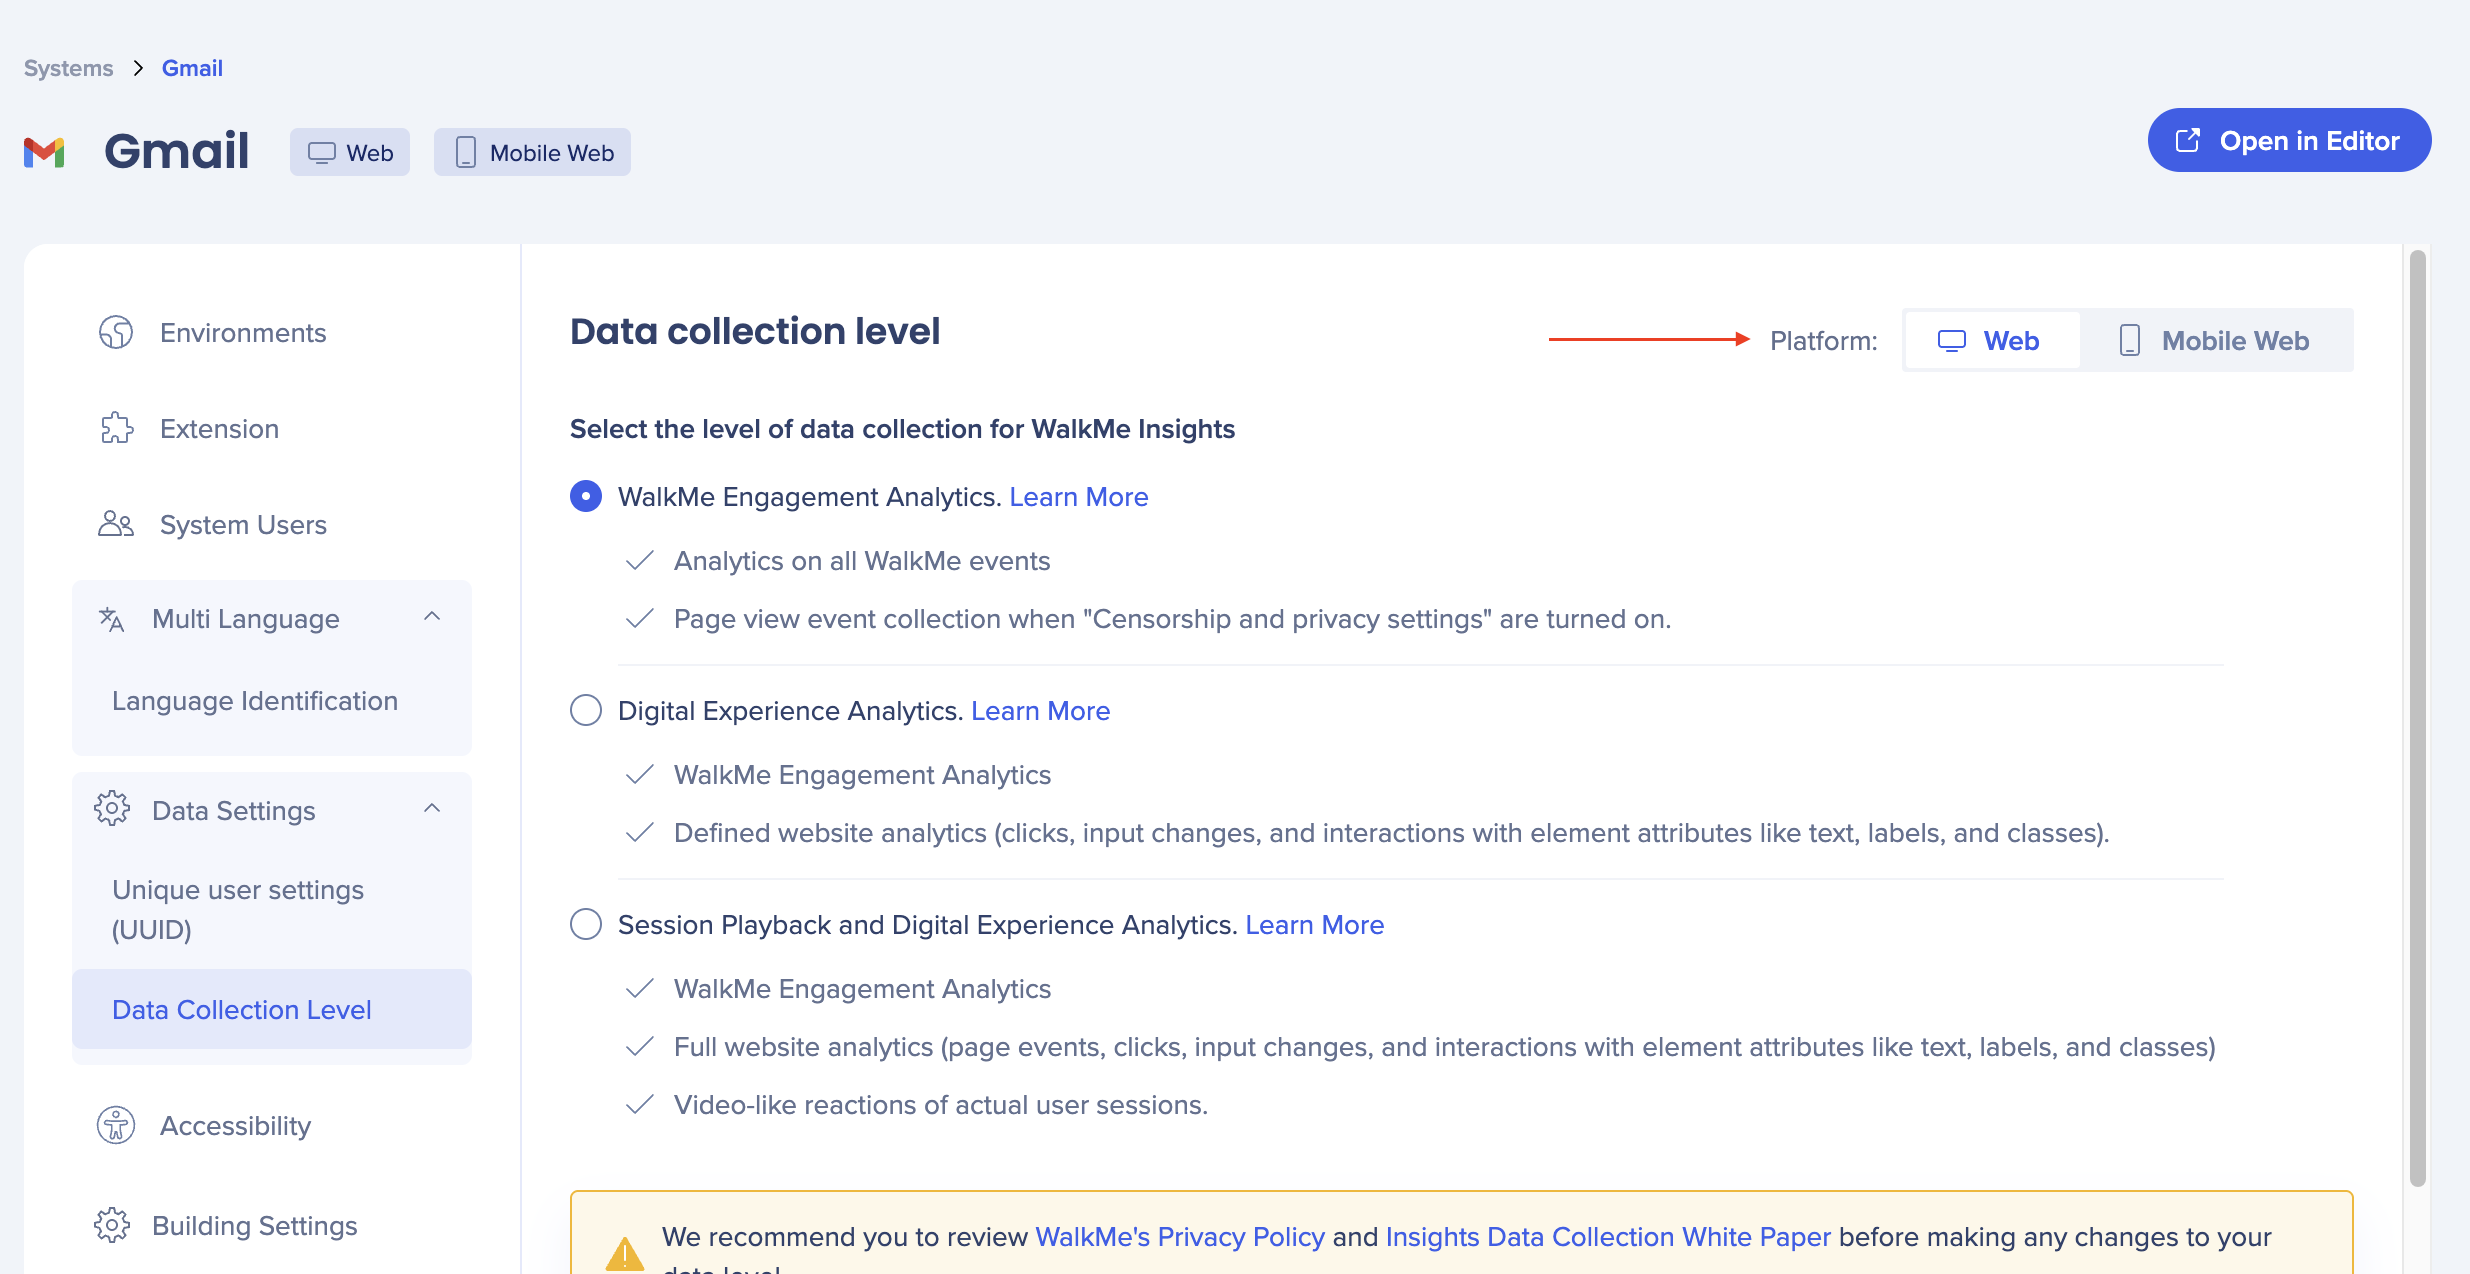
Data Collection Level
Select the level of data collection for WalkMe Insights
Accessibility
You can use the Accessibility tab to enable accessibility on the system or account level. Enabling it on the account level means that any new system created will have accessibility settings turned on by default, but won't affect any existing systems.
-
You can now have the option to enable accessibility on the system or account level
-
To enable the accessibility setting, turn ON the toggle
-
If you wish to enable accessibility for the entire account, meaning any new system created will have accessibility settings turned ON by default (not apply on already existing systems), check the relevant checkbox
-
If accessibility has been enabled at the account level by a WalkMe employee through http://backoffice.walkme.com , the toggle will be turned ON by default
-
There will be no option to turn it OFF independently; contact support if you want accessibility to be disabled
-
Accessibility settings apply separately for Web and Mobile Web platforms.

Building Settings
Building settings let you enable screenshot settings and theming for your system.
- Turn on Enable screenshot capturing to take a screenshot when an element is captured for a step, rule, SmartTip, or launcher
- The screenshot will include the element highlighted by the element selector
- Select Blur the screenshots if you want the screenshots to be blurred
- Turn on Theming enablement to enable Theming for the system

- "Production" and "Test" environments are automatically generated during system creation
- These two environments are immutable, meaning they cannot be altered (renamed or deleted)
- The name assigned to the environment must be a single word with a maximum length of 100 characters, without spaces or special characters, and cannot be "Preview"

