Welcome to the
WalkMe Help Center
Please log in to continue

Please log in to continue

The WalkMe Menu Organizer is your workshop for building and managing your WalkMe Menu. The menu organizer displays all of the resources, onboarding tasks, and Smart Walk-Thrus that are in your editor.
With the Menu Organizer, you are able to:
You can access the menu organizer from the Menu app in the WalkMe Console or from the Apps shortcut in the WalkMe Editor.
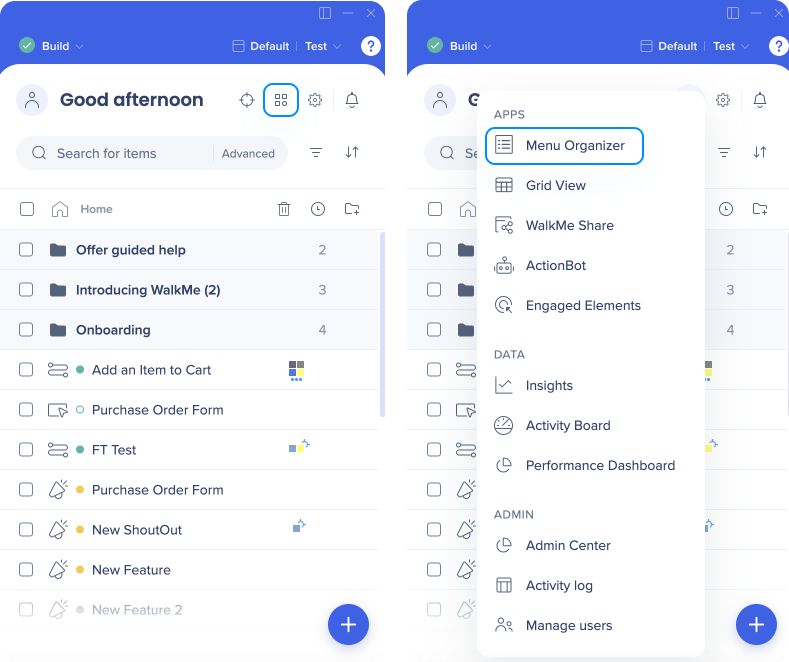
The menu organizer is made up of two parts:
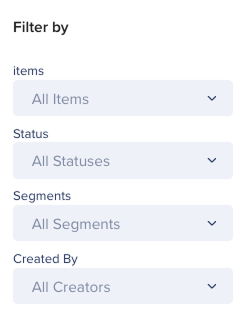
You will see the Items List in the left side panel. This displays all the WalkMe content that was created in the editor and can be added to the menu using drag and drop capability.

The left side panel includes:

The right side panel shows content that has been added to your menu. These will be displayed to your menu users.
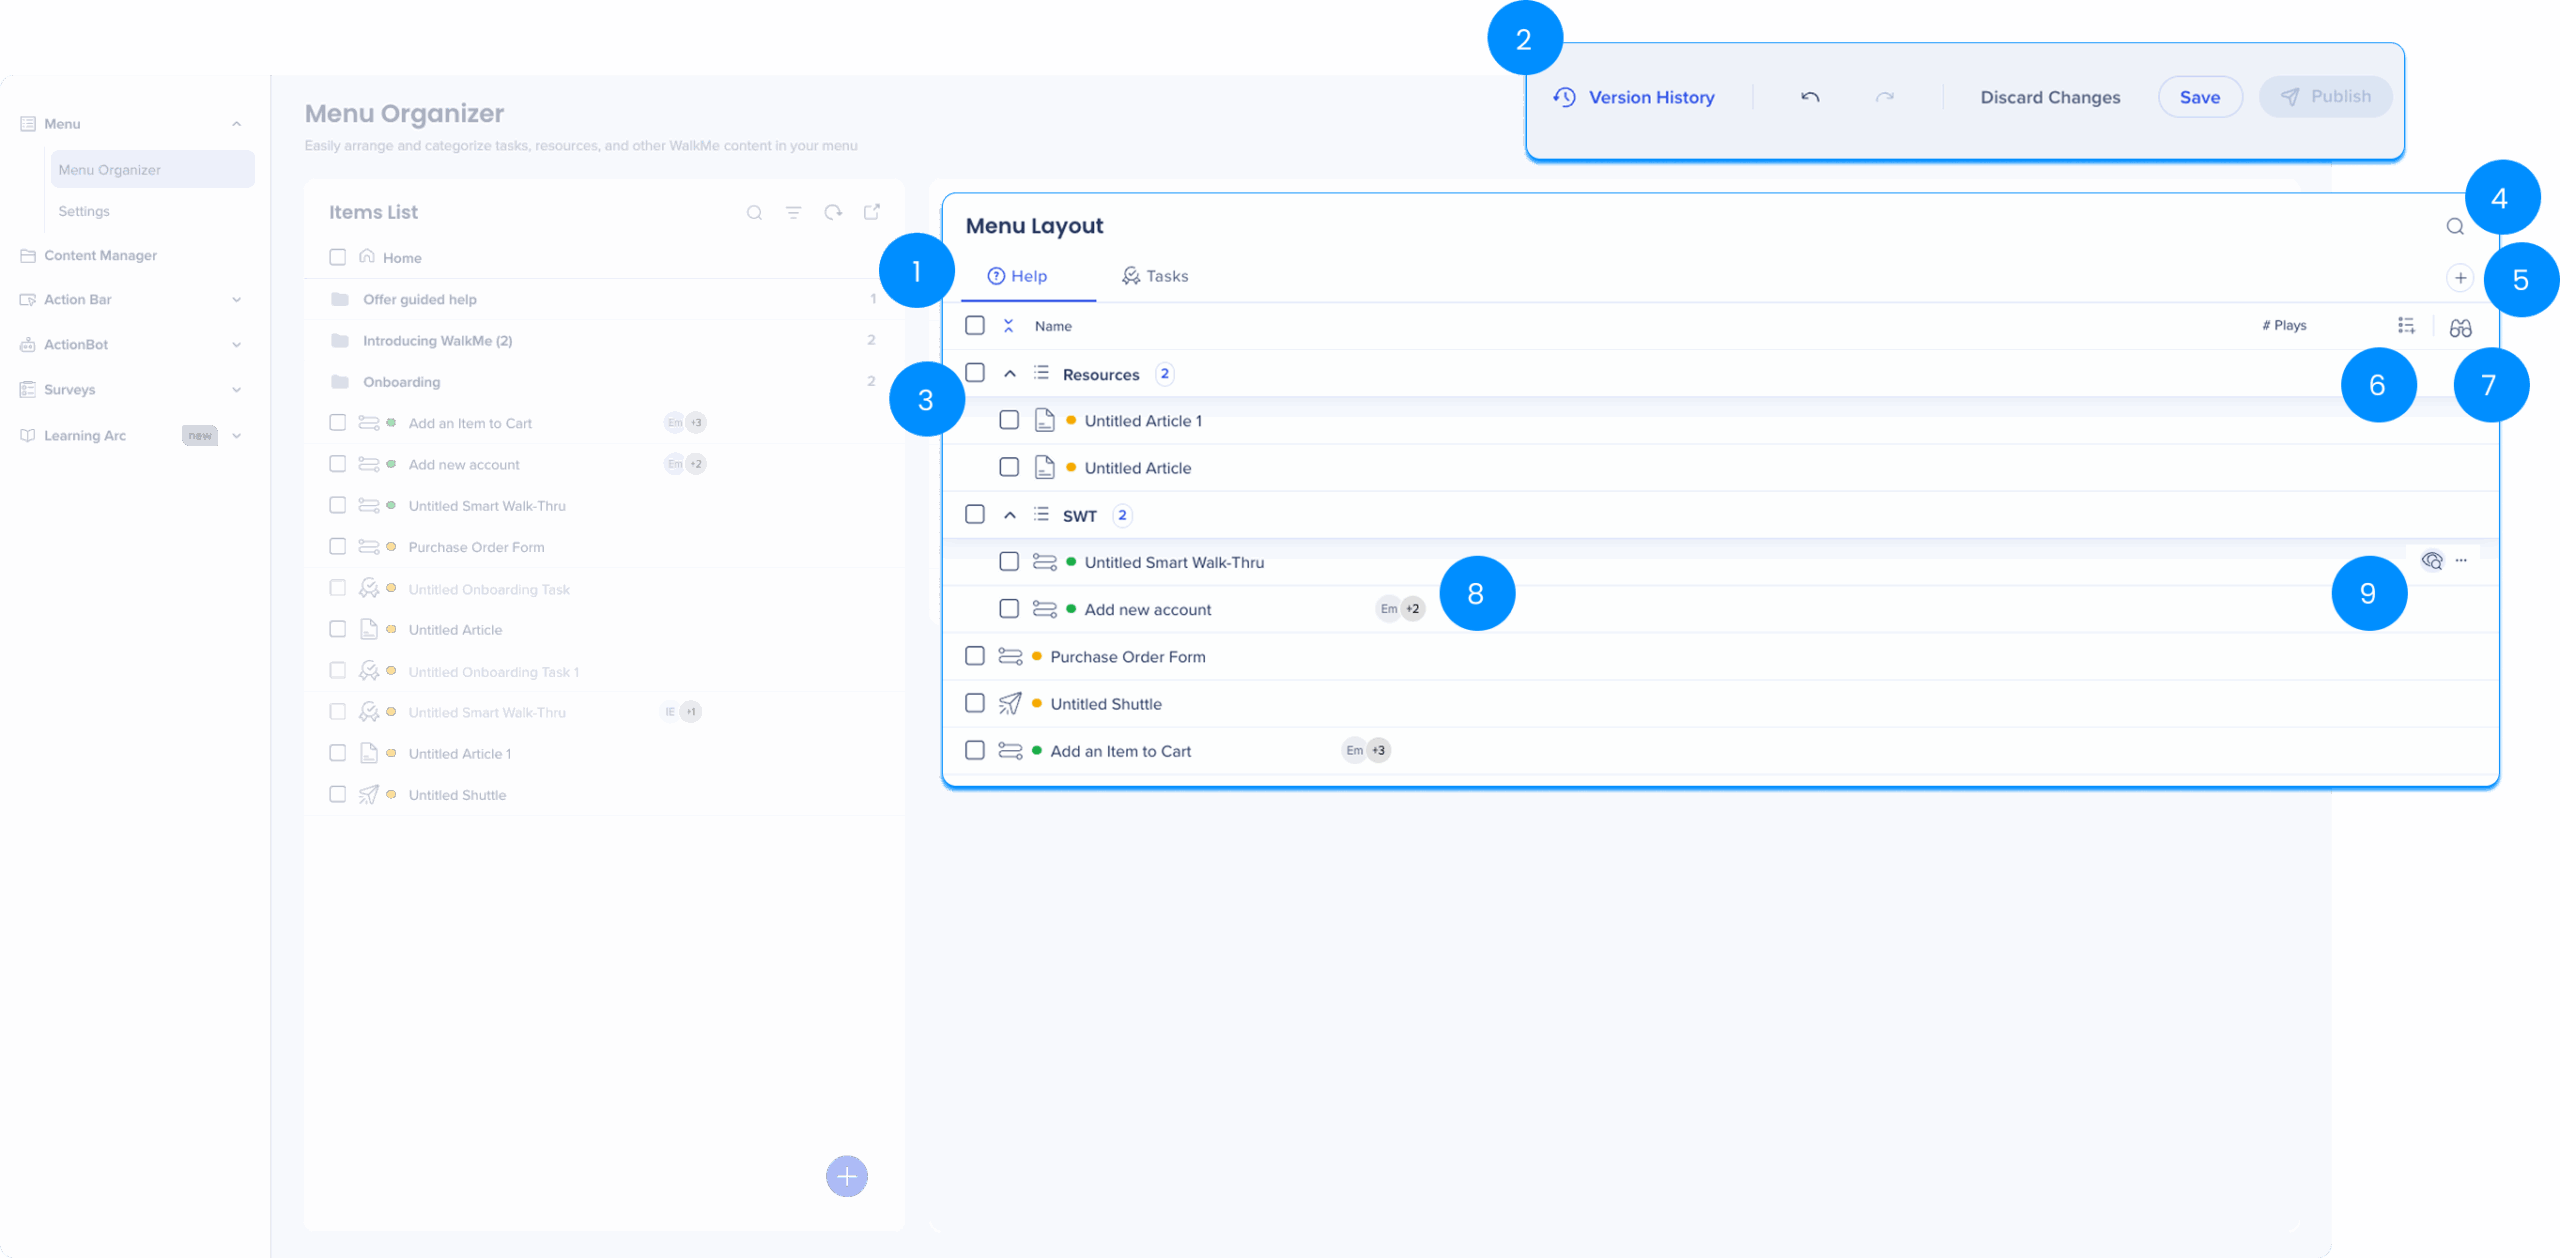
The right side panel includes:
In the right panel you will also find the View by segment dropdown to filter and see how a specific segment or a number of segments will view the menu
The Menu will save the segmentation for the next time you access it. Meaning, the last filter you applied will appear on your next session.
Segmentation filters will clear should you clear your cache.

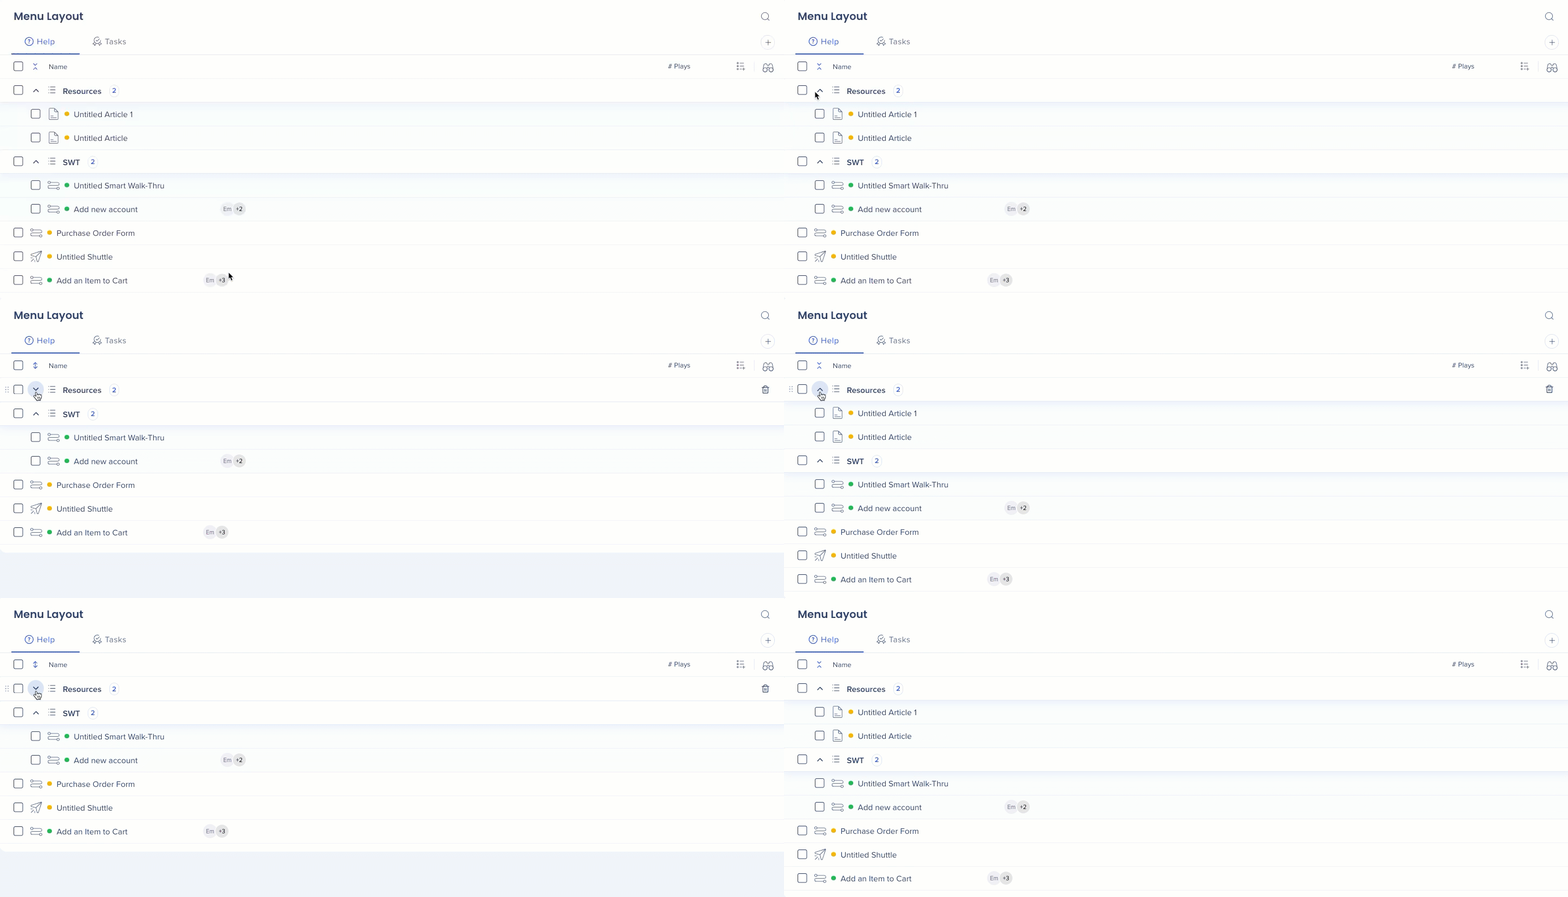
You can use the arrows to expand/collapse all menu categories in one click
To create a new tab:
Click on the Create new icon
Select the type—Help or Task
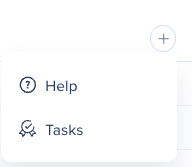
You can also create a new tab by duplicating an existing tab:
Click on the Options menu at the right side of the tab you'd like to duplicate
Select Duplicate
An identical tab will be created with all it's content and categories
The automatic name will be “copy of {source tab name}”
For example, if you copied a tab called “Help”, the duplicated tab name will be “copy of Help”
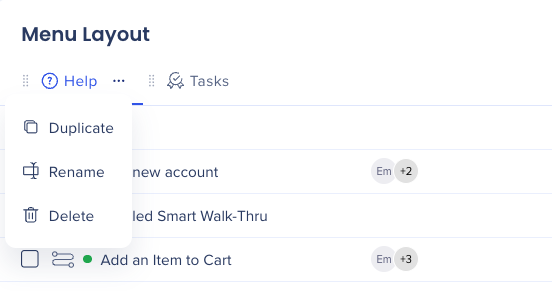
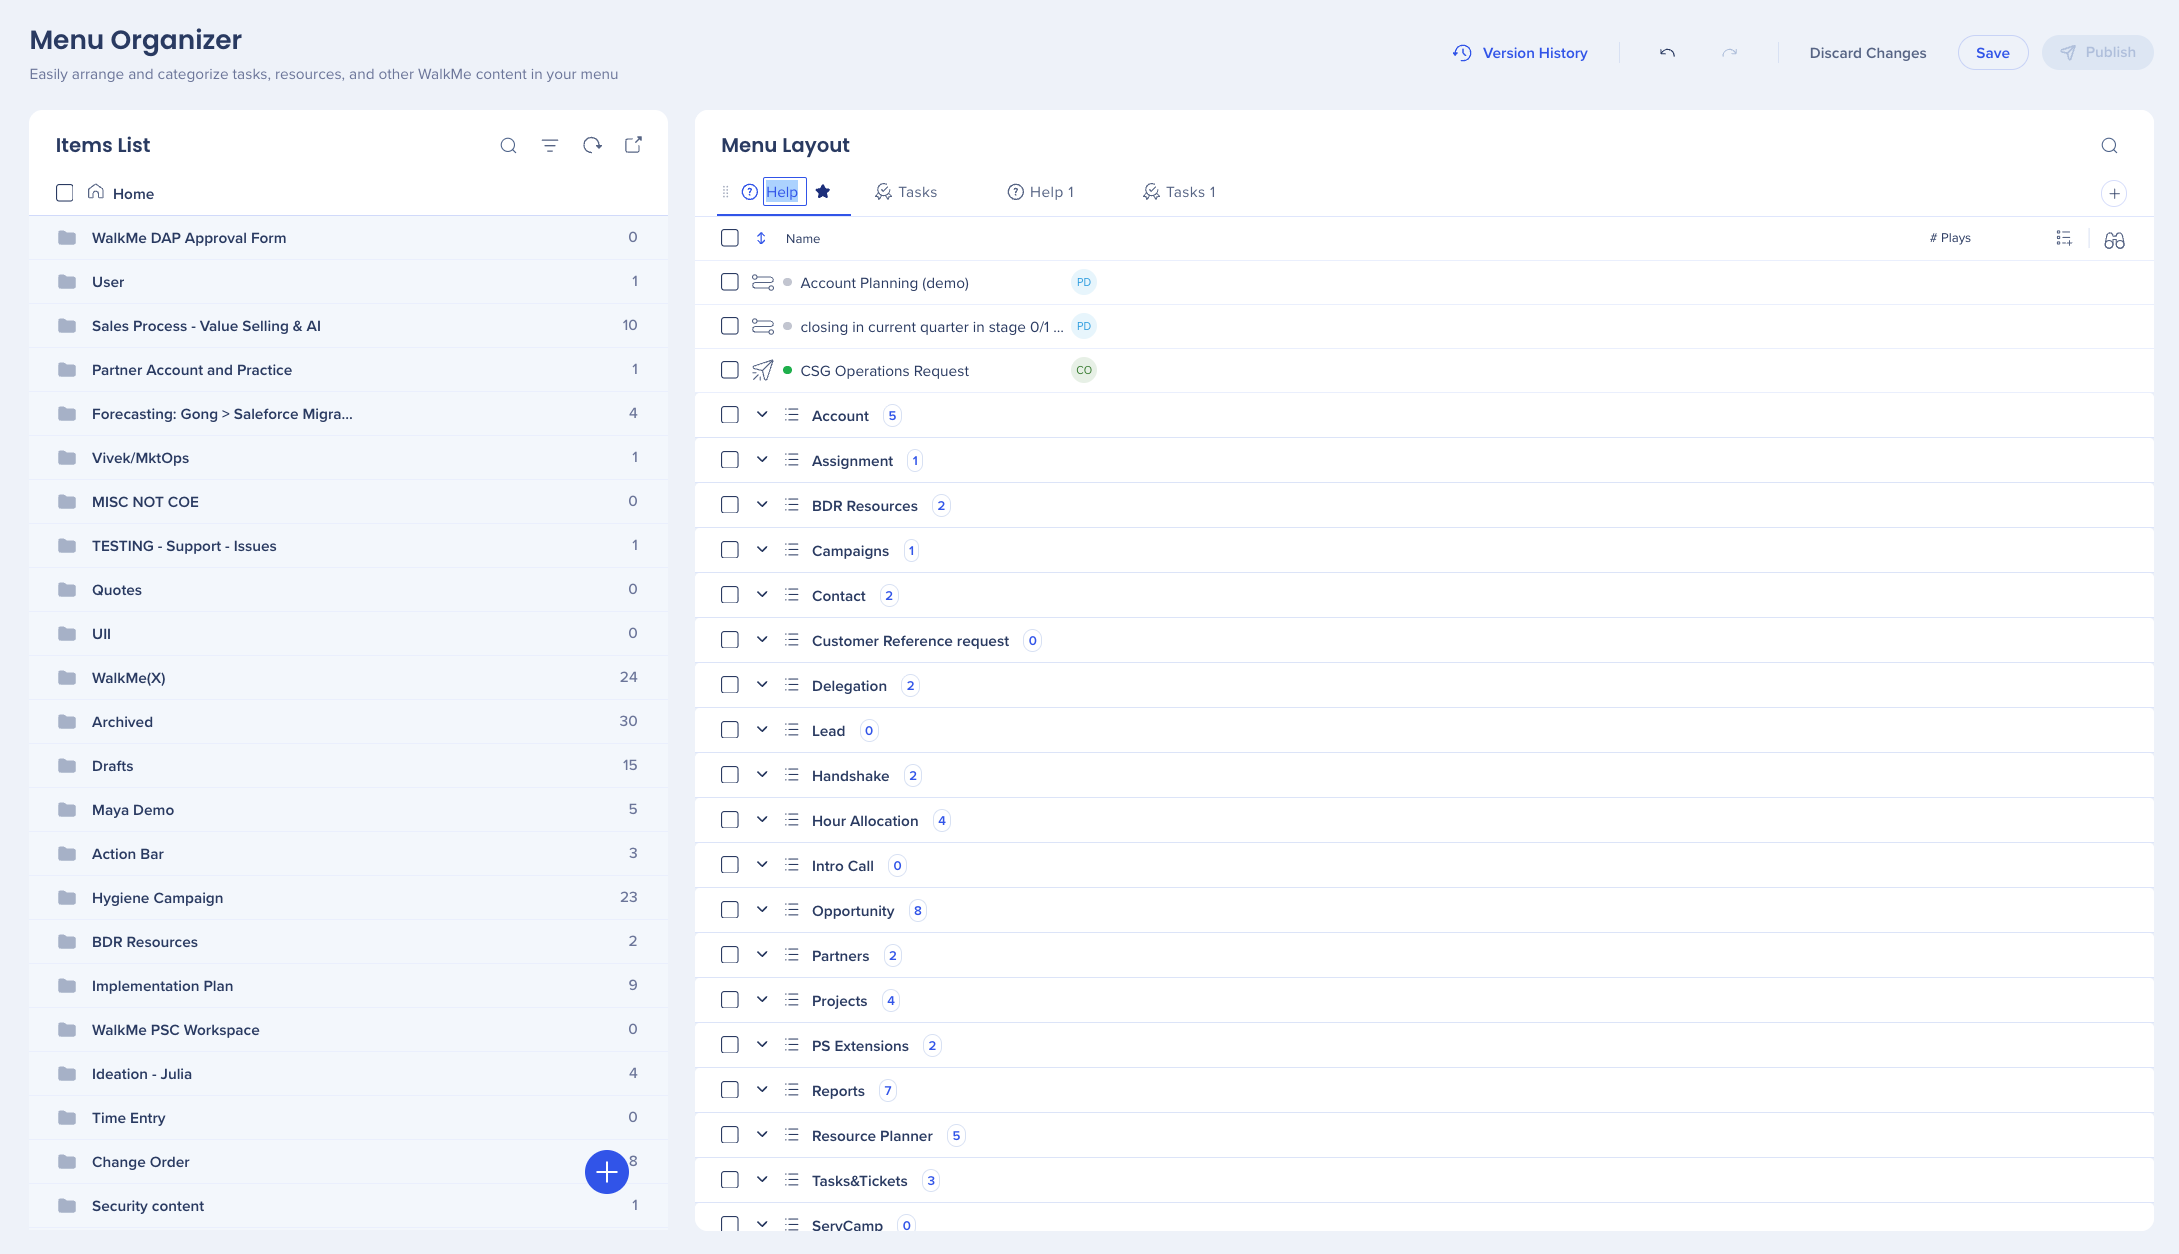
To rename a tab:
Click twice on the current tab's name
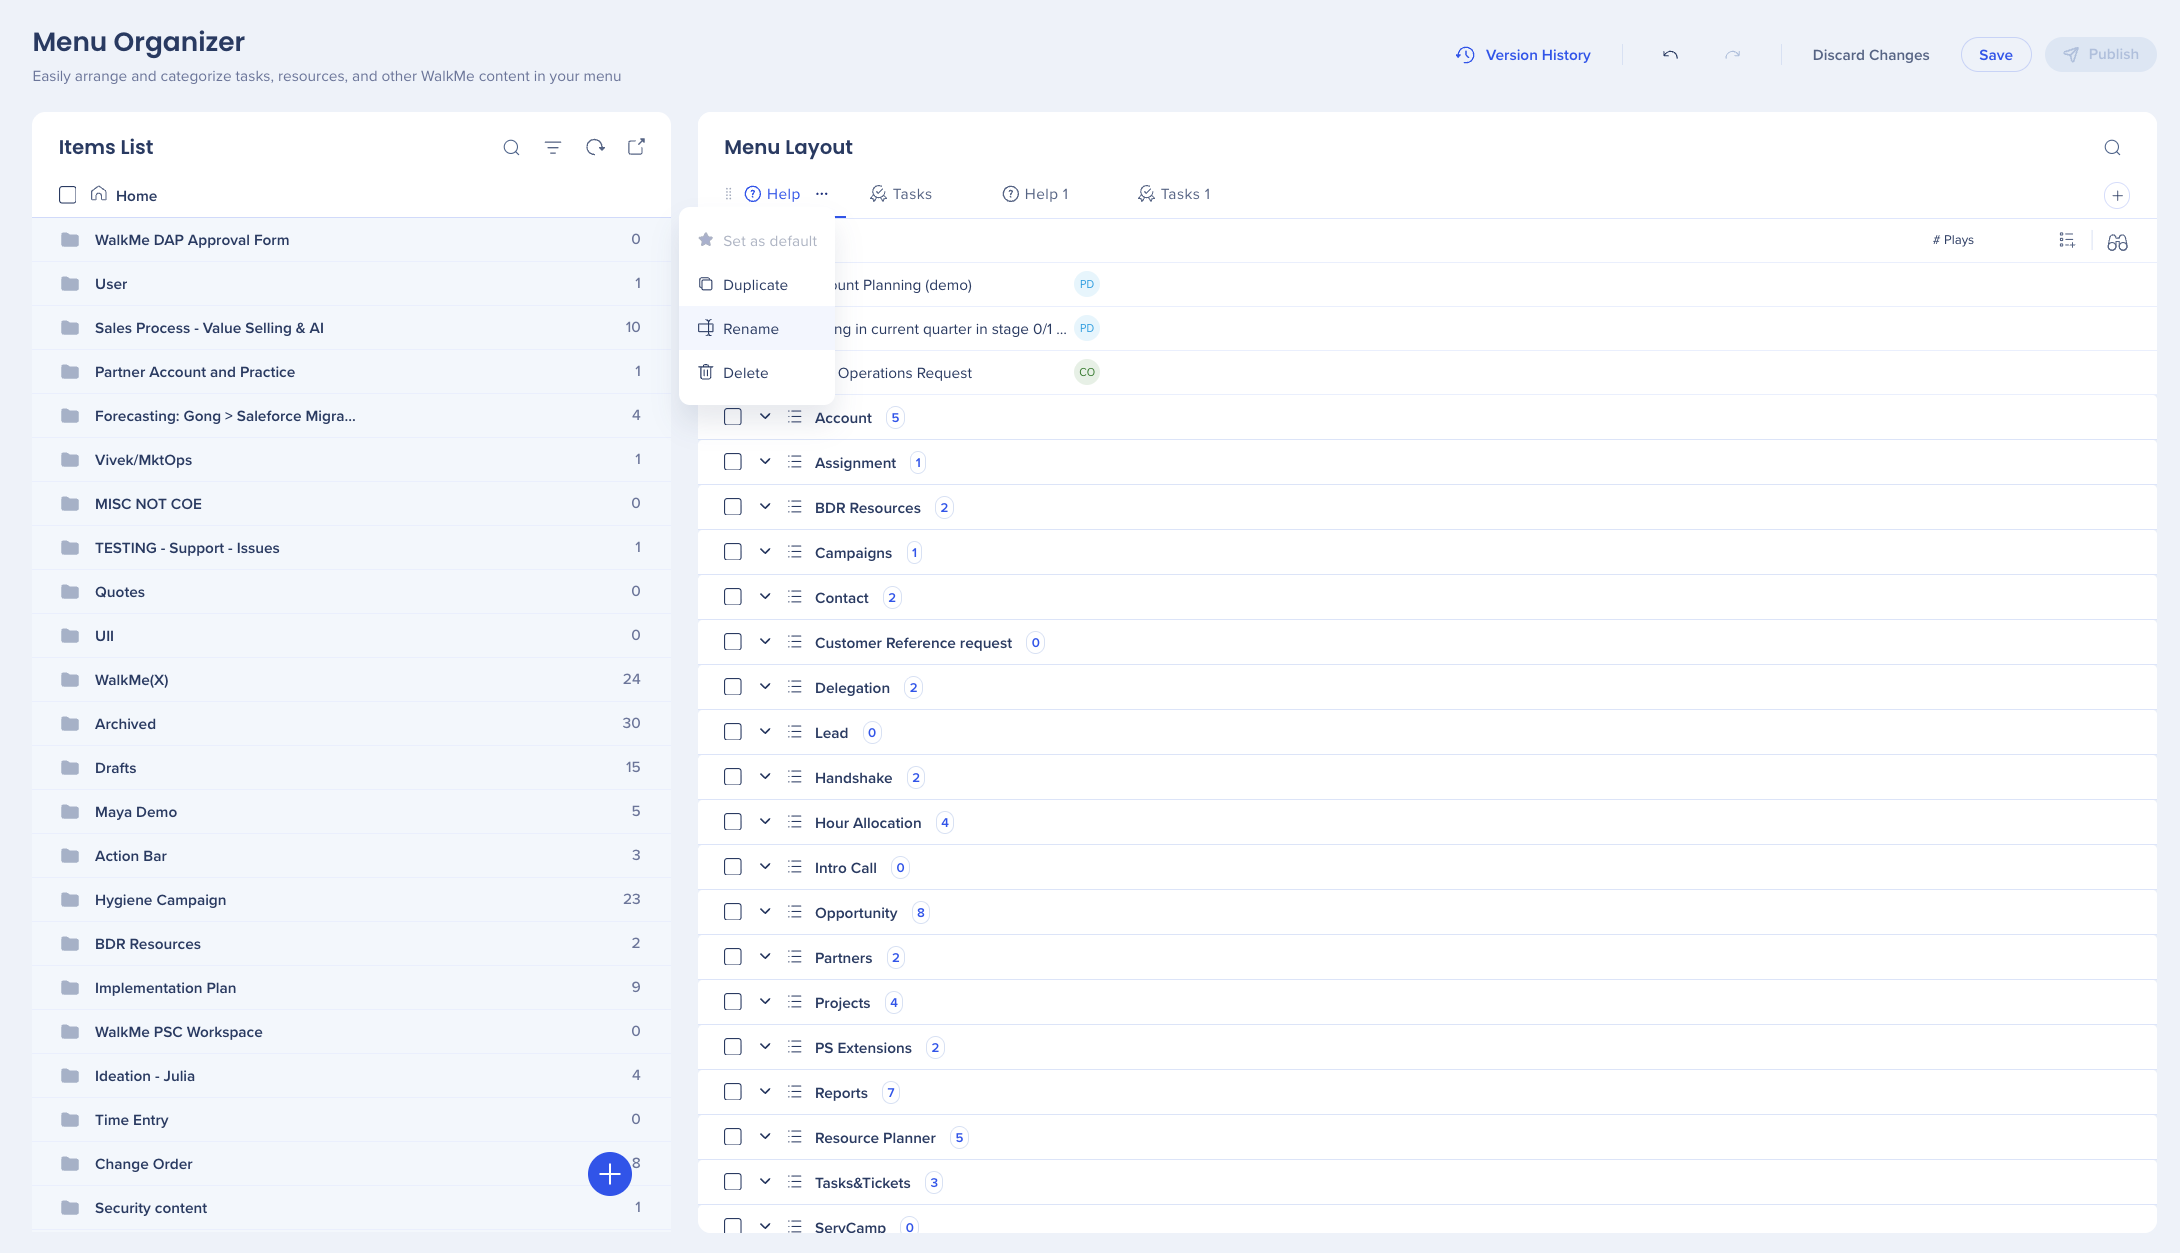
or, in the Pro menu also:
Click on the Options menu
Select Rename
To reorder your tabs:
Hover over the selected tab
Click on the 6 dots—the cursor will change to hand
Holding it will allow you to drag and drop the tab to the right place
Failing to reorder will re-instate the tab in it's original place

You can set a tab as default while keeping it in the same location. The end user will see the default tab as active tab by default in their menu. To set a tab as default:
Hover over the tab
Click on the Options menu
Select Set as default
This action will:
Add a “star” icon next to the tab

To delete a tab:
Hover over the tab
Click on the Options menu
Select Delete
A confirmation modal will show—confirm you want to delete the tab
Menu supports up to 3 levels of category layer: Category → Sub-category → Sub-sub-category.
To add a sub-category:
Click on the Options menu icon on the category level
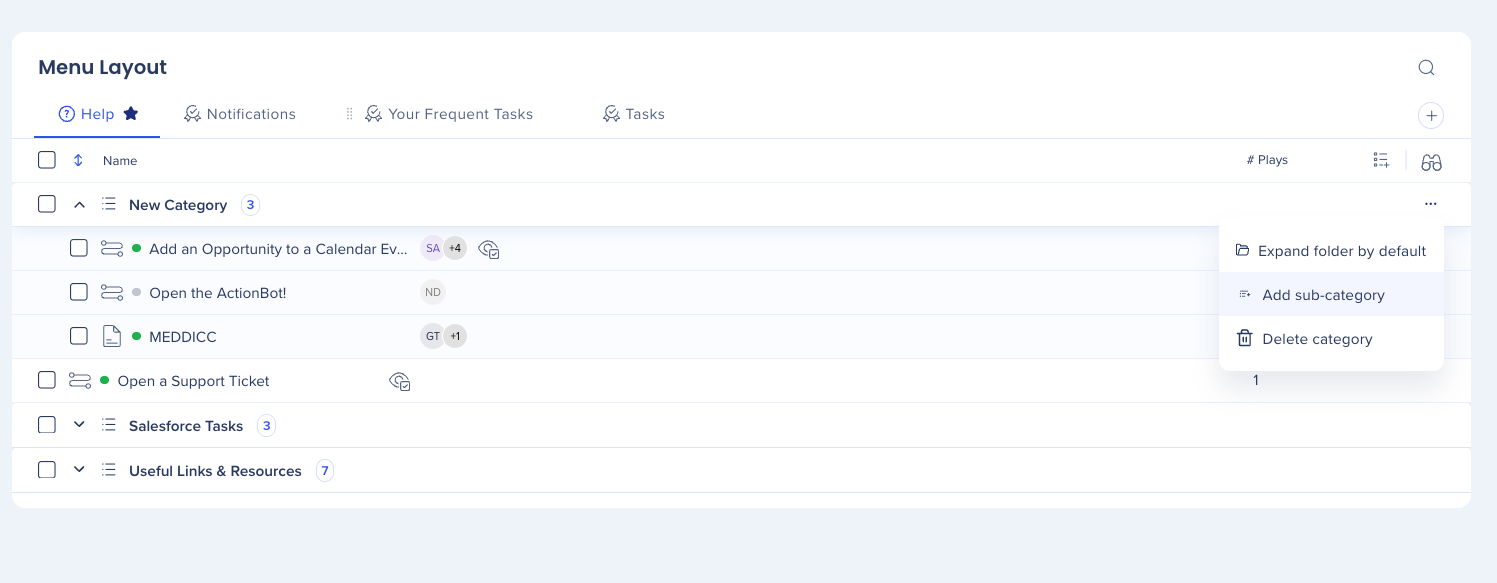
To add items into a sub-category:
Hover over the item
Click on the 6 dots—the cursor will change to hand
Holding it will allow you to drag and drop the tab to the right place
You can hide an item from the menu if you don't want your users to see it. It will still be available via search.
To hide an item:
Click on the eye icon—the eye will close to indicate the item isn't shown in the menu
Click on the eye icon again to bring it back

To rename a category, click on the name field
Type in the new name
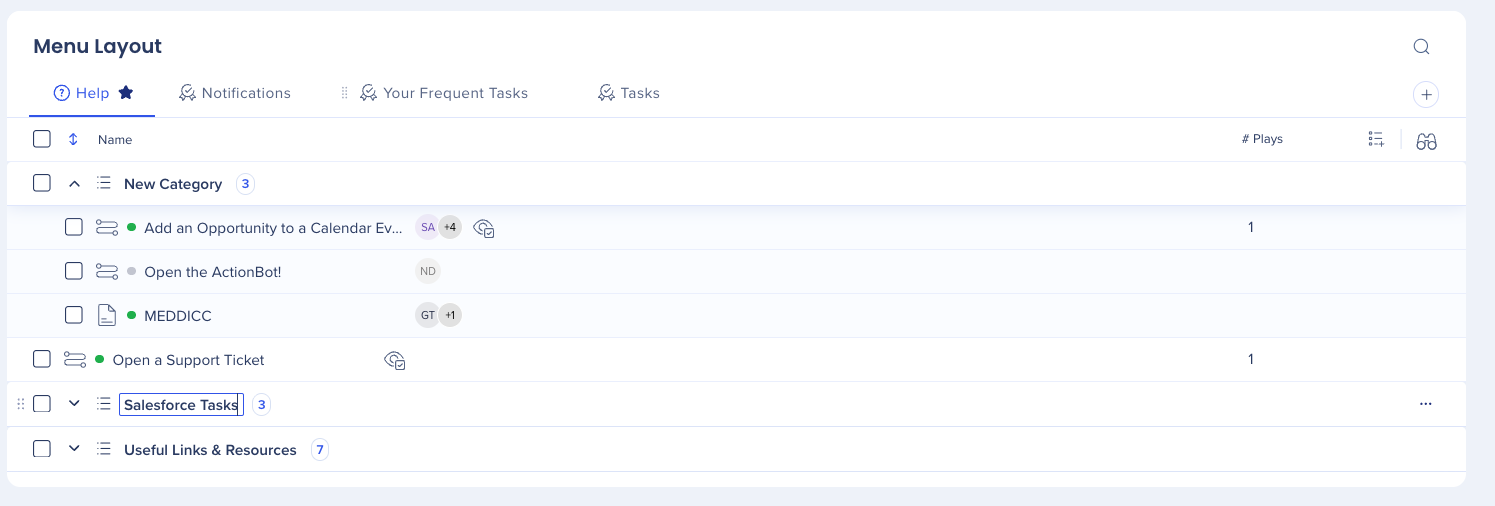
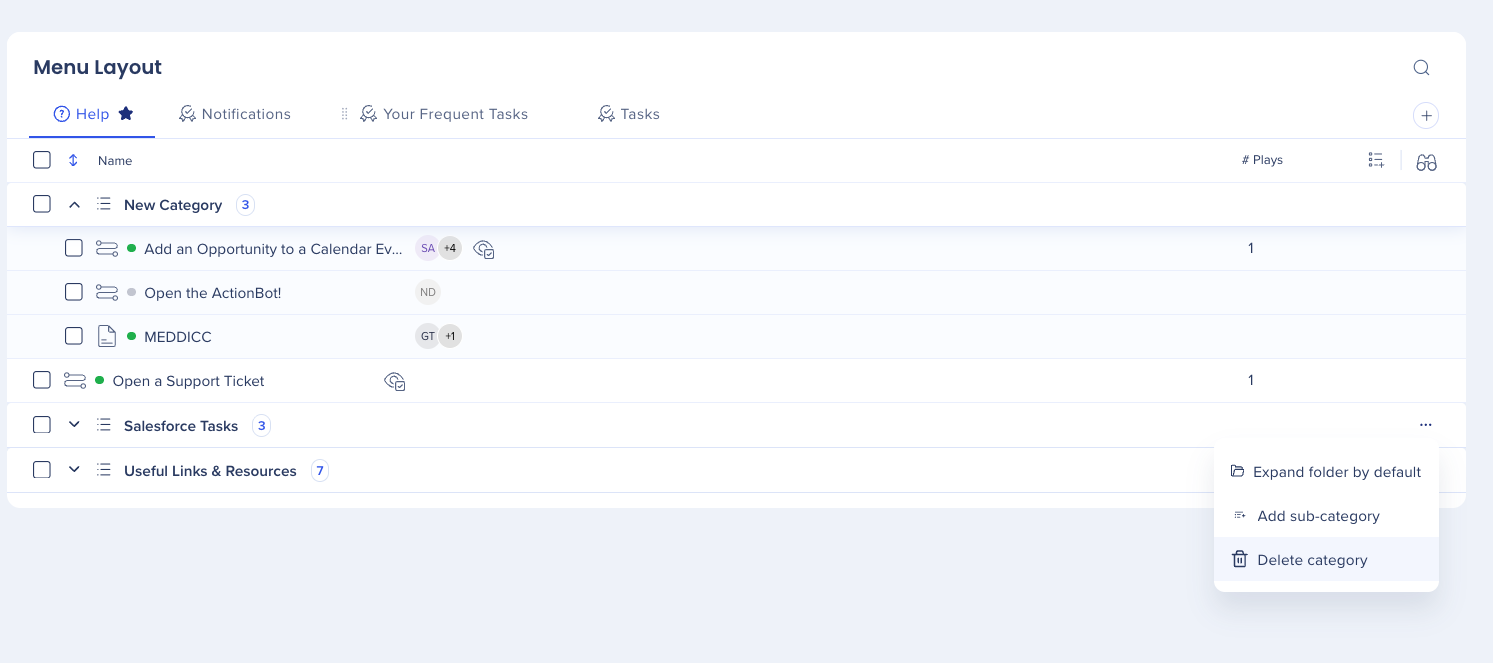
To delete a category:
To remove an item from your menu, click on the Remove icon
You'll be able to add this item again from your items list
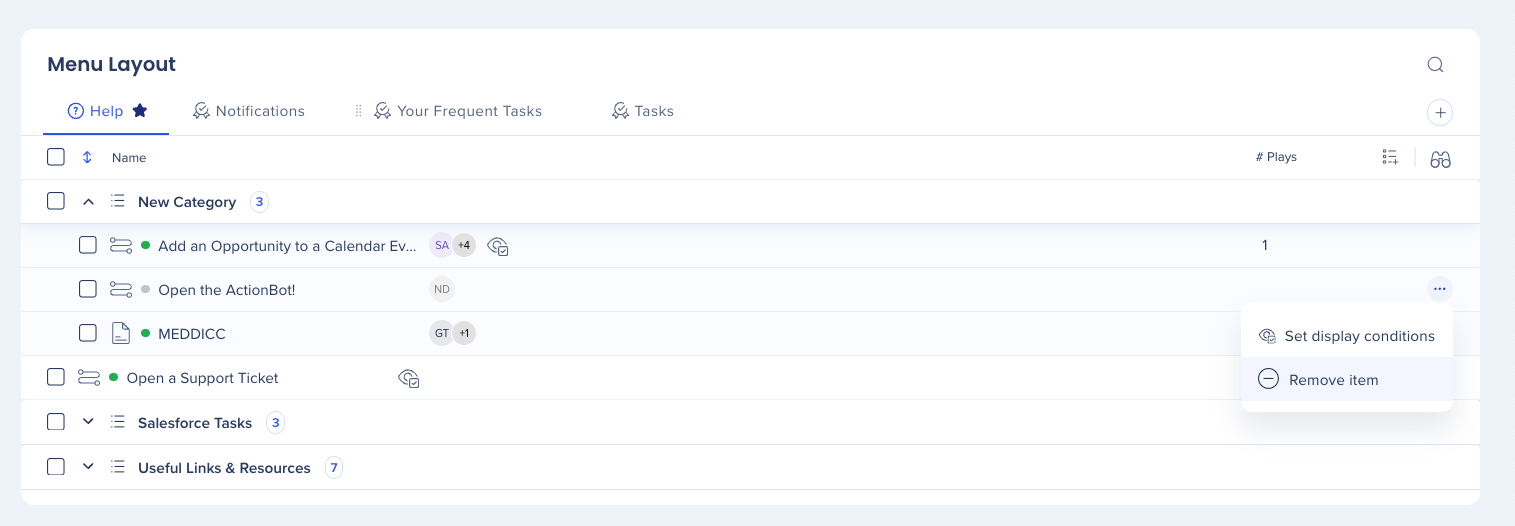
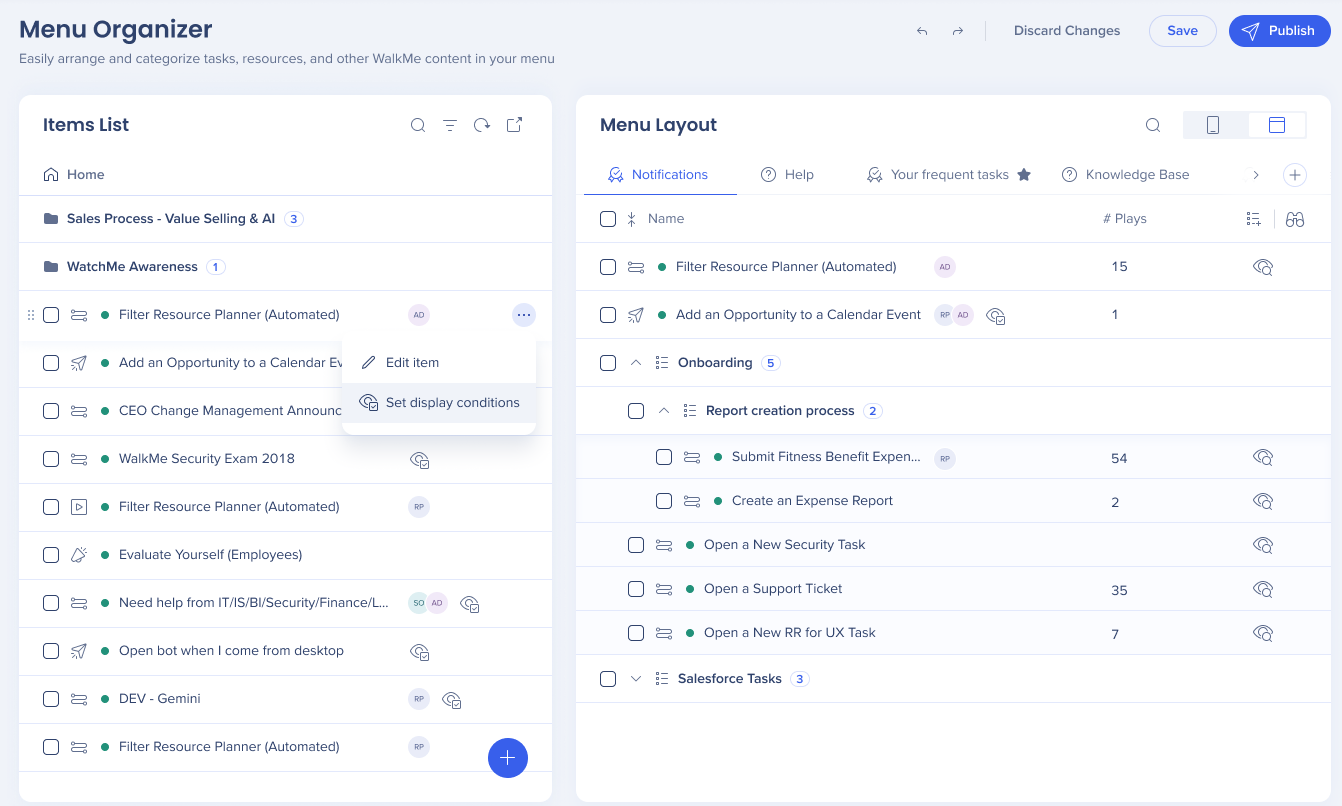
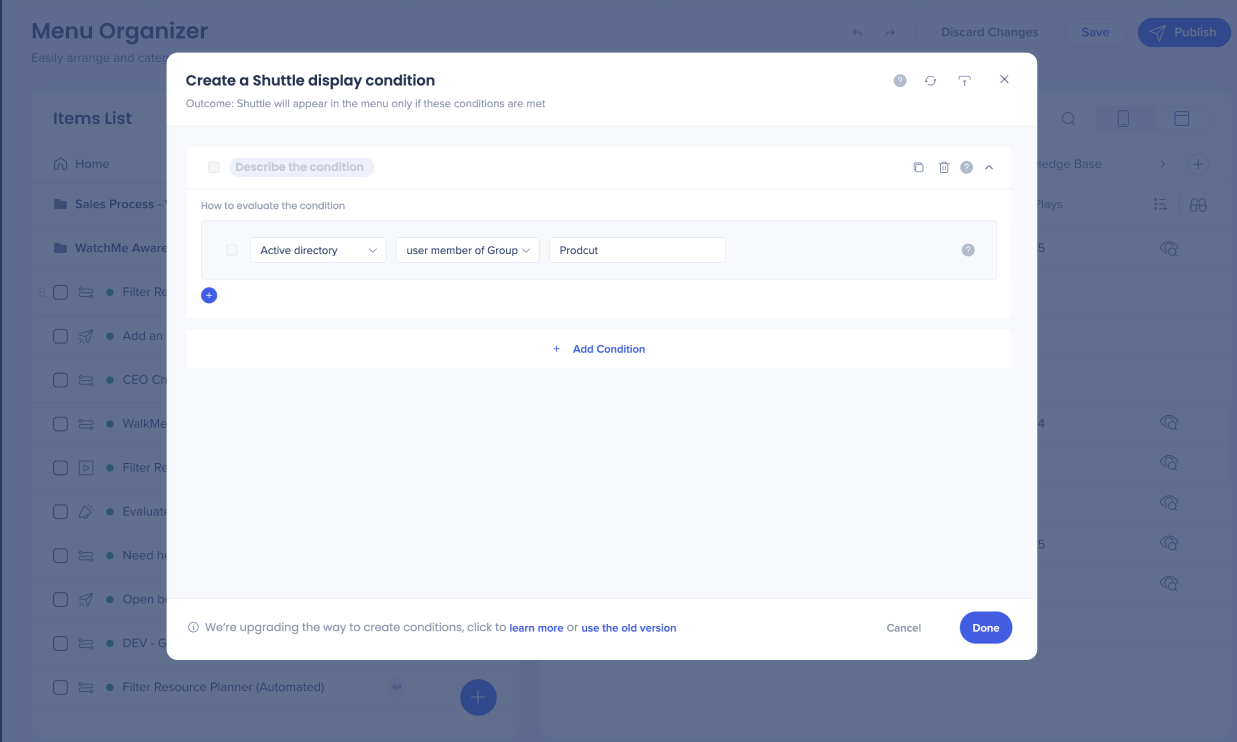
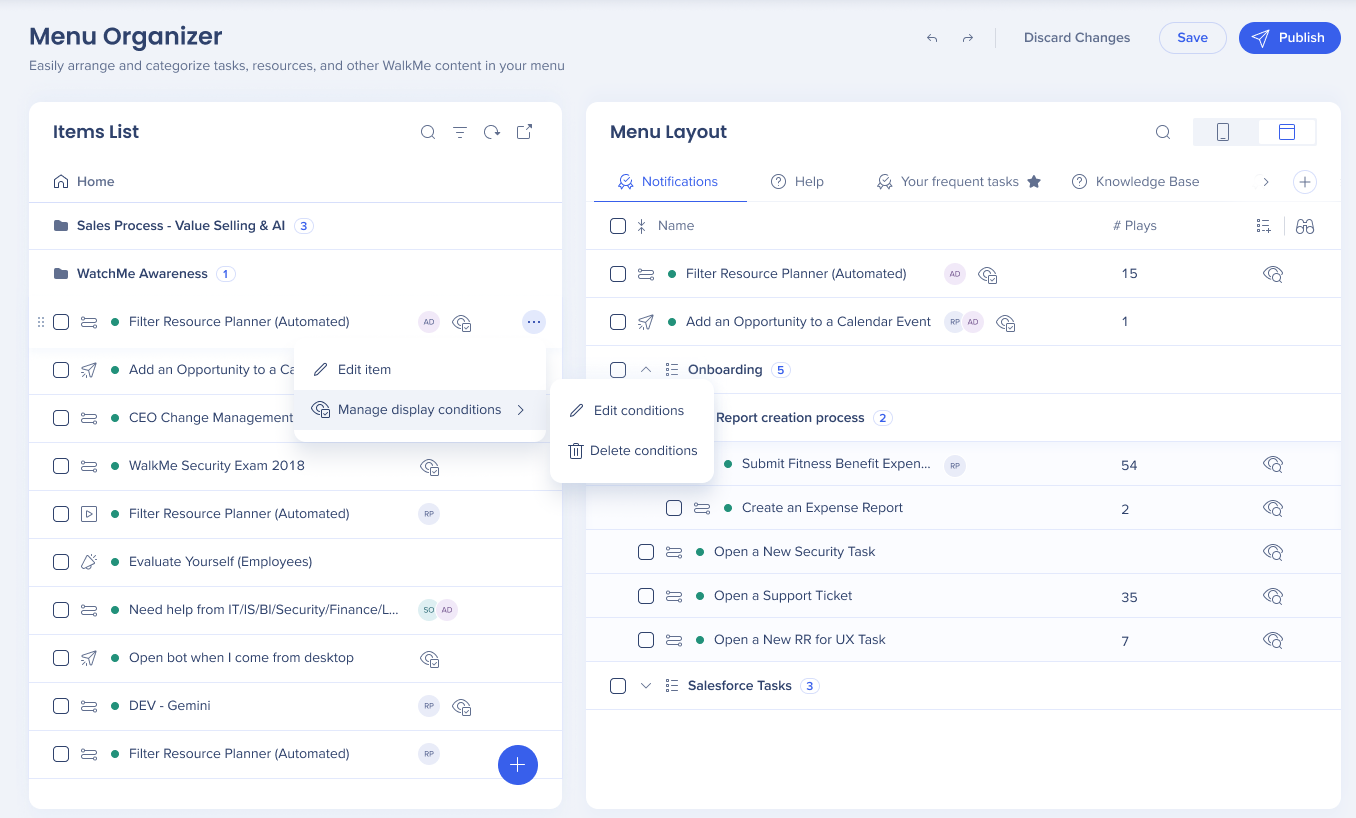
Set your item display conditions directly from menu organizer:
Up to 9 tabs in total can be added (5 Help, 4 Tasks) for Pro menu type