Welcome to the
WalkMe Help Center
Please log in to continue

Please log in to continue

The WalkMe Editor holds many important settings for the functionality across all WalkMe apps.
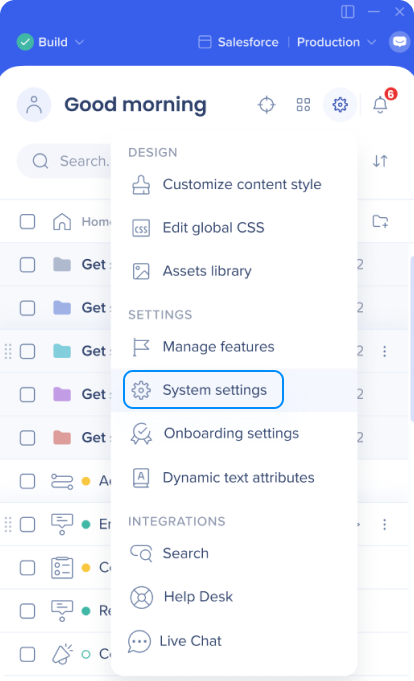
You can access the editor settings by clicking on the setting icon in the top right corner and selecting System settings.
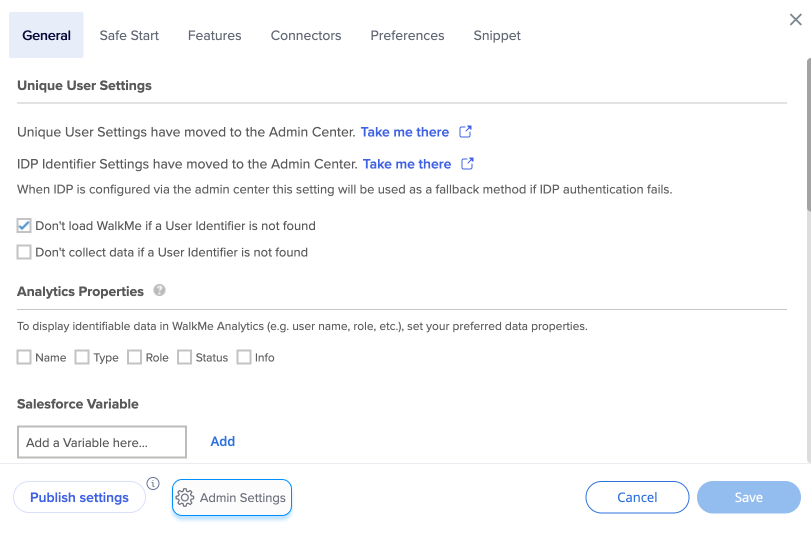
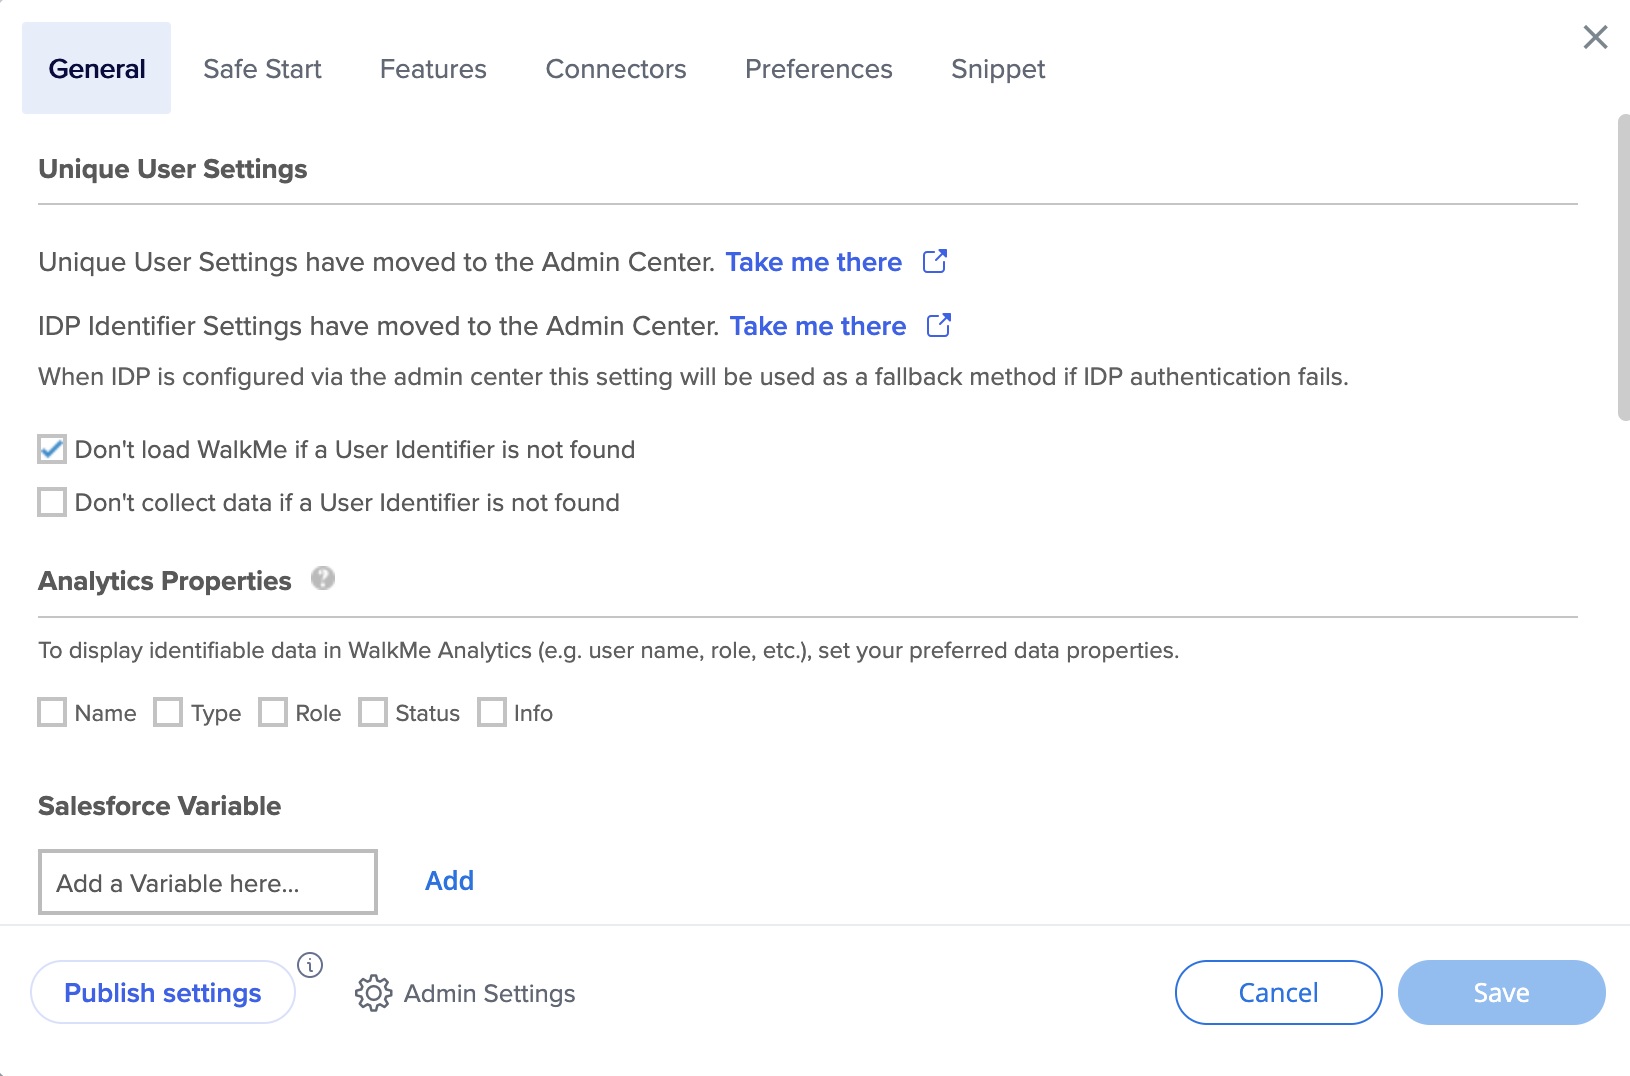
When building your WalkMe Solutions, consider how you would like to collect data about your end users. For example, when you look up progress or usage supports in Insights, would you like users to be identified by their email address, anonymous ID number, or a unique identifying element on their screen. Configure Unique User Settings so all your analytics can be collected in the same terms as the information on your own site, providing a close integration between WalkMe Insights and your own site by identifying the user in the same way.
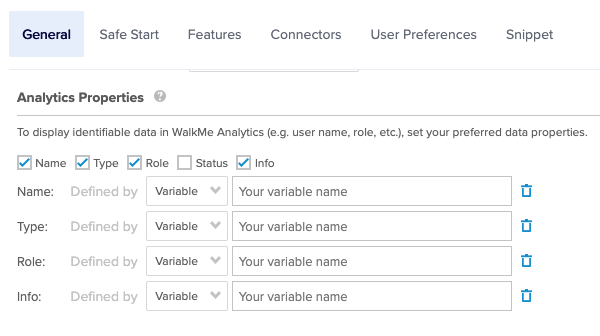
Use analytic properties as custom Insights attributes in the form of variables, jQuery selectors, and website cookies, to better filter your reports for more granular user information.
Dynamic text attributes allow you to create dynamic content and rules. Once saved, they can be used in rules (for comparison of text / numbers / dates) and as dynamic text in items.
Activated in Play Mode - Flow Tracker automatically launches when a Walk-Thru is played from Editor.
Activated in Preview Mode - Flow Tracker automatically launches when Preview Mode is enabled.
Accessible in Published Environment (QA-Related)- Flow Tracker is accessible in the Published Environment but does not start automatically. The keyword 'walkmetracker' is used in the Player Menu Search to activate Flow Tracker.
![]()
WalkMe's Element Library feature is made up of pre-captured, system-specific elements created using WalkMe best practices. Users can build deployables by selecting an element from the Element Library, outlined in green instead of the standard blue, allowing WalkMe to maintain and update the connected deployable through major platform releases.

My Solutions are user-generated templates that allow you to stay up-to-date with your organization or partner's latest brand guidelines, campaign, or content recommendations by easily sharing content between accounts. Then, using a secured distribution key, you can easily share the solution package that you've built between editor accounts.

Auto steps allow customers to automate repetitive processes that end-users will have to complete multiple times. By default, a ripple effect will show when an auto step has been clicked. This can be disabled in the settings.

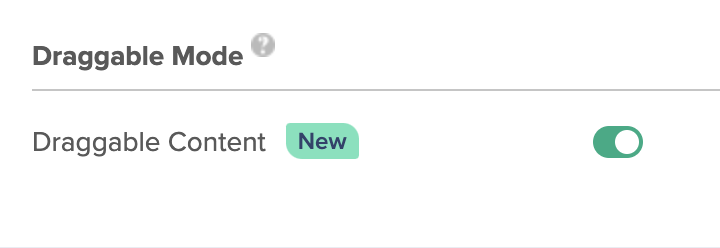
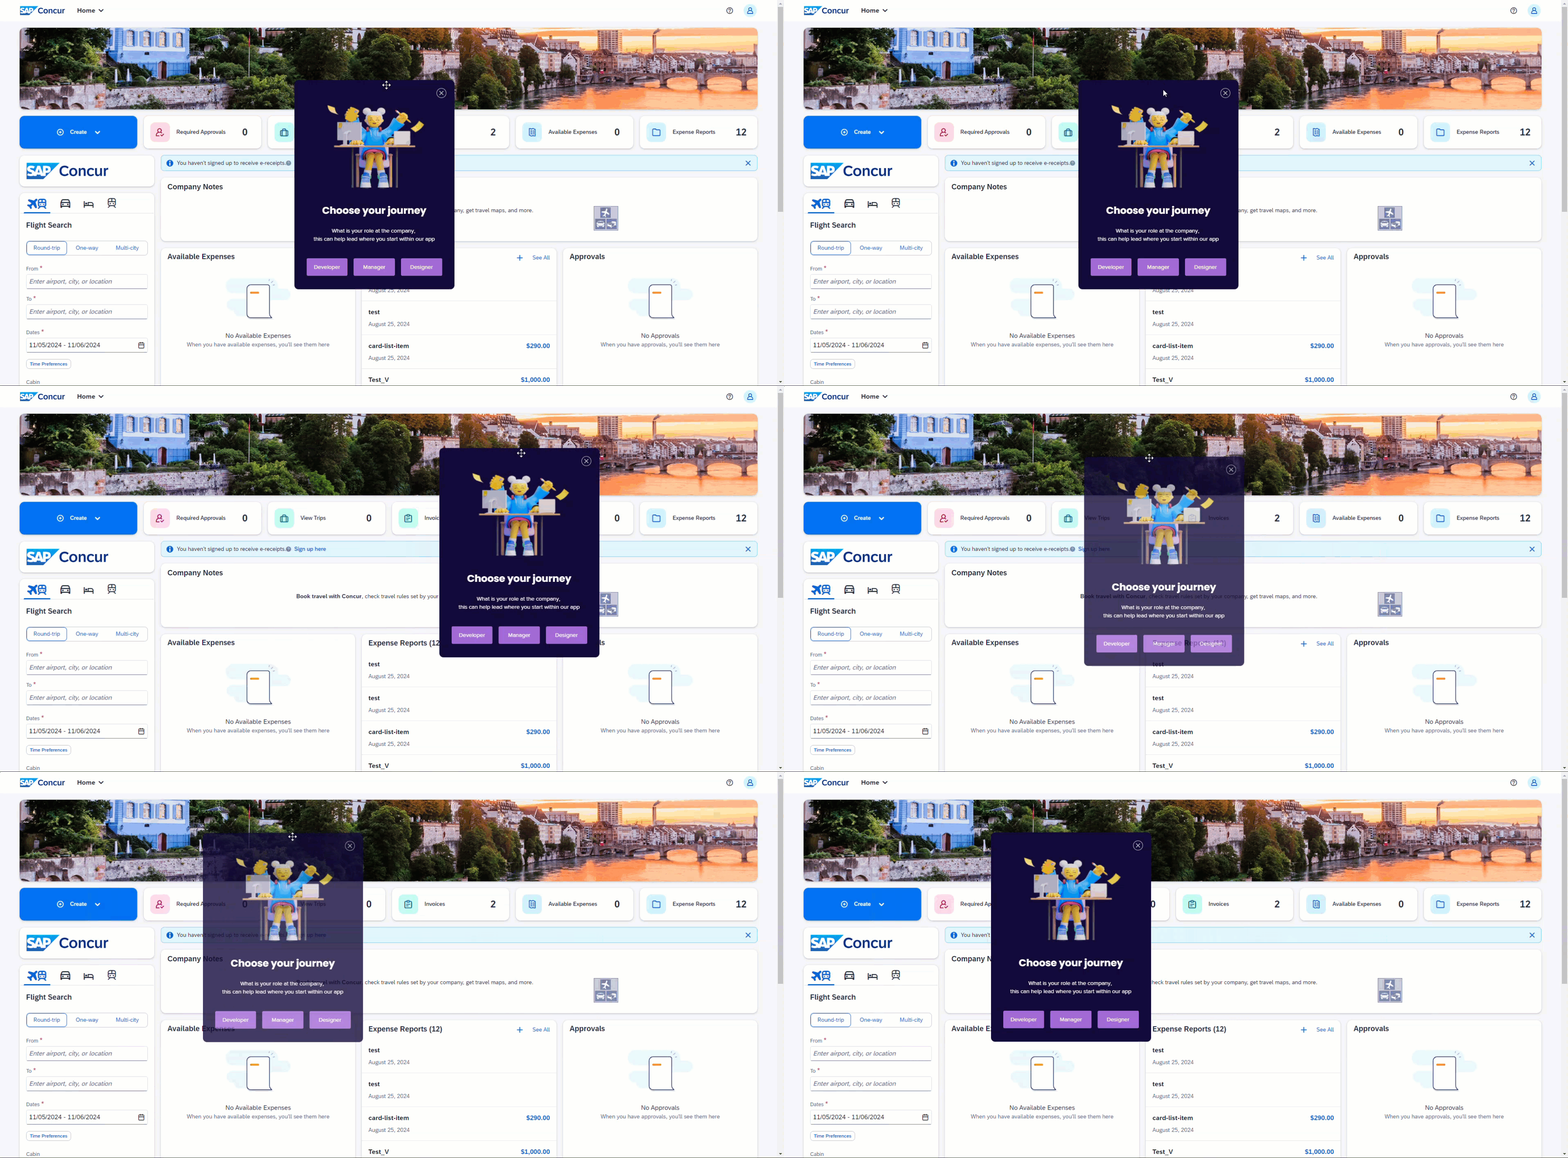
This mode enables WalkMe content (ShoutOuts, pop-up steps, articles, videos, and surveys) to be draggable. When on, you can move these items across the screen by interacting with their top border.
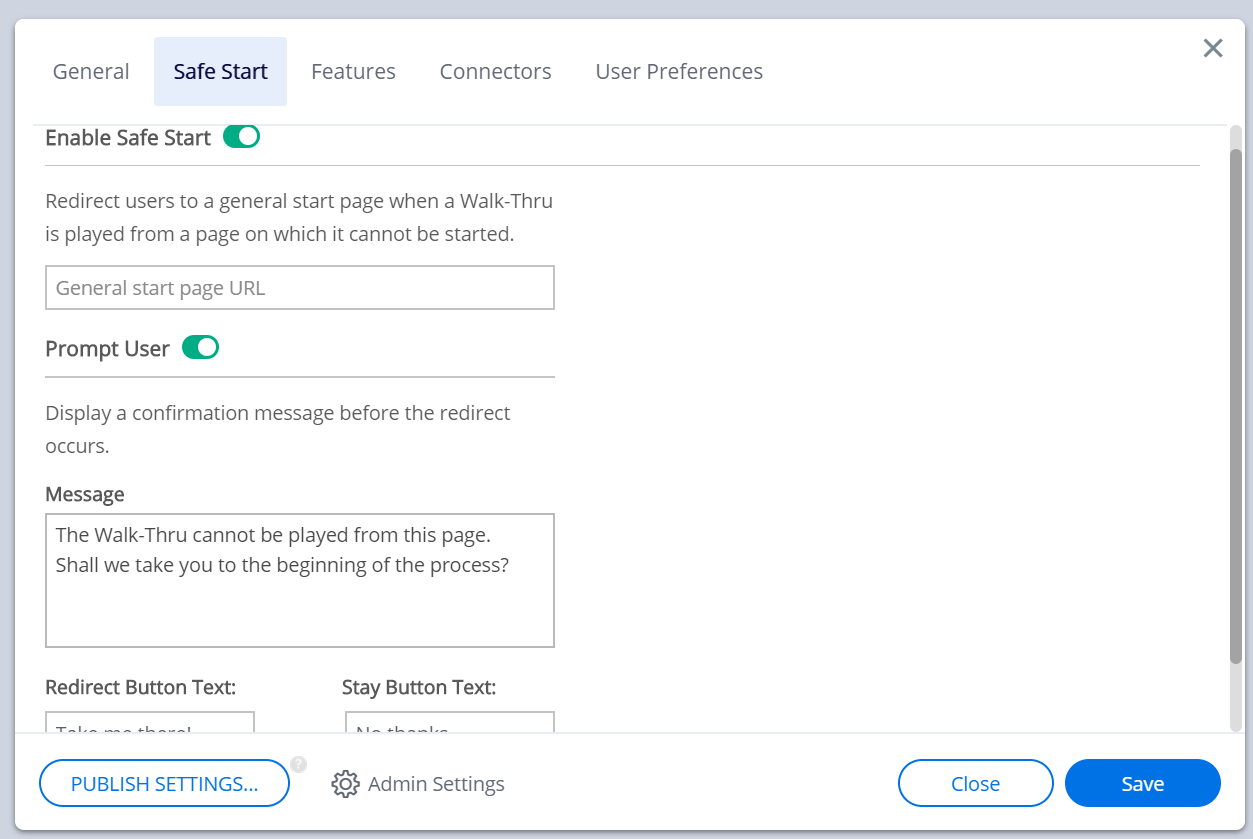
Redirect users to a general start page when a Walk-Thru is played from a page on which it cannot be started.
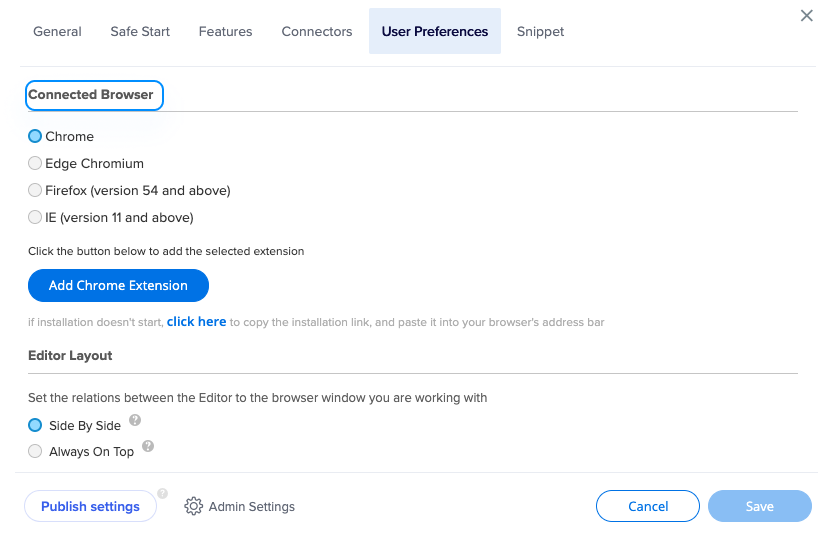
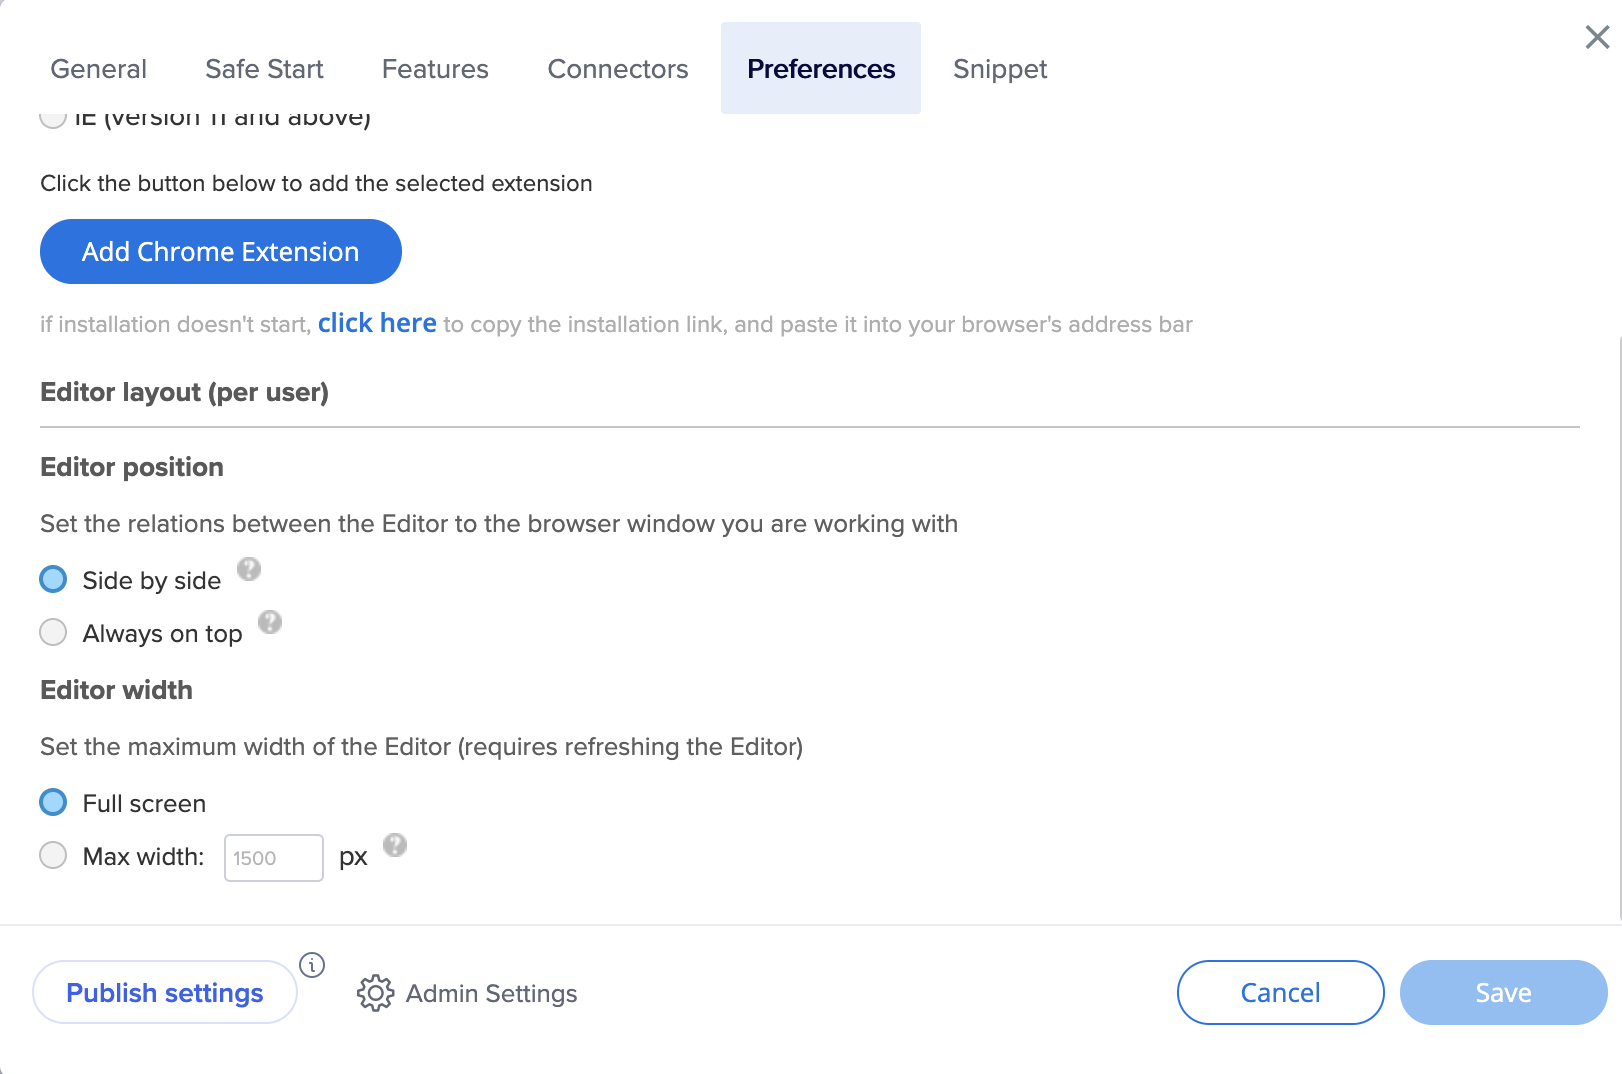
Two layout modes are available for the Editor:
Side-by-Side (SBS): Allows for the Editor and the connected browser to align themselves side-by-side.
This is the default layout. It is recommended for working on most websites.
To align the Editor to the connected browser make sure you have an instance of the connected browser open and press the SBS button.
The Editor will align itself side-by-side to the connected browser's instance that is in the foreground.
Always on Top: Positions the Editor on top all other windows.
Recommended for sales presentations and working on websites that require the browser to be full width.
In this mode, the Editor floats above all other windows.
If you find the Editor obstructing your window's view, press the minimize button to minimize the Editor to the taskbar.
Press the WalkMe icon on the taskbar to return to working on the Editor.
The Editor's layout mode can be changed at any time.
In editor version 5.0 and later:

In the earlier versions:
Change from Full screen to Max width and enter the desired width size of the Editor (minimum of 1500px)
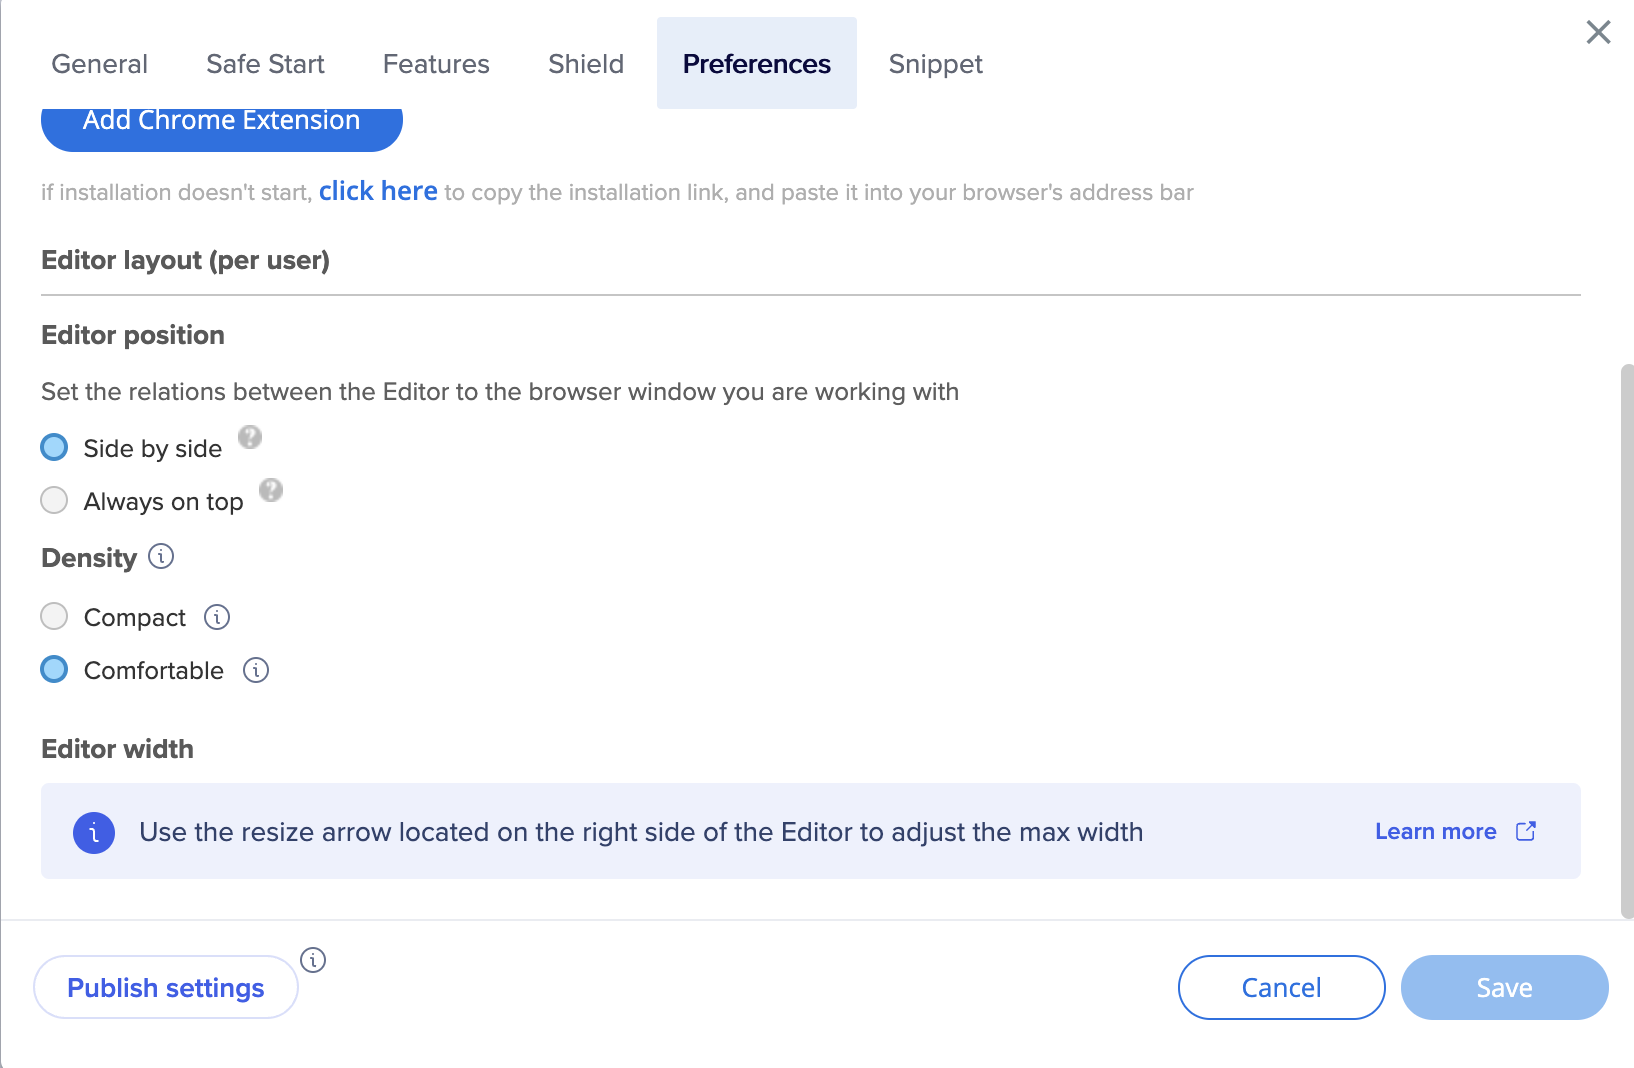
Select the view mode that better meets your needs:
Compact: Condensed layout with tighter spacing for maximum view (Default)
Comfortable: Spacious design for focus and readability
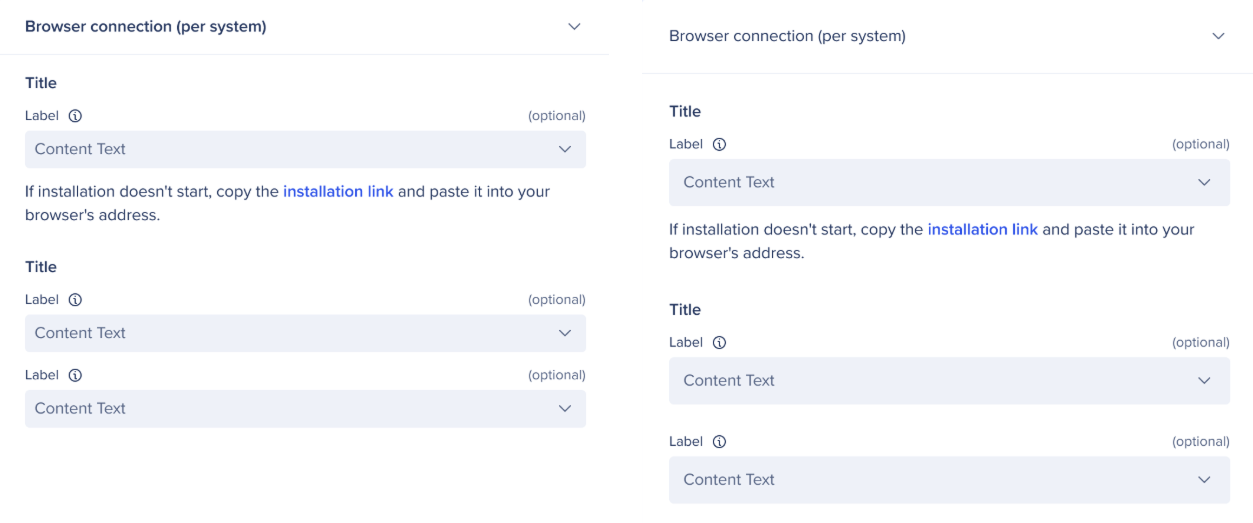
You can access admin settings by clicking Admin Settings in the editor settings.
