Brief Overview
WalkMe Surveys in the console enhance WalkMe's existing survey functionality by providing advanced, AI-driven survey creation along with improved tools for survey distribution and analytics. With the Surveys app, organizations can create NPS-style, multiple-choice, and open-ended question surveys that are delivered within digital workflows or shared as standalone experiences.
The app supports customizable templates and branding options to help deliver a consistent user experience while collecting meaningful feedback at key moments across the user journey.

Use Cases
- Employee Feedback Collection: HR leaders quickly create and deploy surveys to gather employee sentiment regarding onboarding, benefits, or engagement, - no prior WalkMe experience needed.
- Customer Satisfaction Surveys: Customer Success Managers easily publish in-app surveys or send email surveys after support interactions to measure customer satisfaction and NPS, tracking trends over time.
- Training Effectiveness: Training Managers collect feedback within digital training sessions to evaluate content effectiveness and identify areas for improvement, ensuring feedback is captured at the most relevant moments.
- Feature Adoption Insights: Product Managers deploy targeted surveys directly within new product or feature flows to understand user adoption and gather feedback without requiring technical expertise.
- Operational Efficiency Reviews: Business Operations teams embed surveys within key processes to collect feedback on workflows and identify bottlenecks, enabling continuous process improvements.
- Compliance and Policy Feedback: Legal and Compliance teams send full-page surveys to employees for feedback on internal policies, helping to ensure alignment and understanding at key milestones.
Access
To access, go to the Surveys app in the Content category in the WalkMe Console.
How It Works
The Surveys app is managed in the WalkMe Console and includes the following key areas:
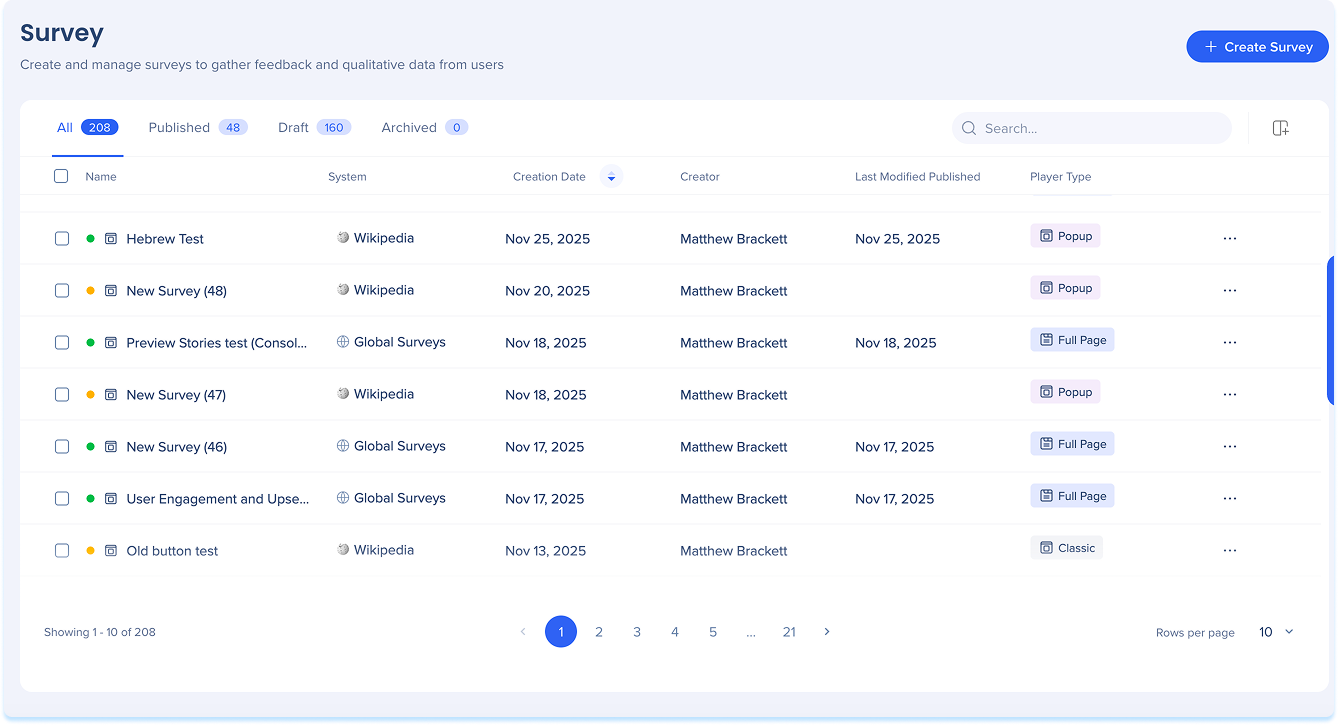
Surveys Builder page
The Surveys Builder is where surveys are created and managed. Surveys can be prepared for delivery as popup surveys or full-page surveys, depending on how feedback is collected.
Surveys Builder Page Overview
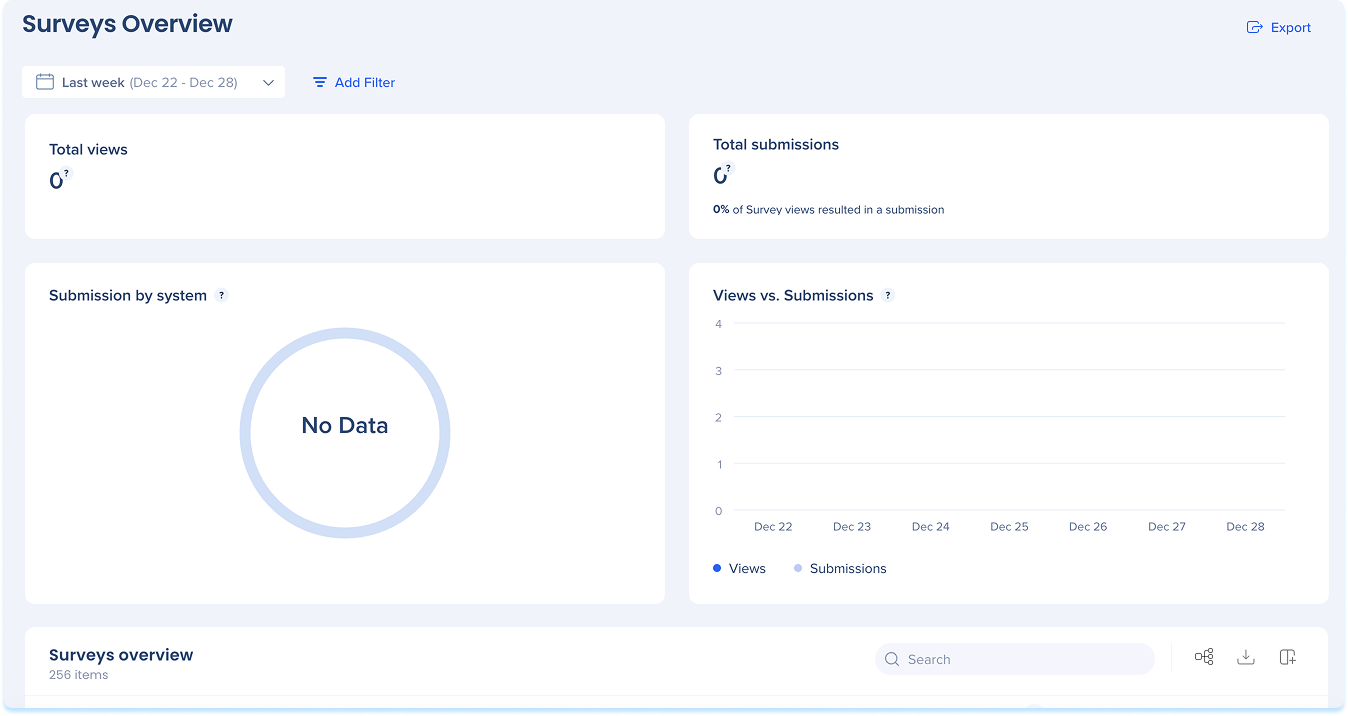
Surveys Overview page
The Surveys Overview page provides a centralized view of survey performance across your account, including high-level engagement metrics and survey-specific insights. It helps teams understand how users interact with surveys across systems and standalone experiences.
Surveys Overview